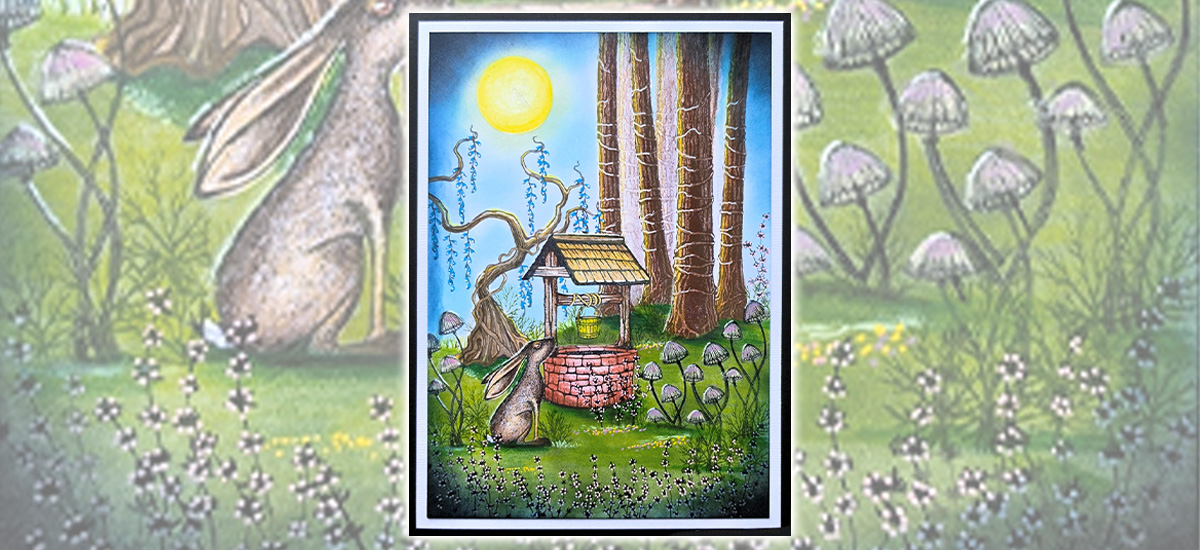
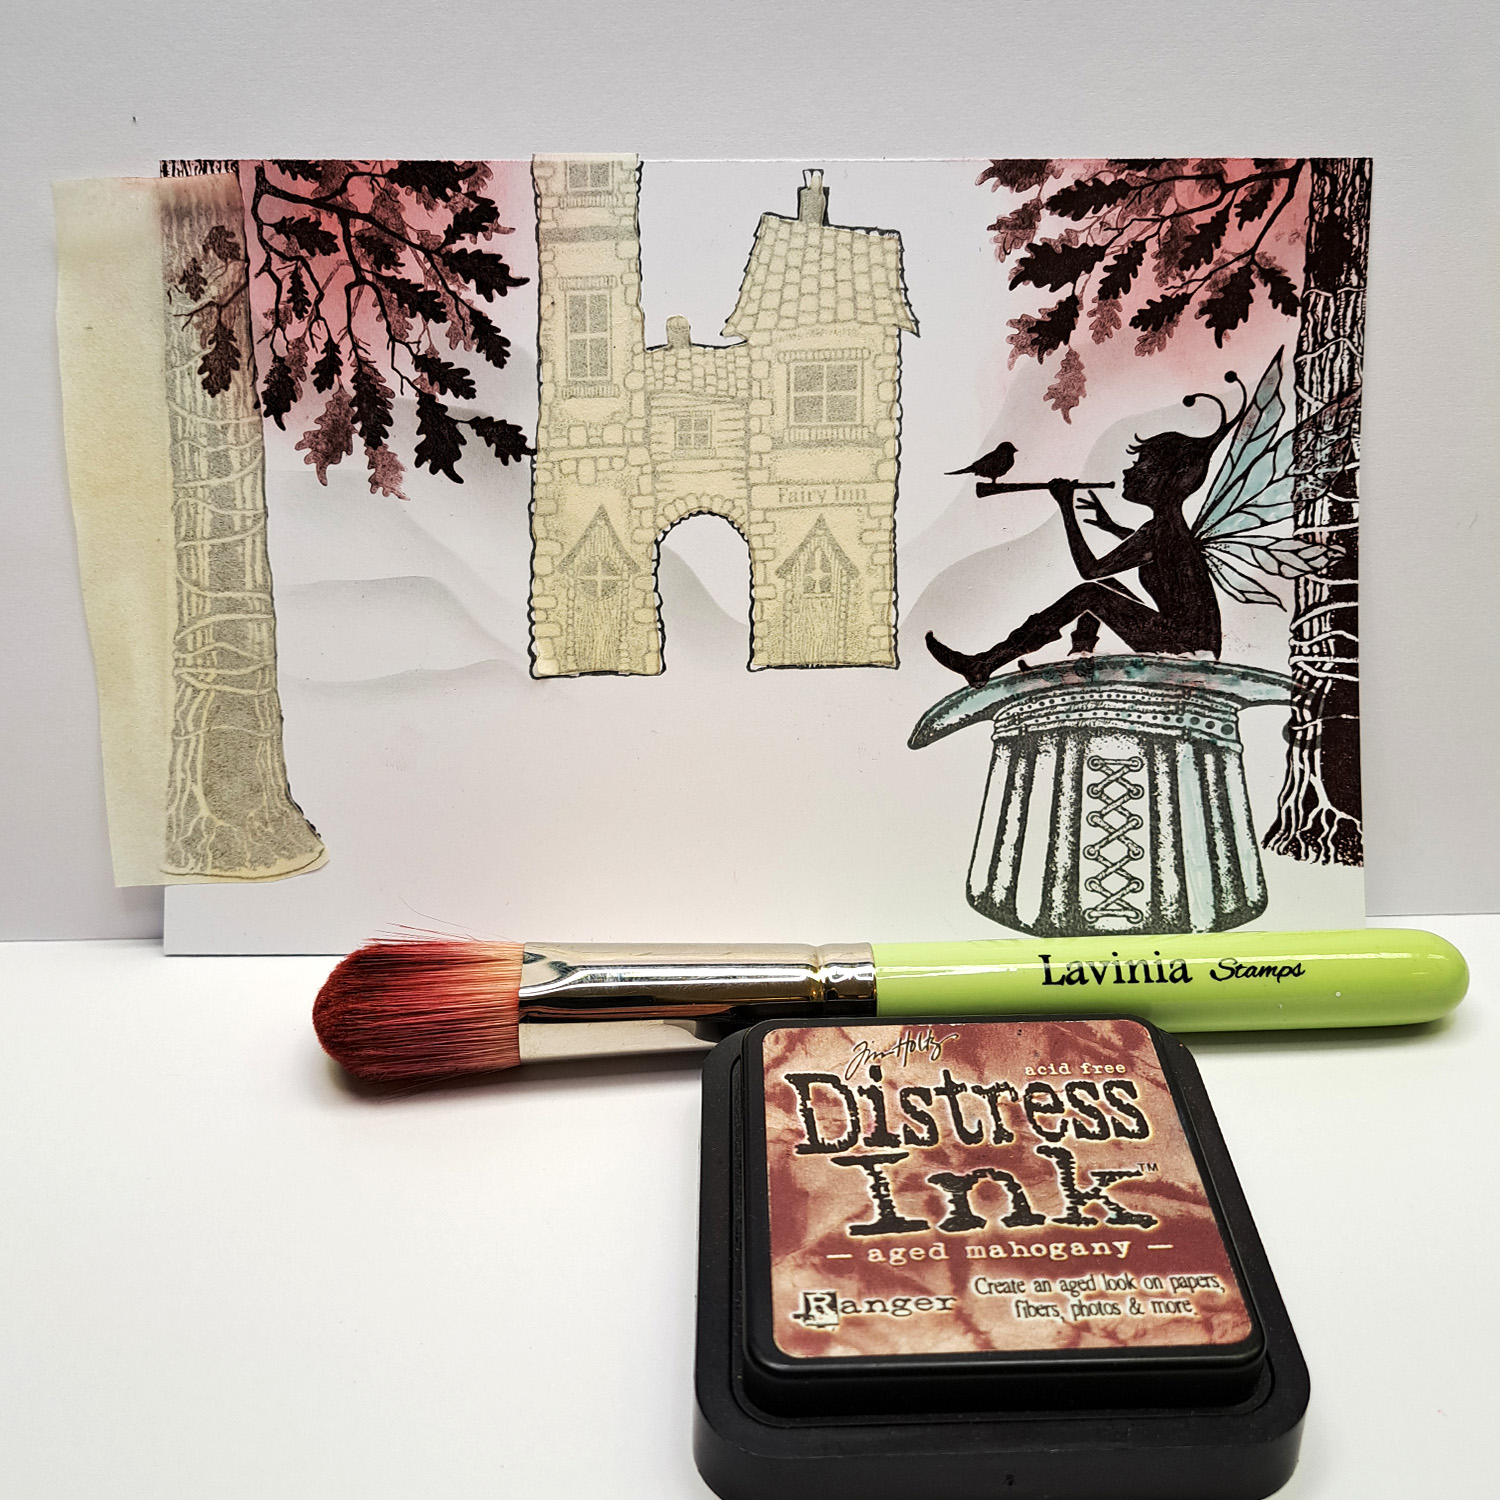
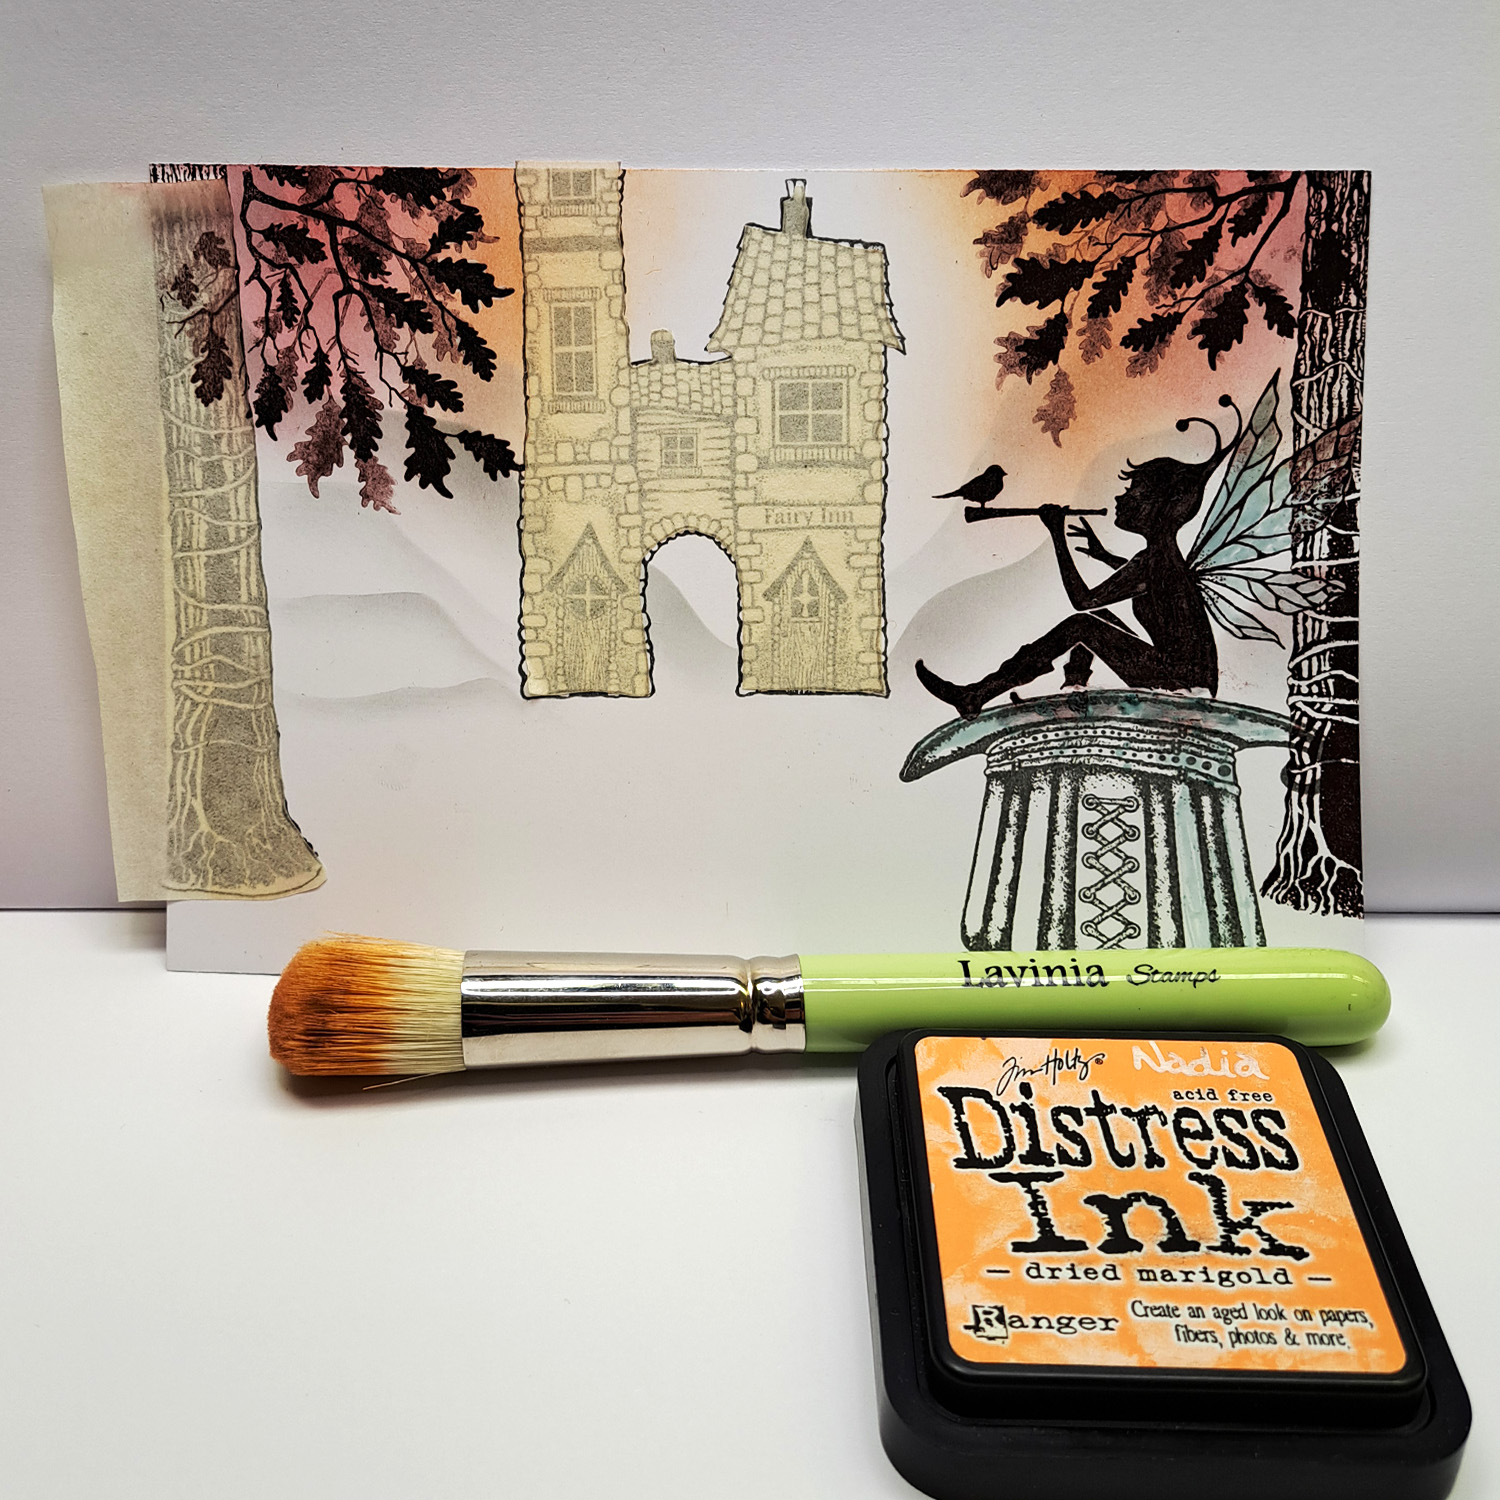
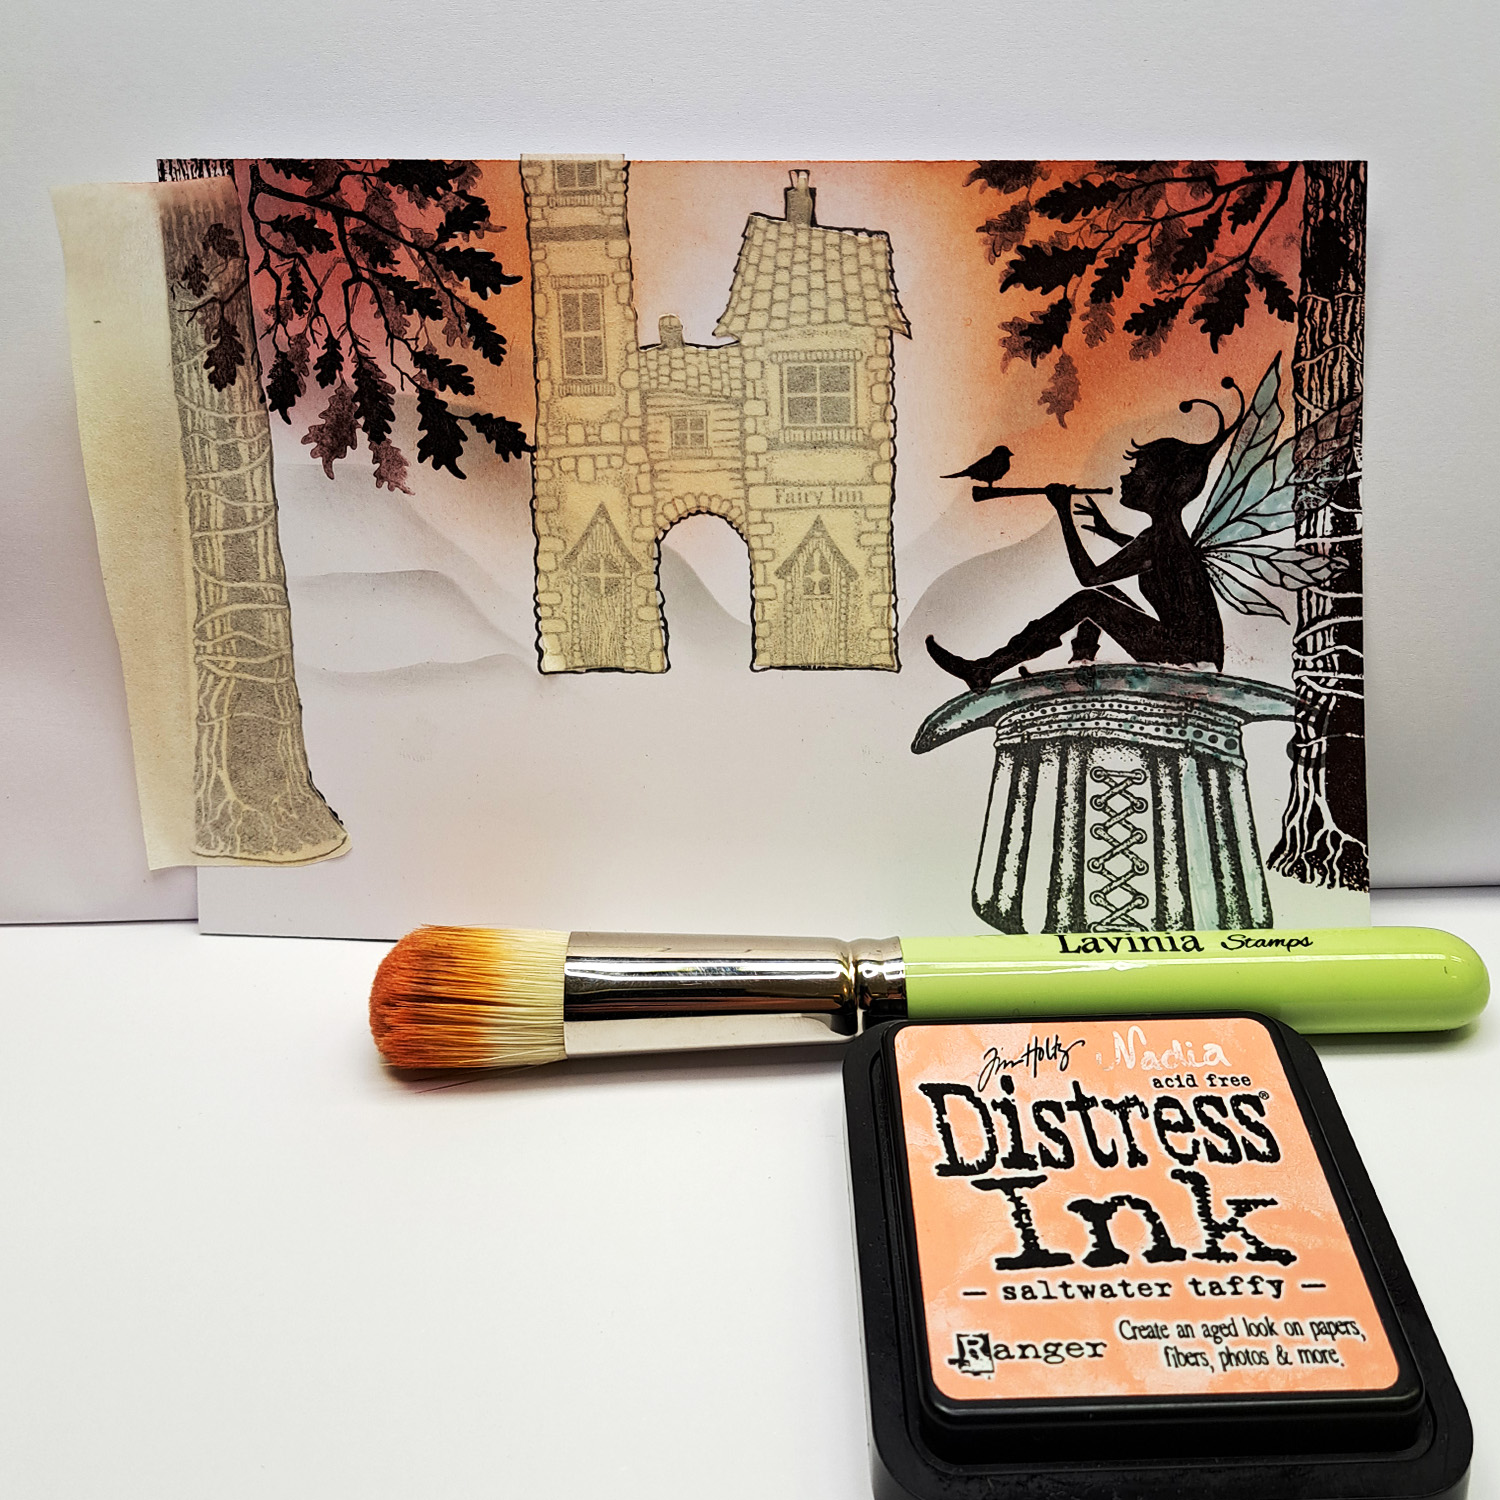
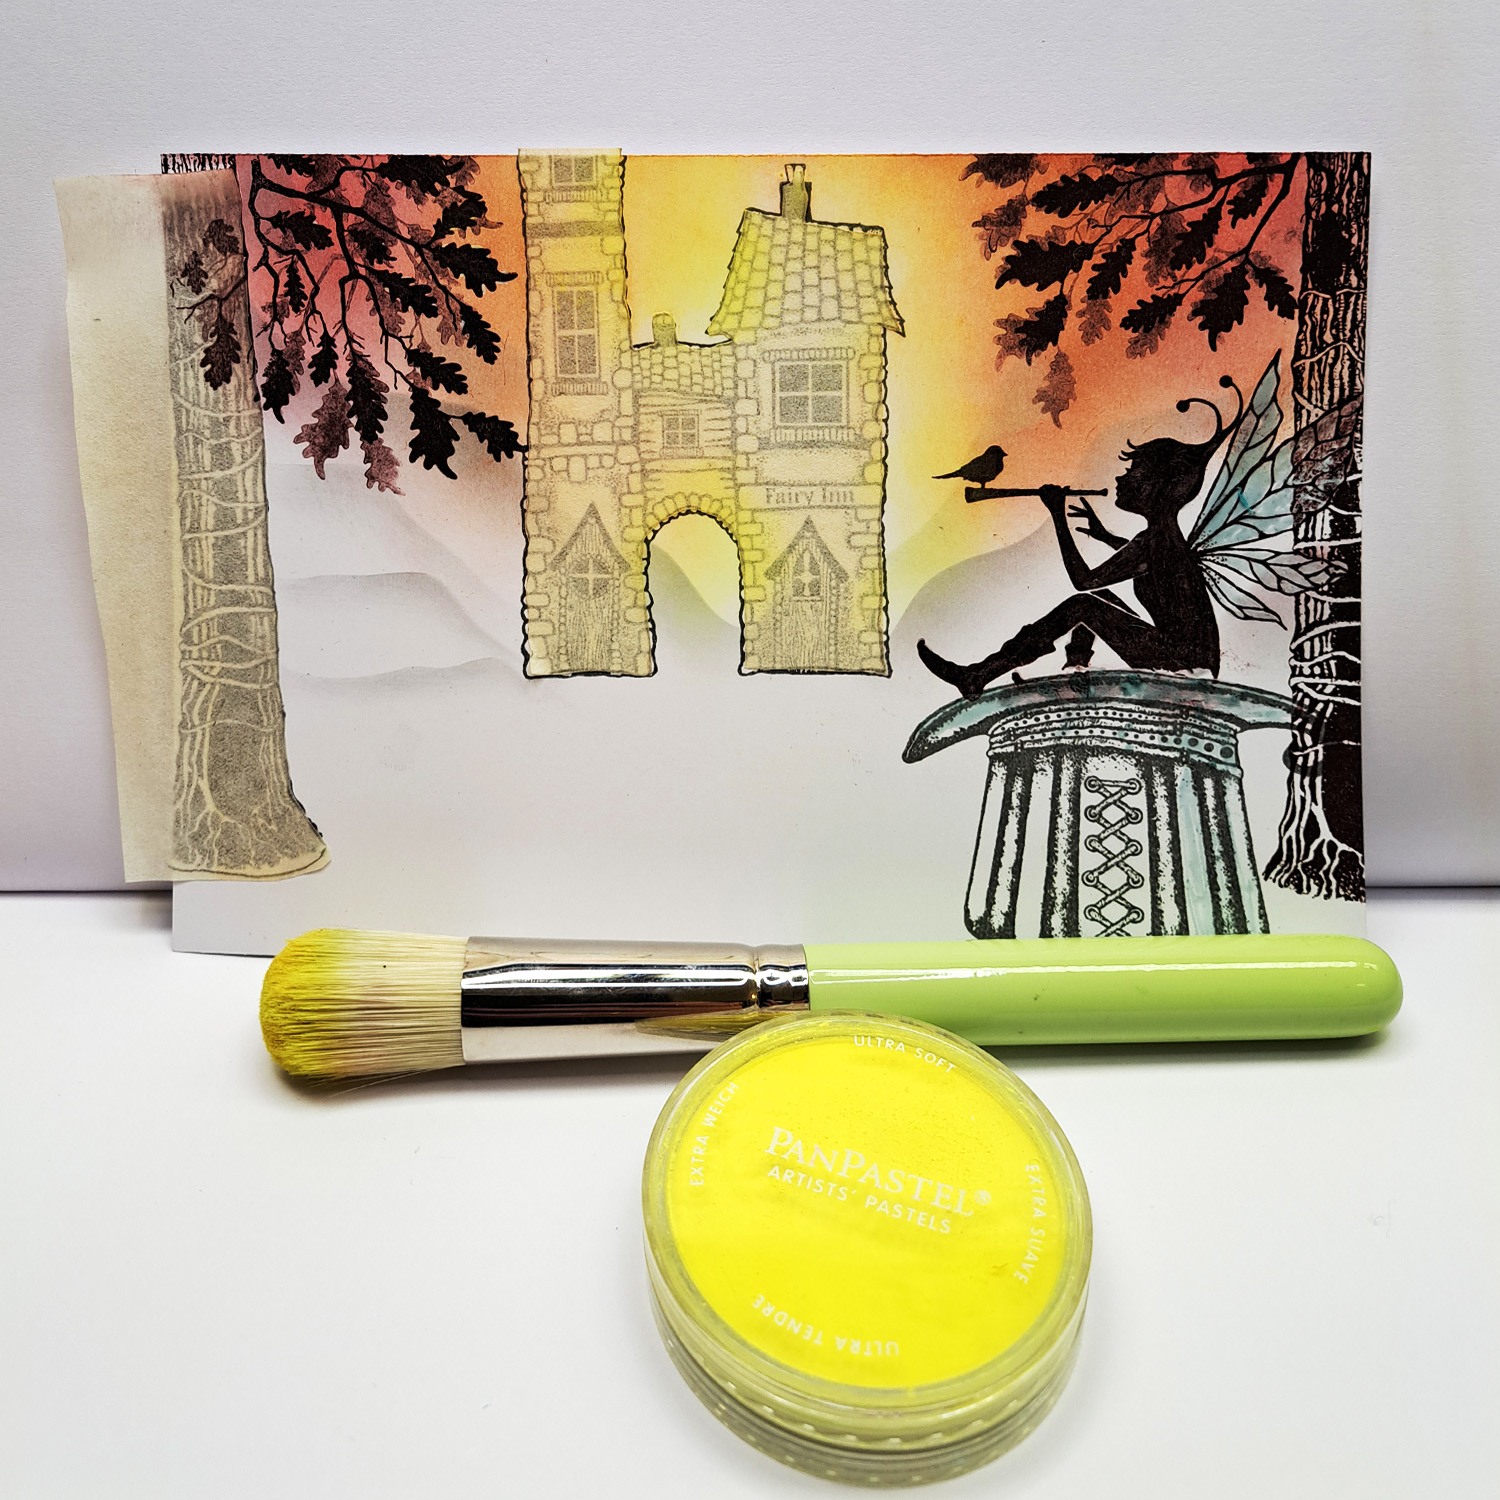
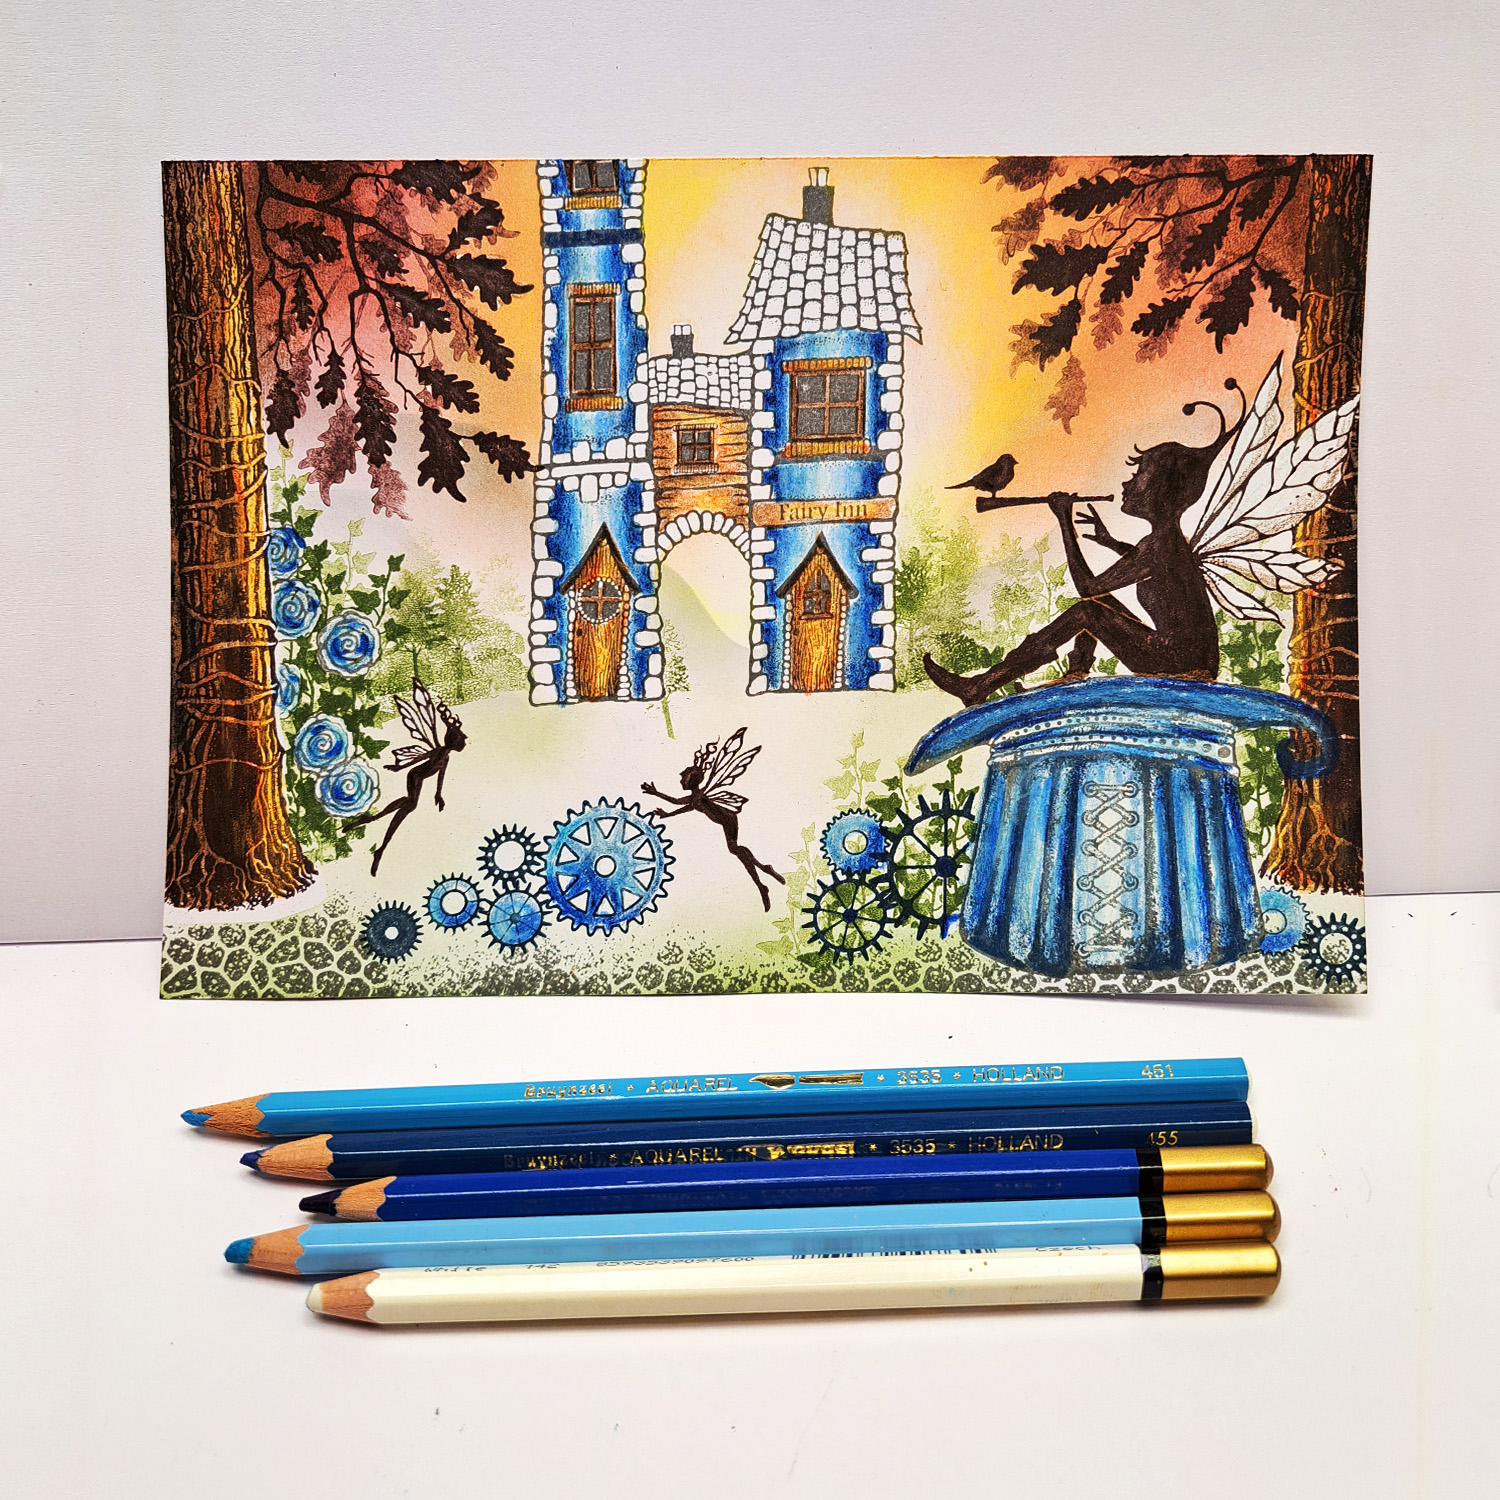
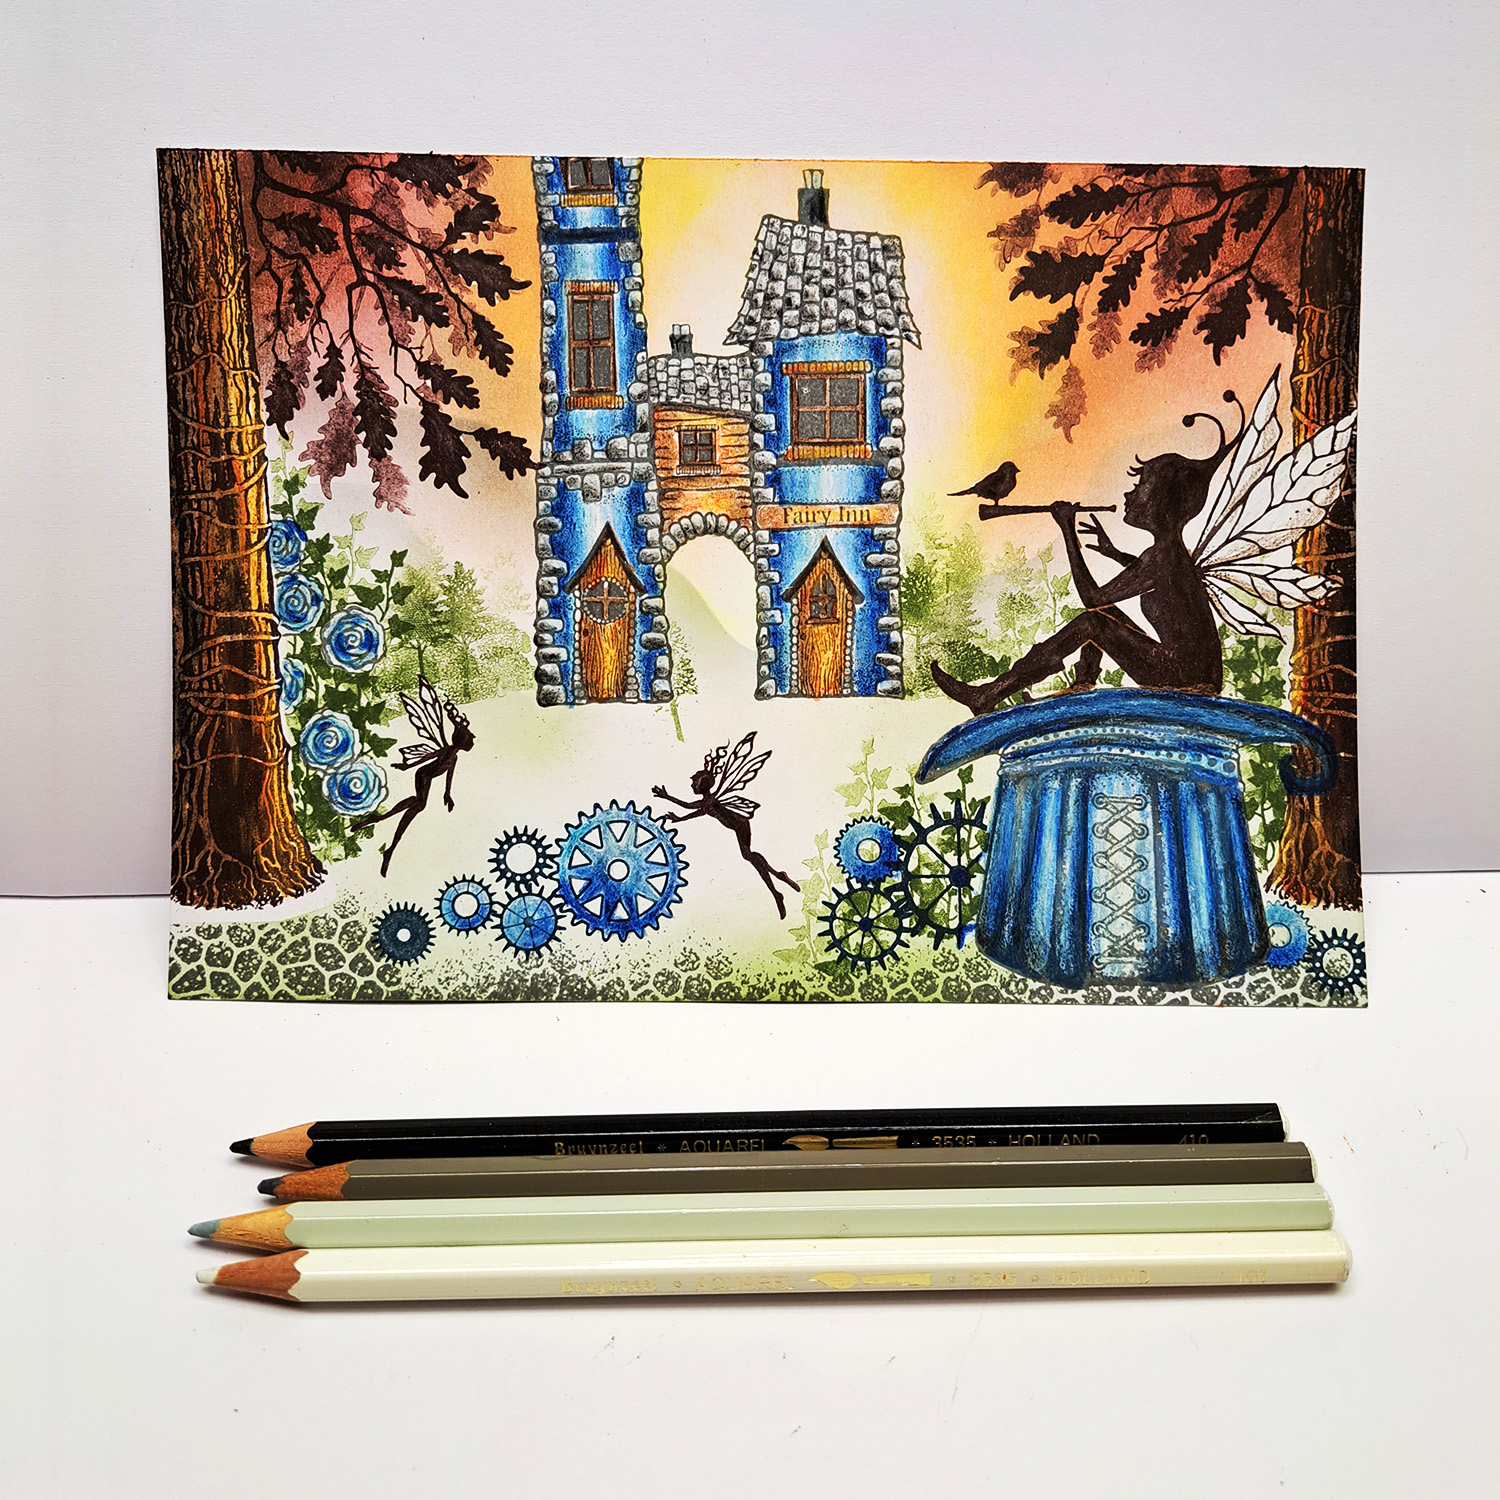
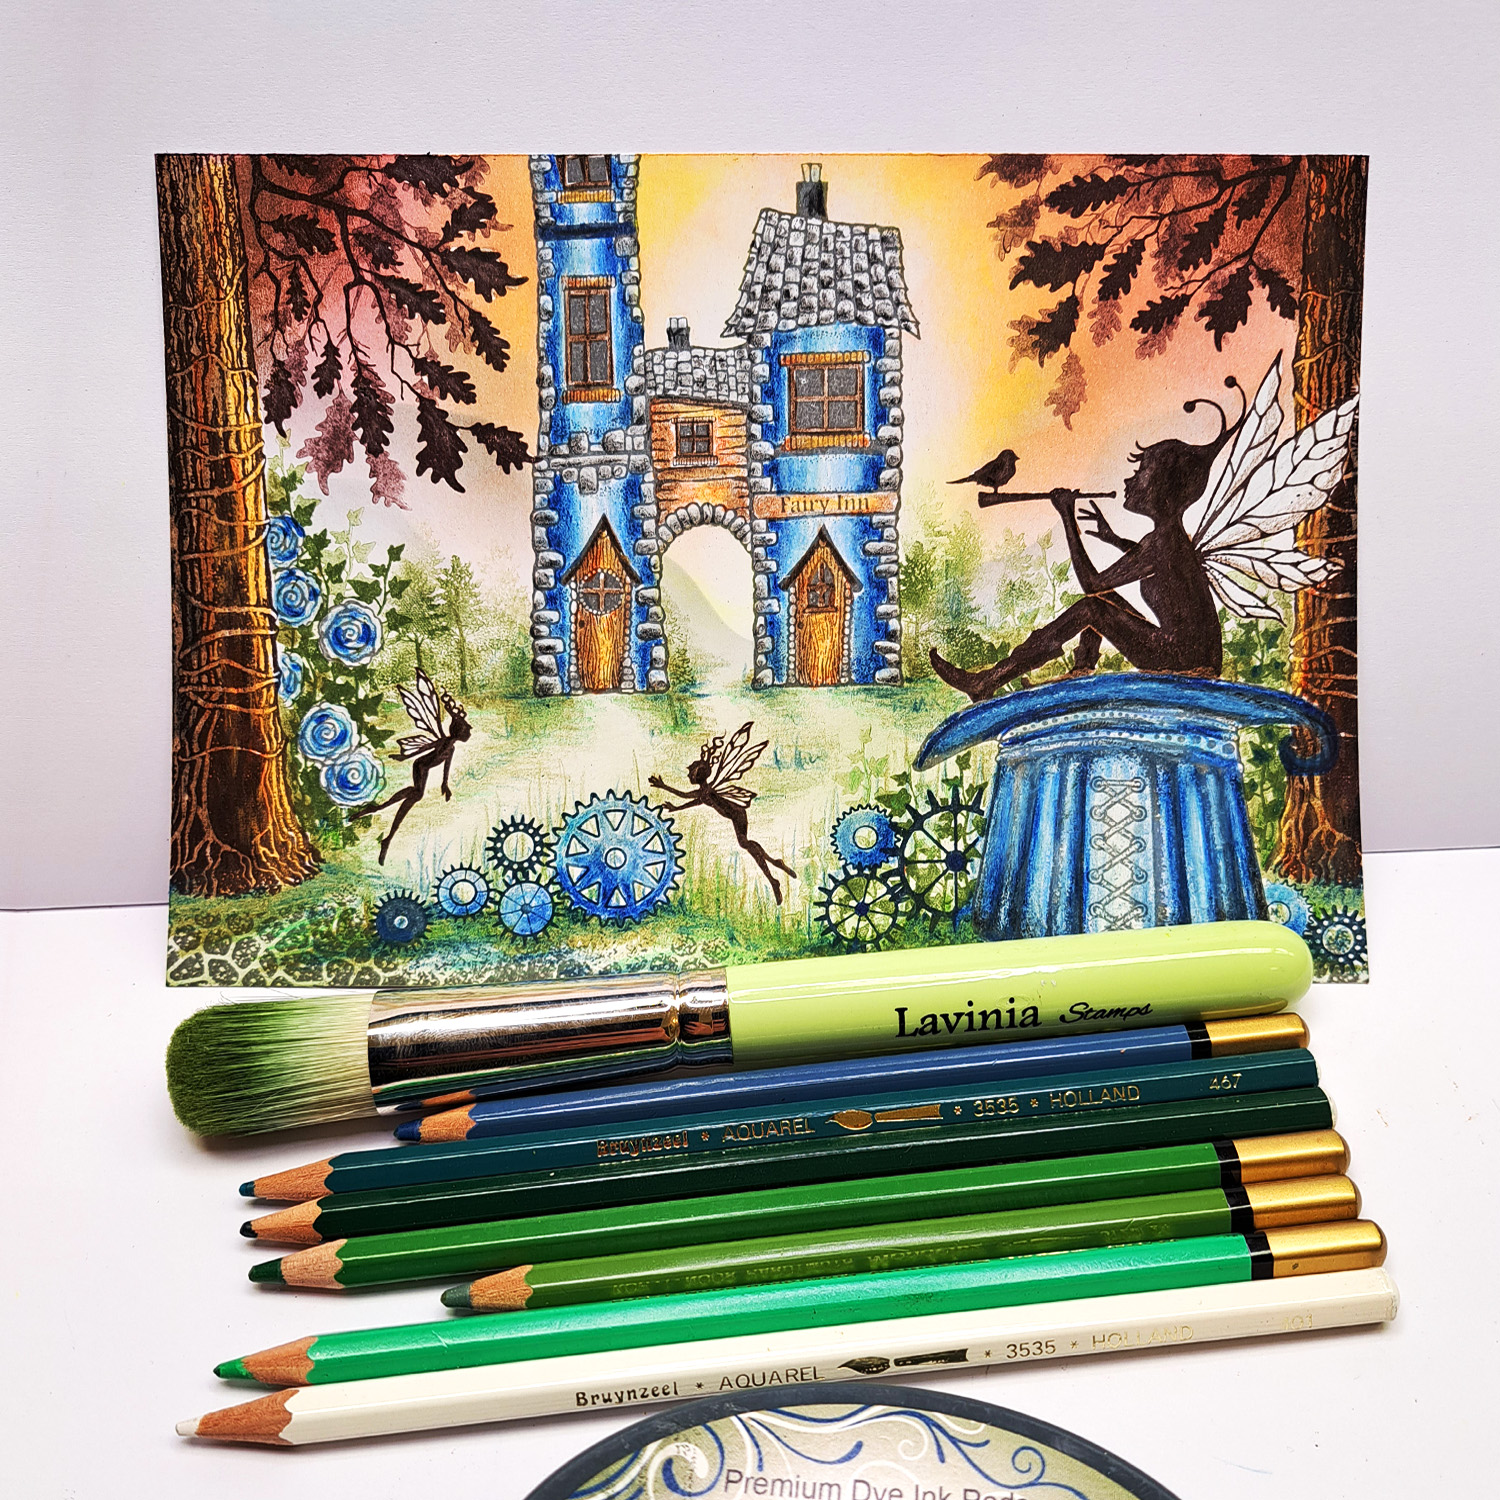
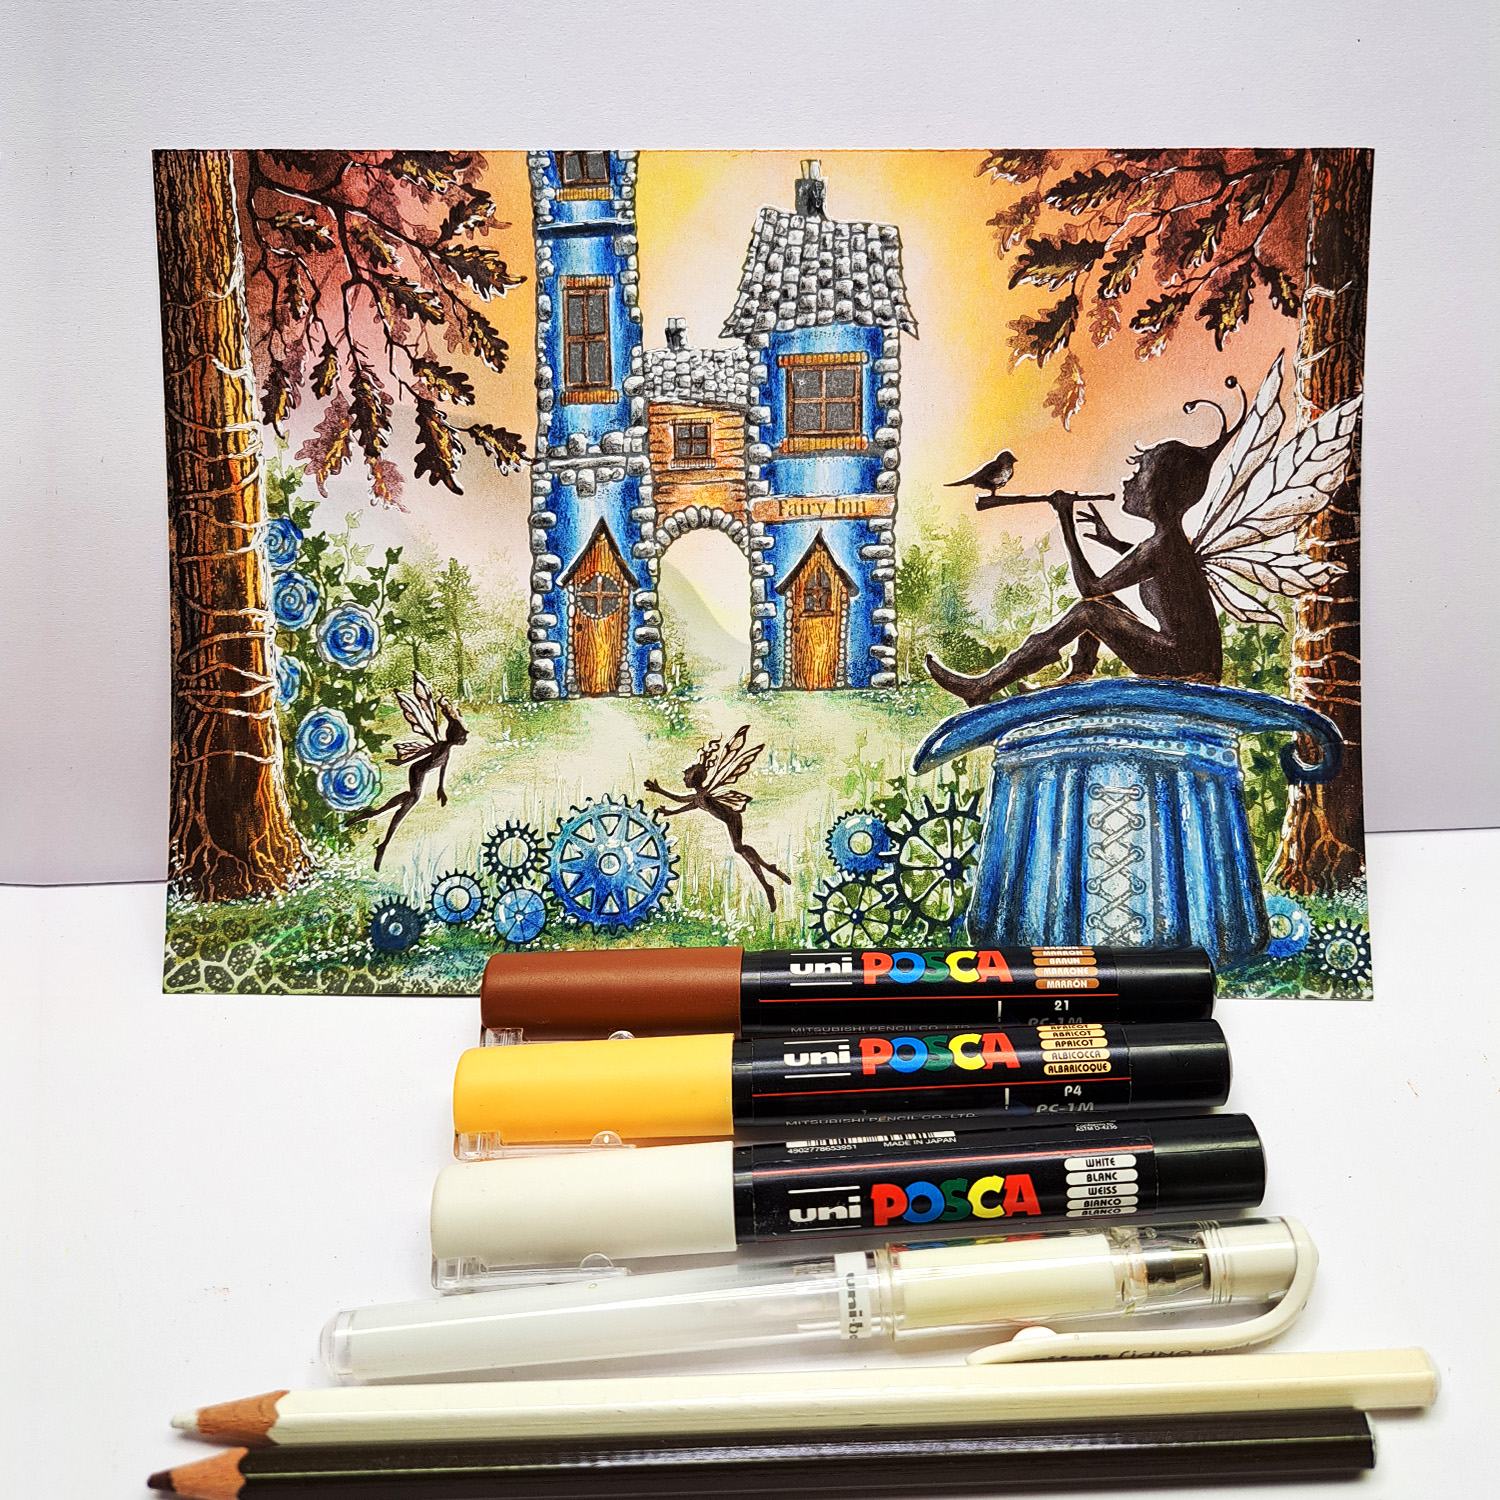
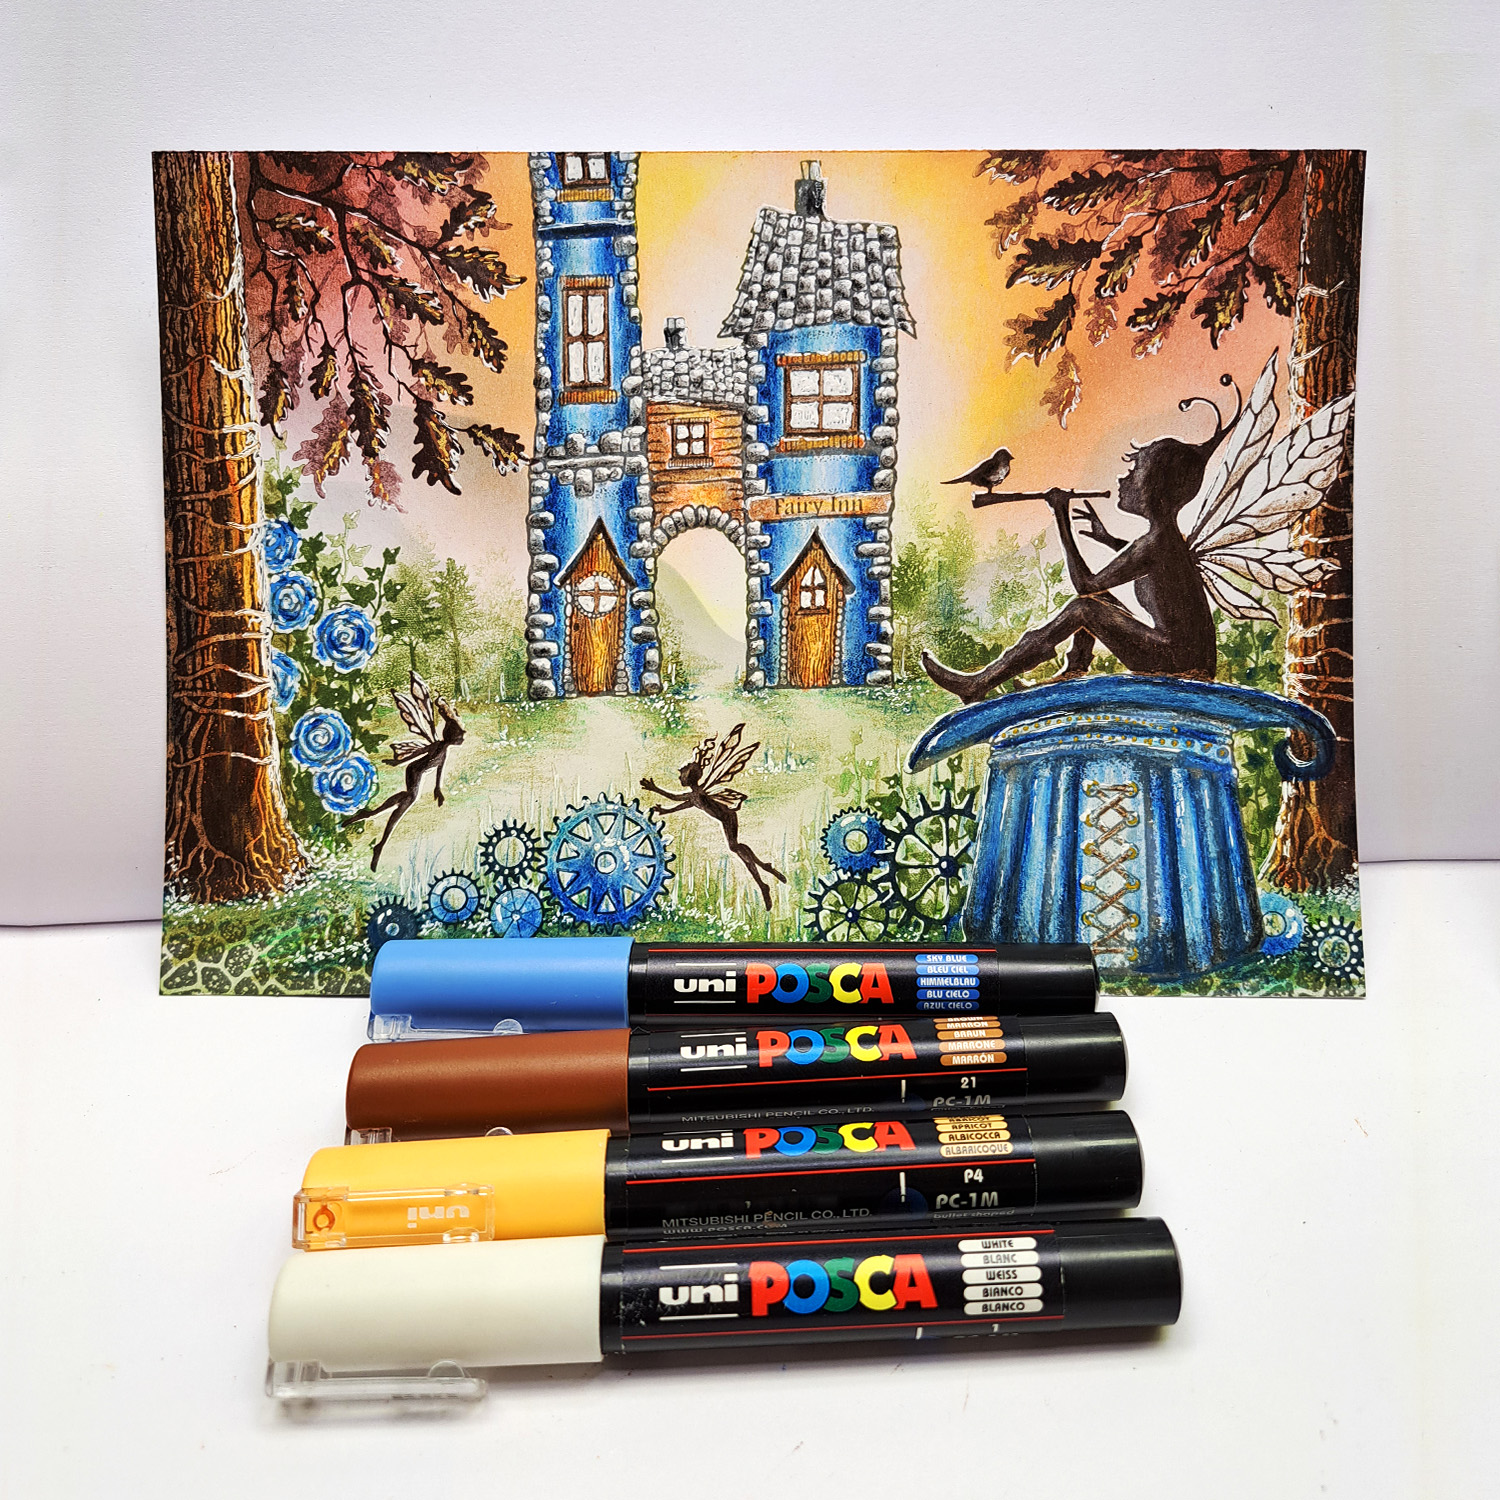
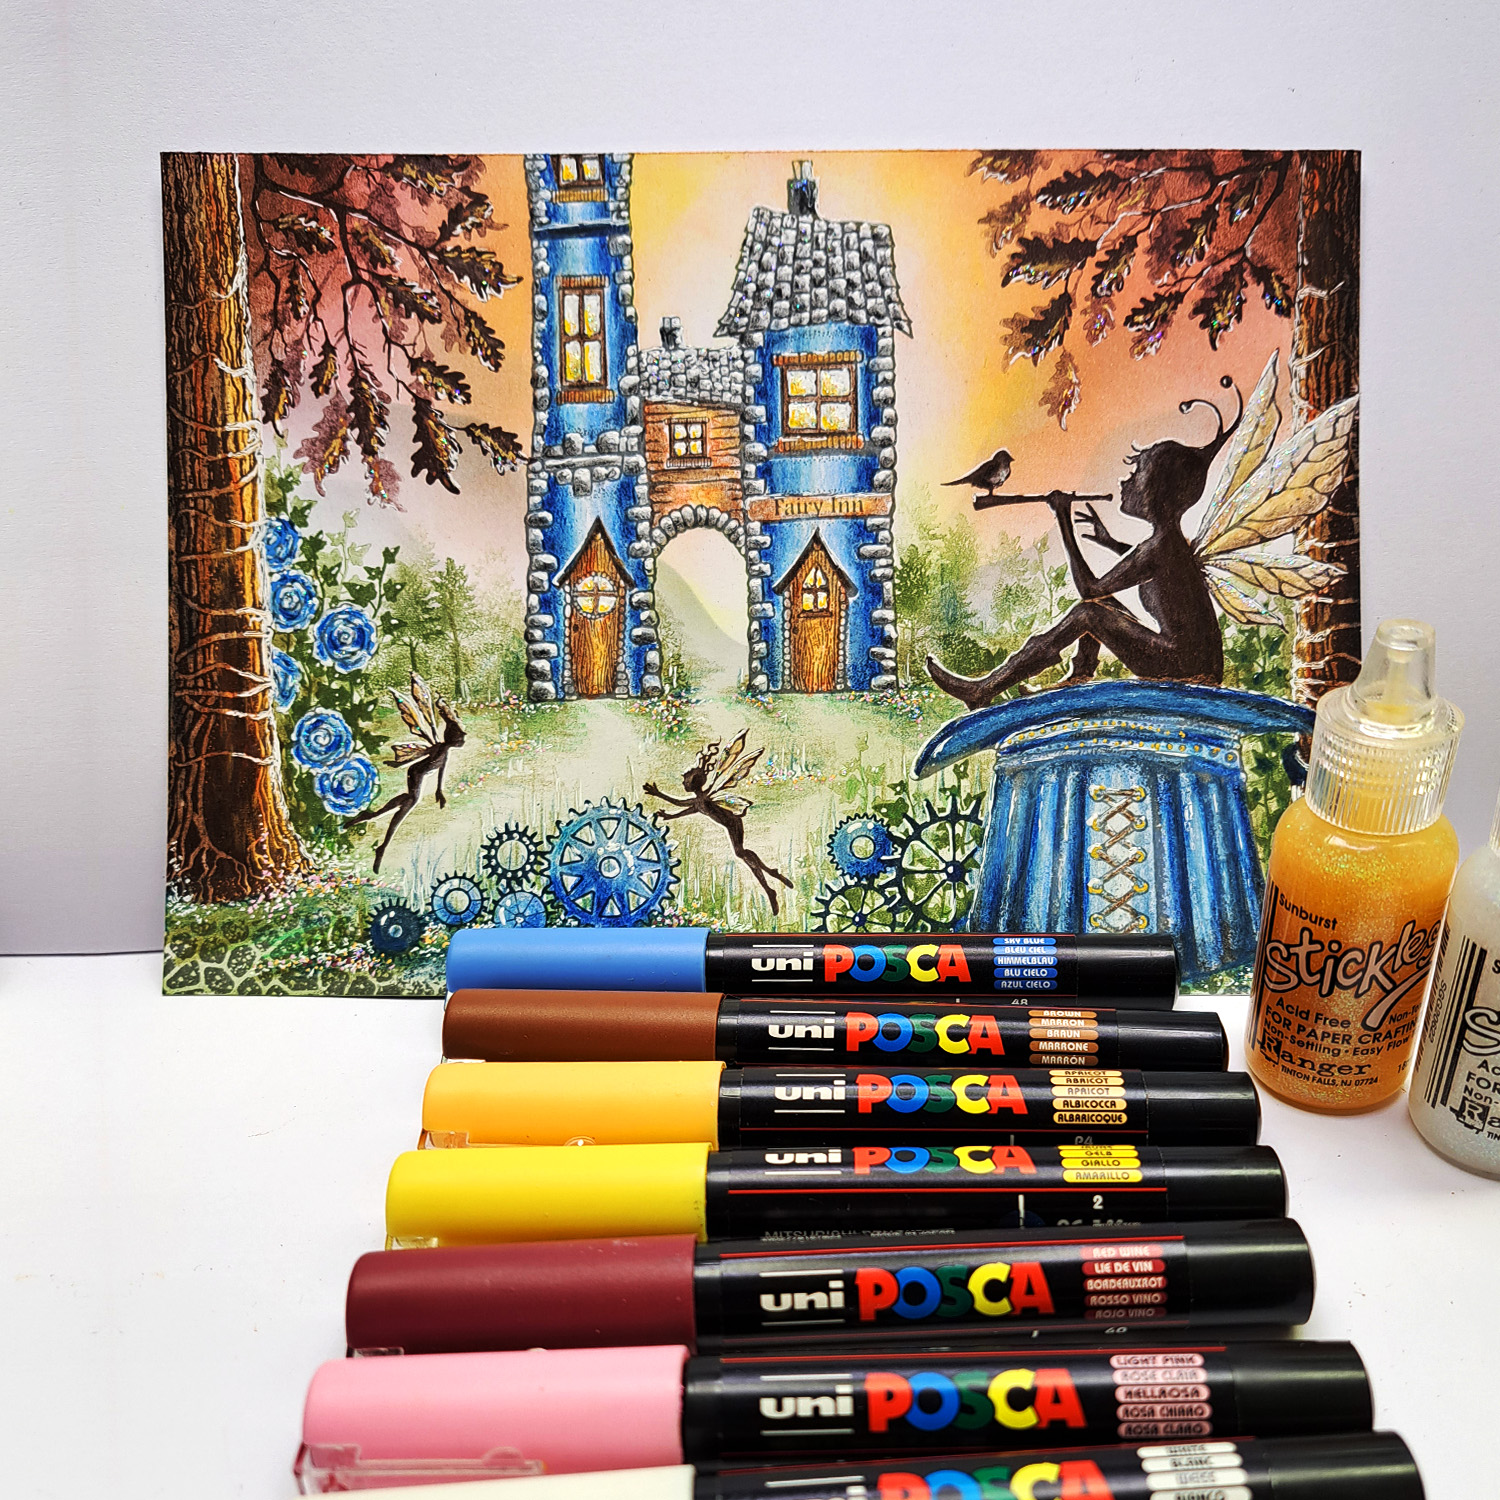
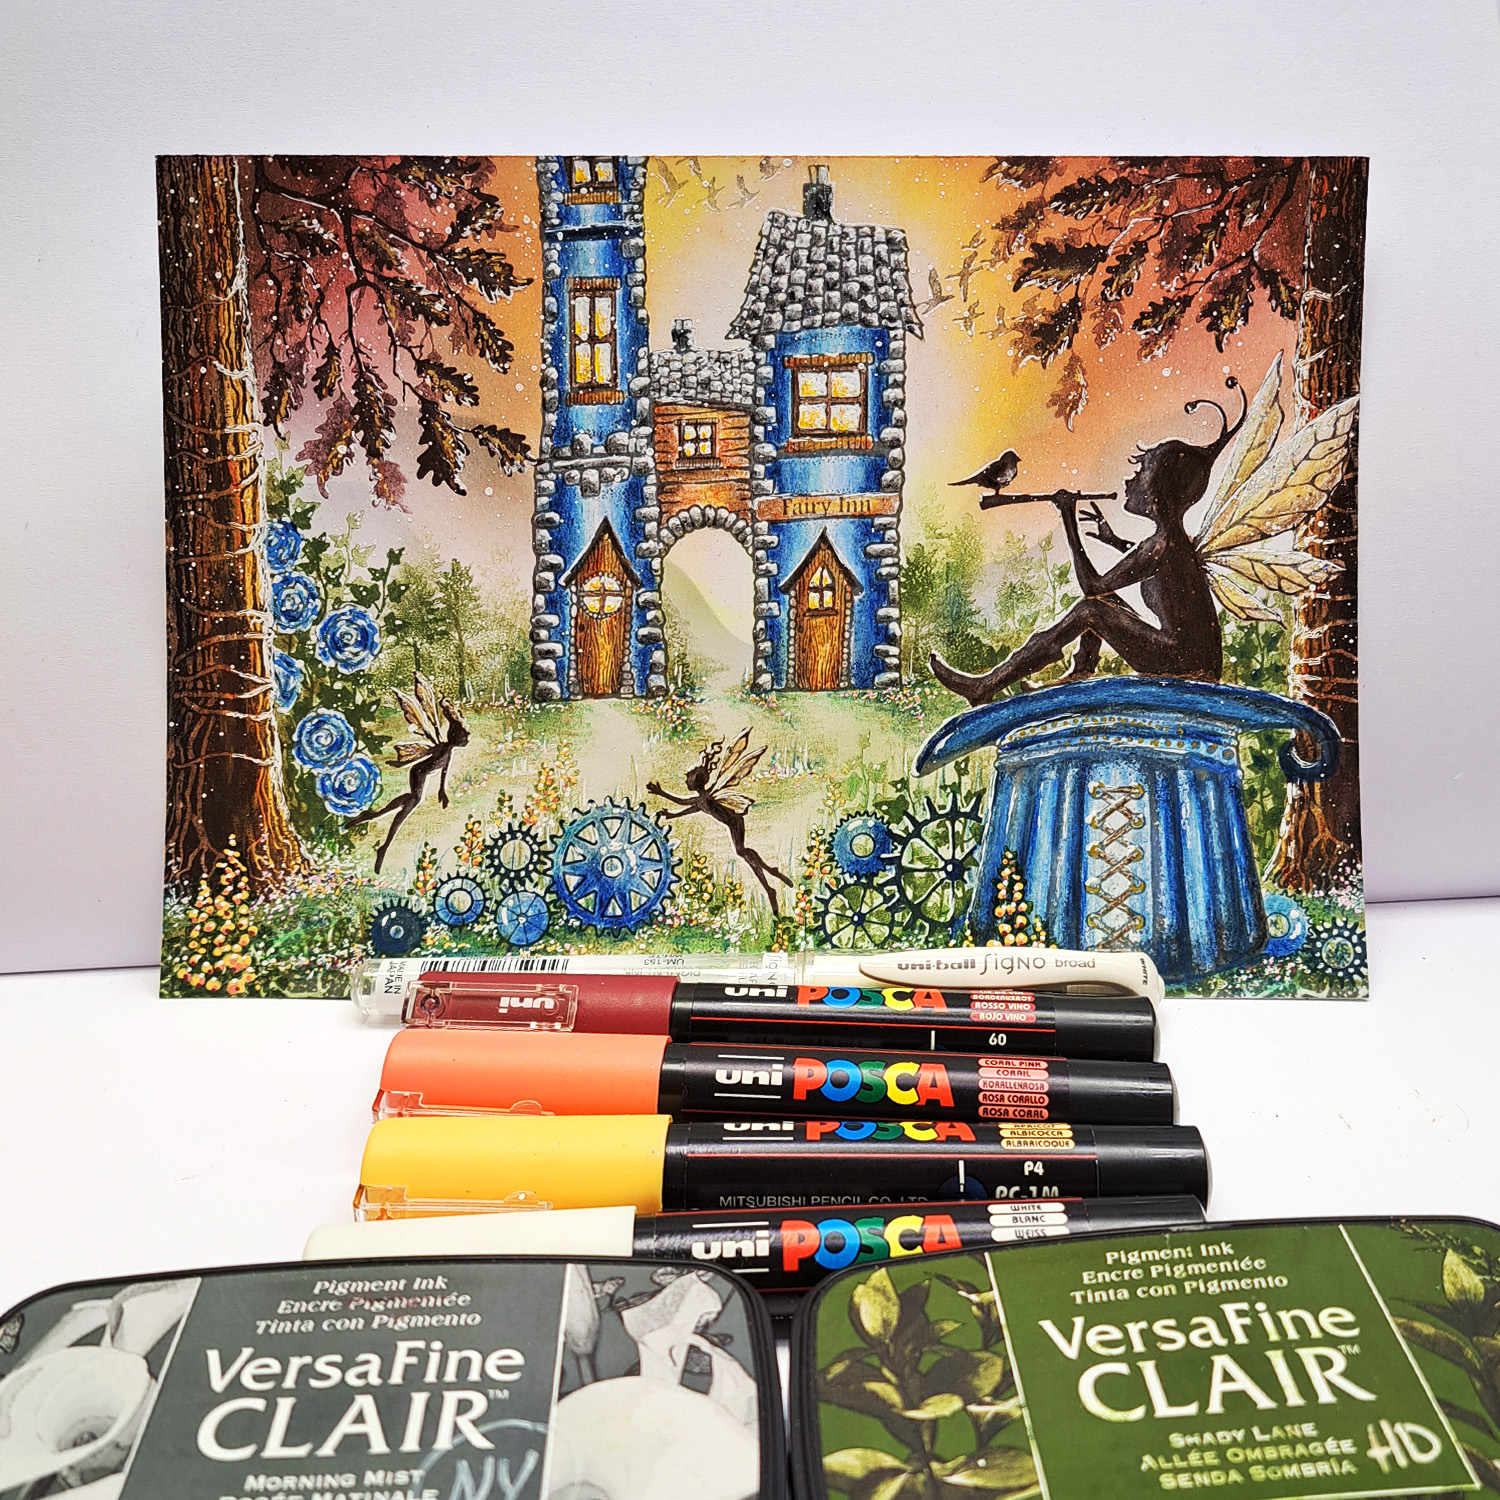
Step by Step

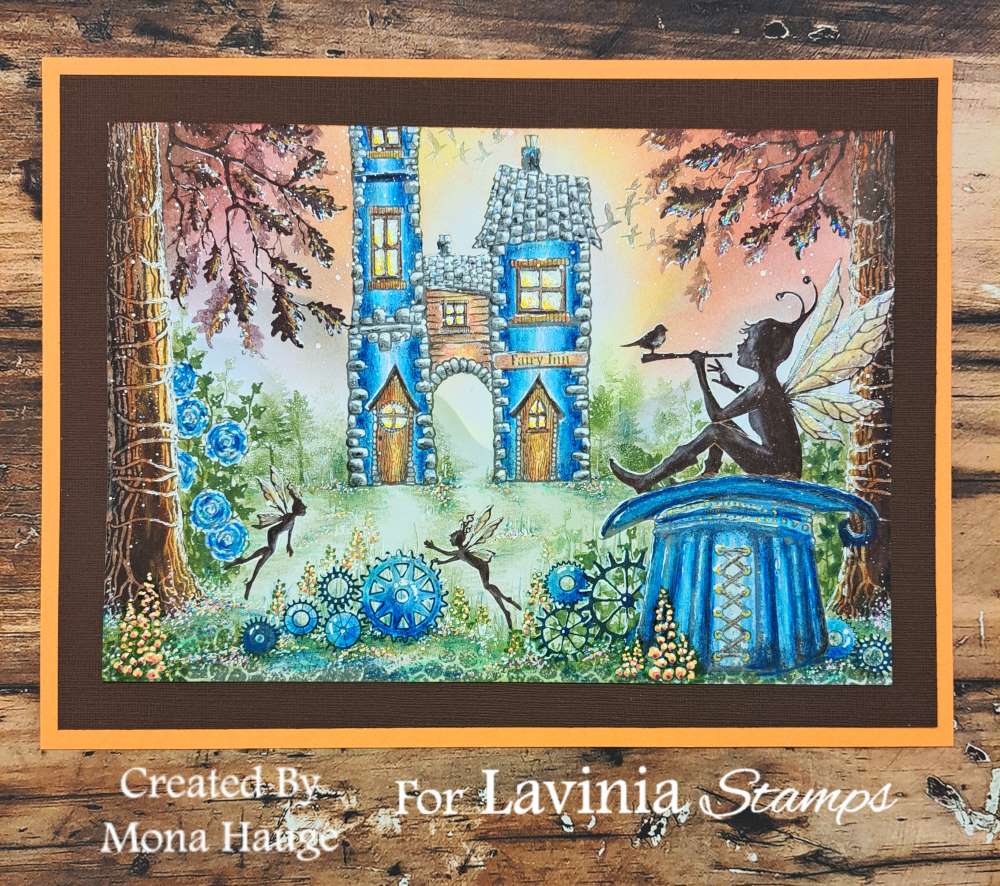
I hope you have enjoyed this tutorial.
I’d love to see all your recreations of this make.
Happy Crafting! Mona.


I hope you have enjoyed this tutorial.
I’d love to see all your recreations of this make.
Happy Crafting! Mona.
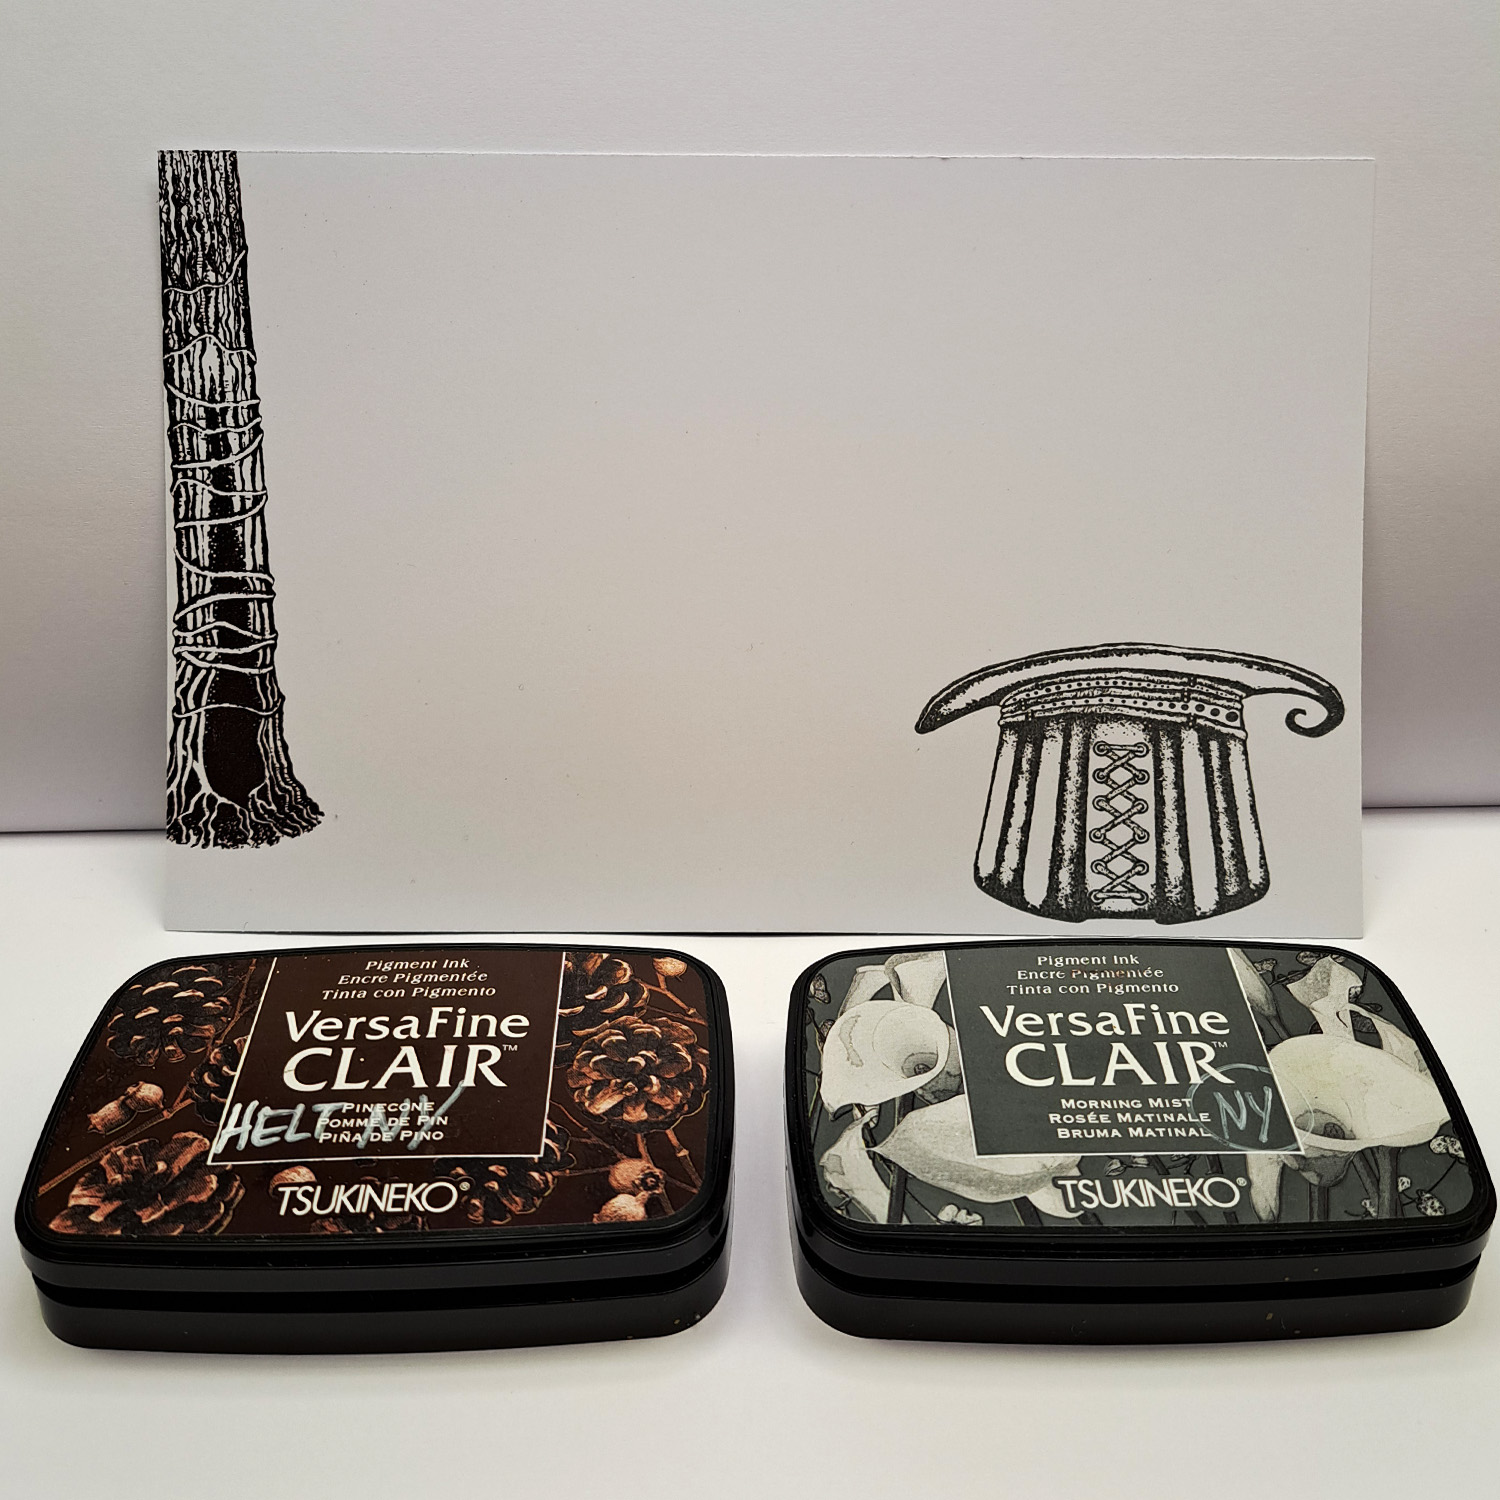
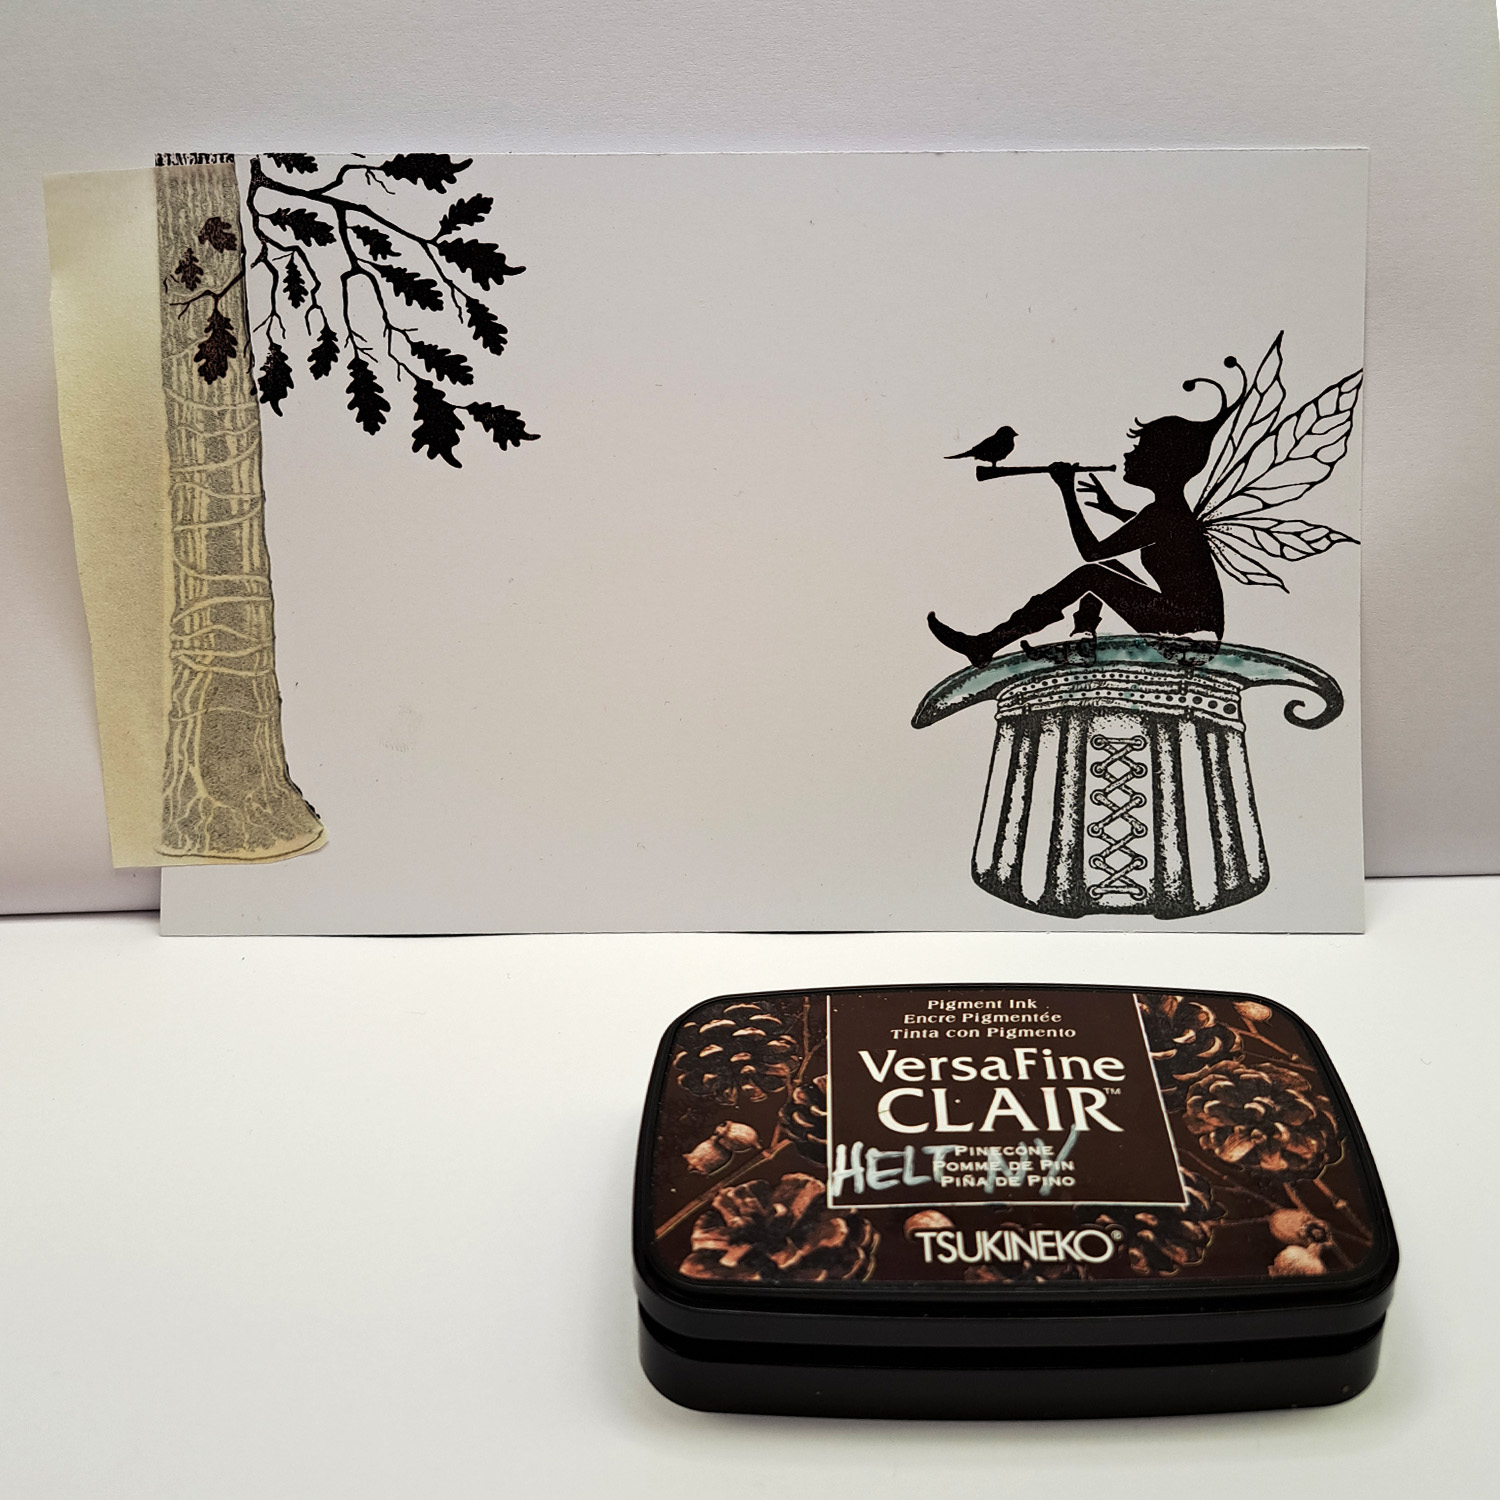
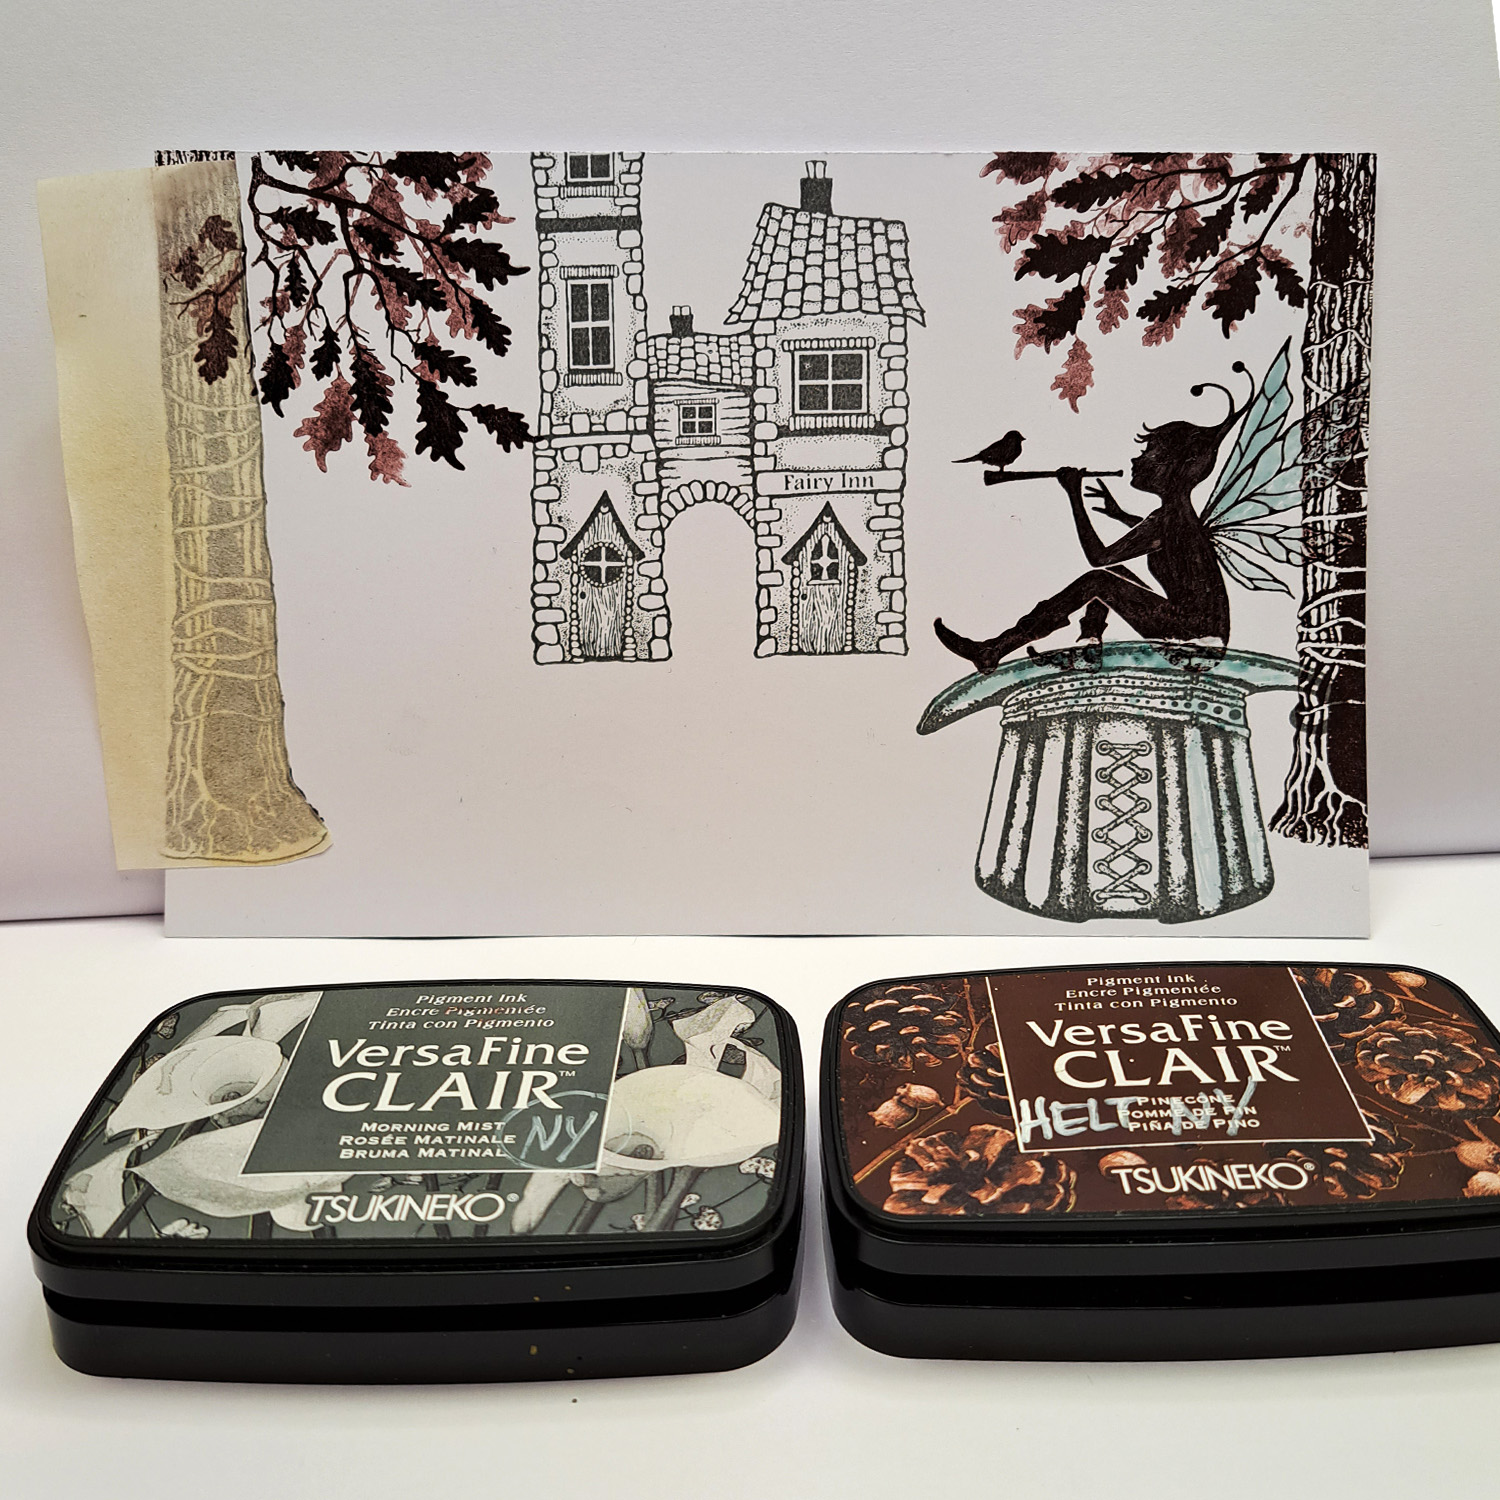
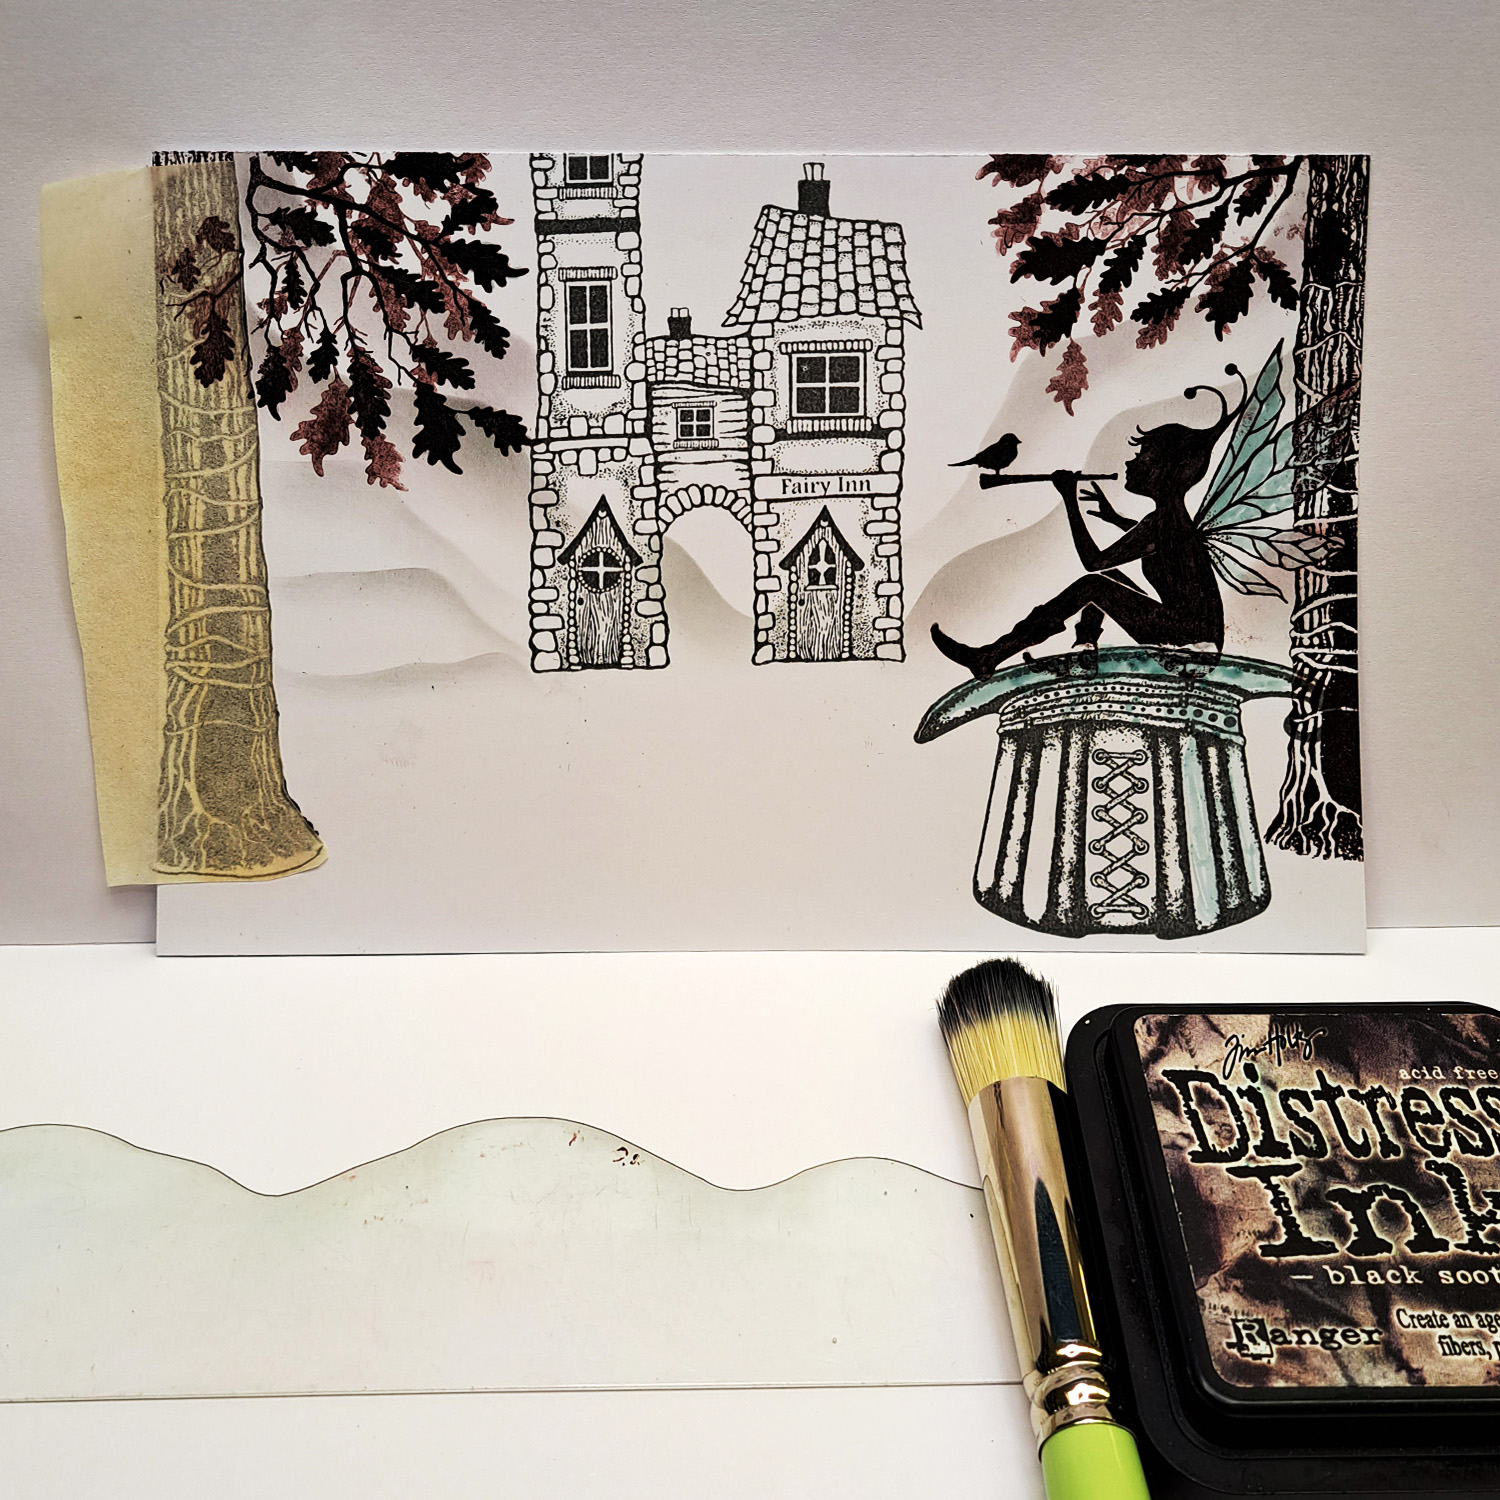
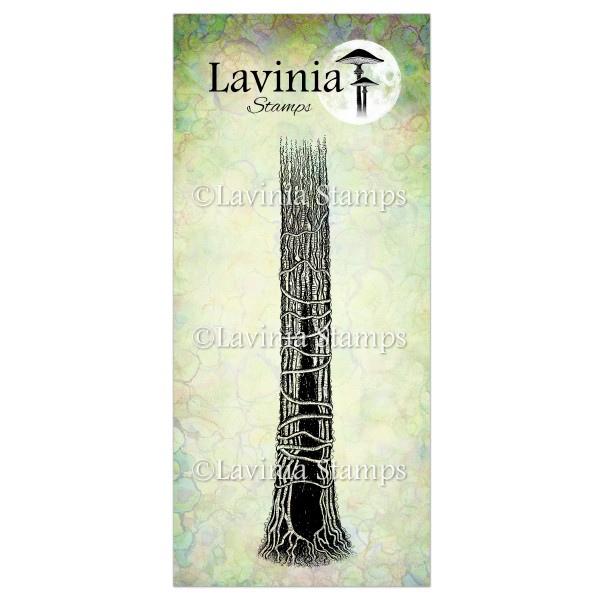 Tree Den Stamp
£8.65
Add to basket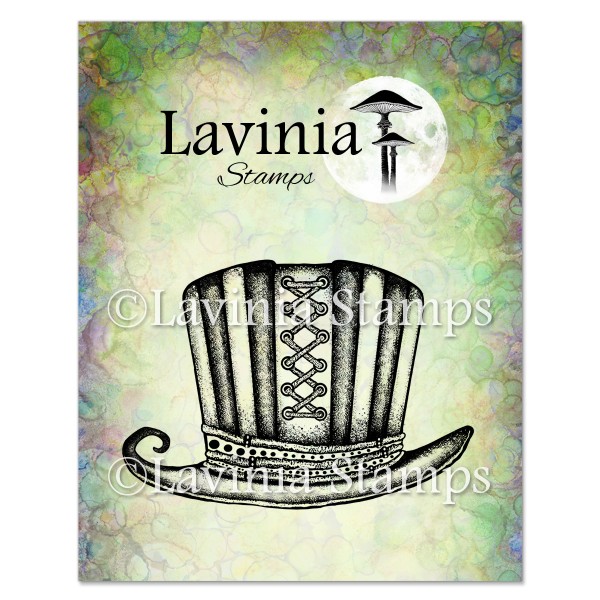 Topper Stamp
£7.50
Add to basket Sky Stamp
£7.70
Add to basket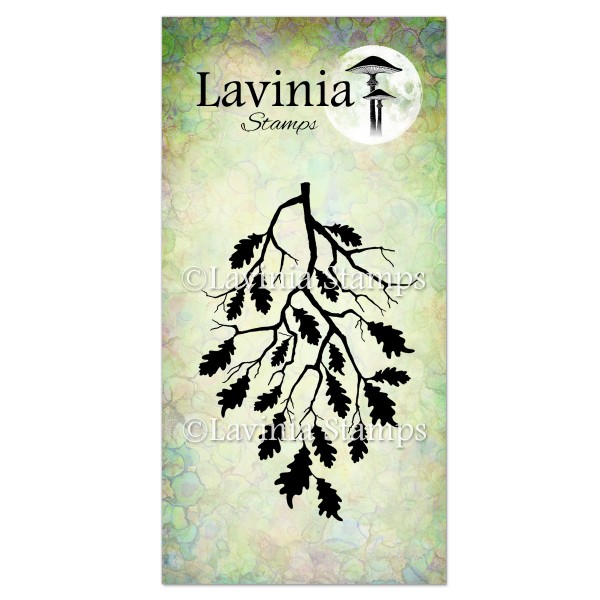 Oak Leaf Branch Stamp
£8.30
Add to basket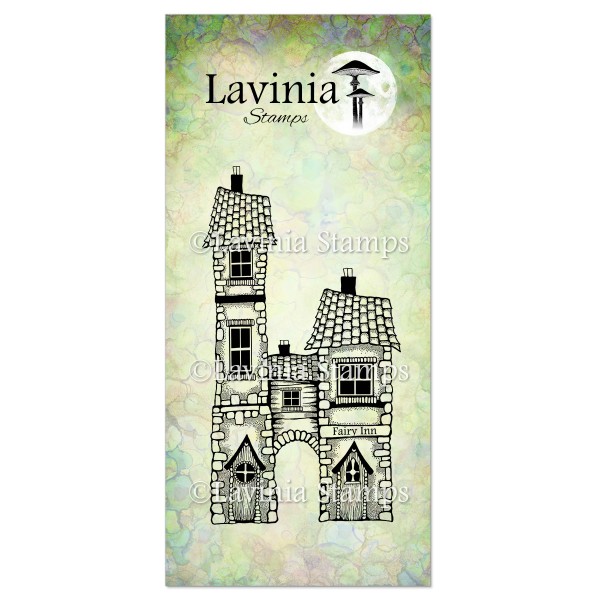 Fairy Inn Stamp
£12.40
Add to basket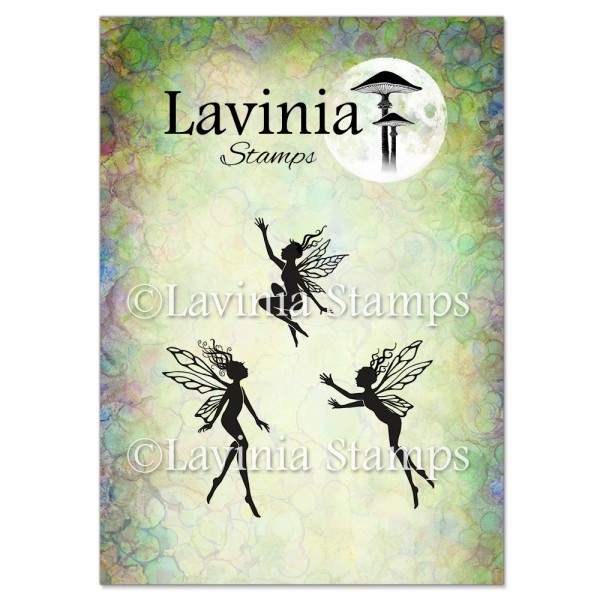 Three Dancing Fairies Stamp
£7.70
Add to basket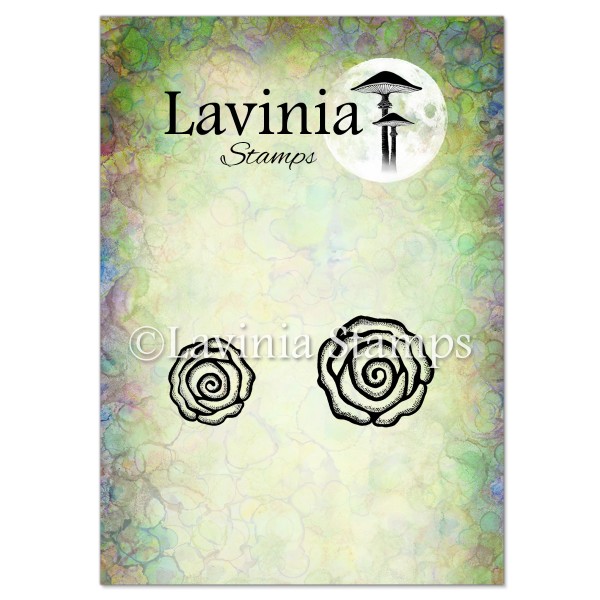 Rose Set Stamp
£3.60
Add to basket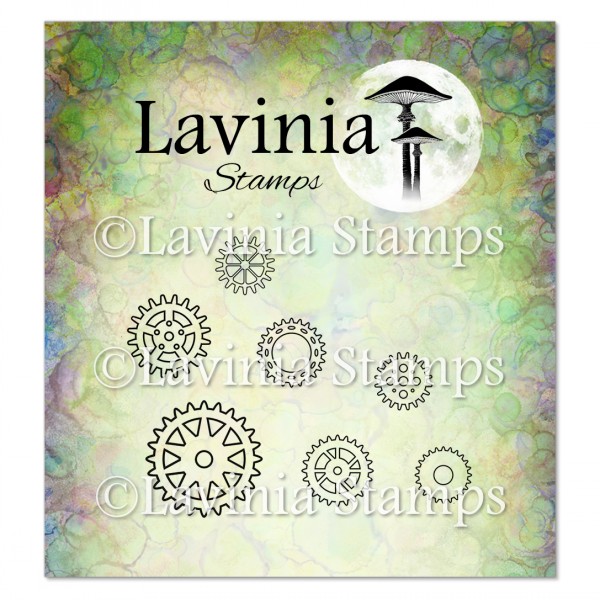 Cog Set 1 Stamp
£3.65
Add to basket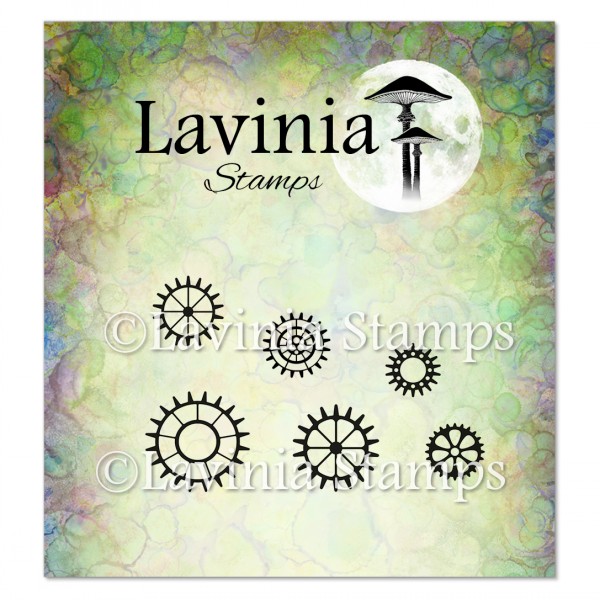 Cog Set 2 Stamp
£4.10
Add to basket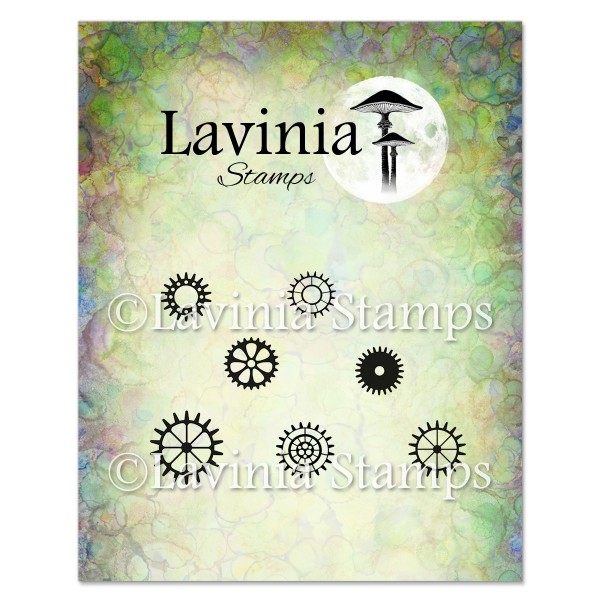 Cog Set 3 Stamp
£3.30
Read more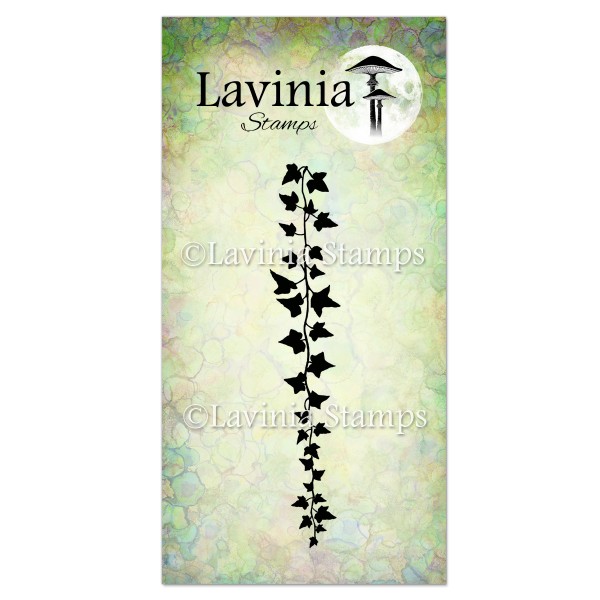 Falling Ivy Stamp
£6.30
Add to basket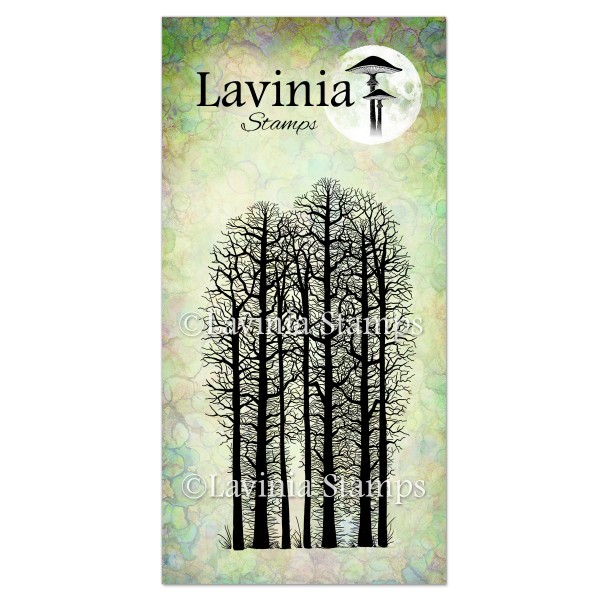 Forest Scene Stamp
£8.40
Add to basket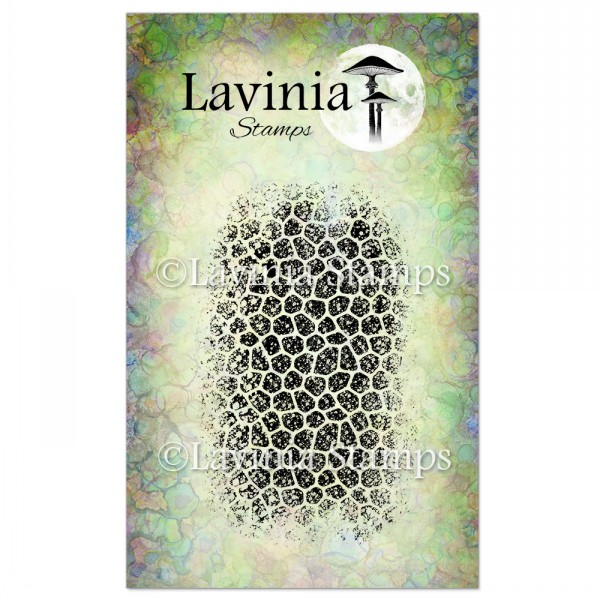 Texture 3 Stamp
£3.65
Add to basket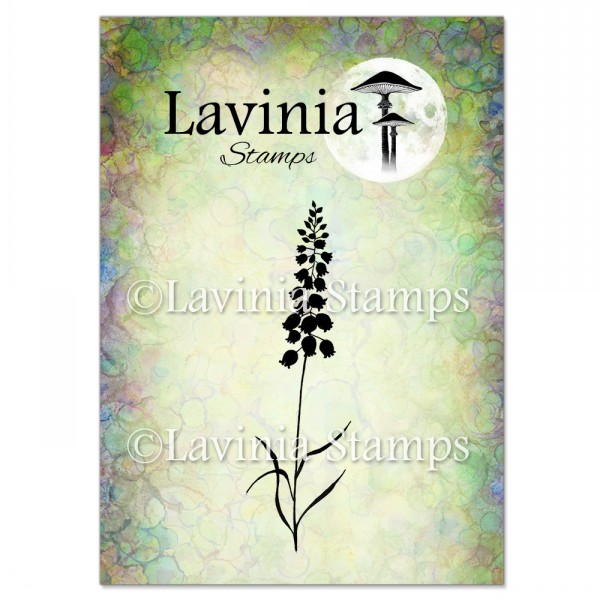 Bluebells Stamp
£6.10
Add to basket Versafine Clair Ink Pad – Pinecone
£6.10
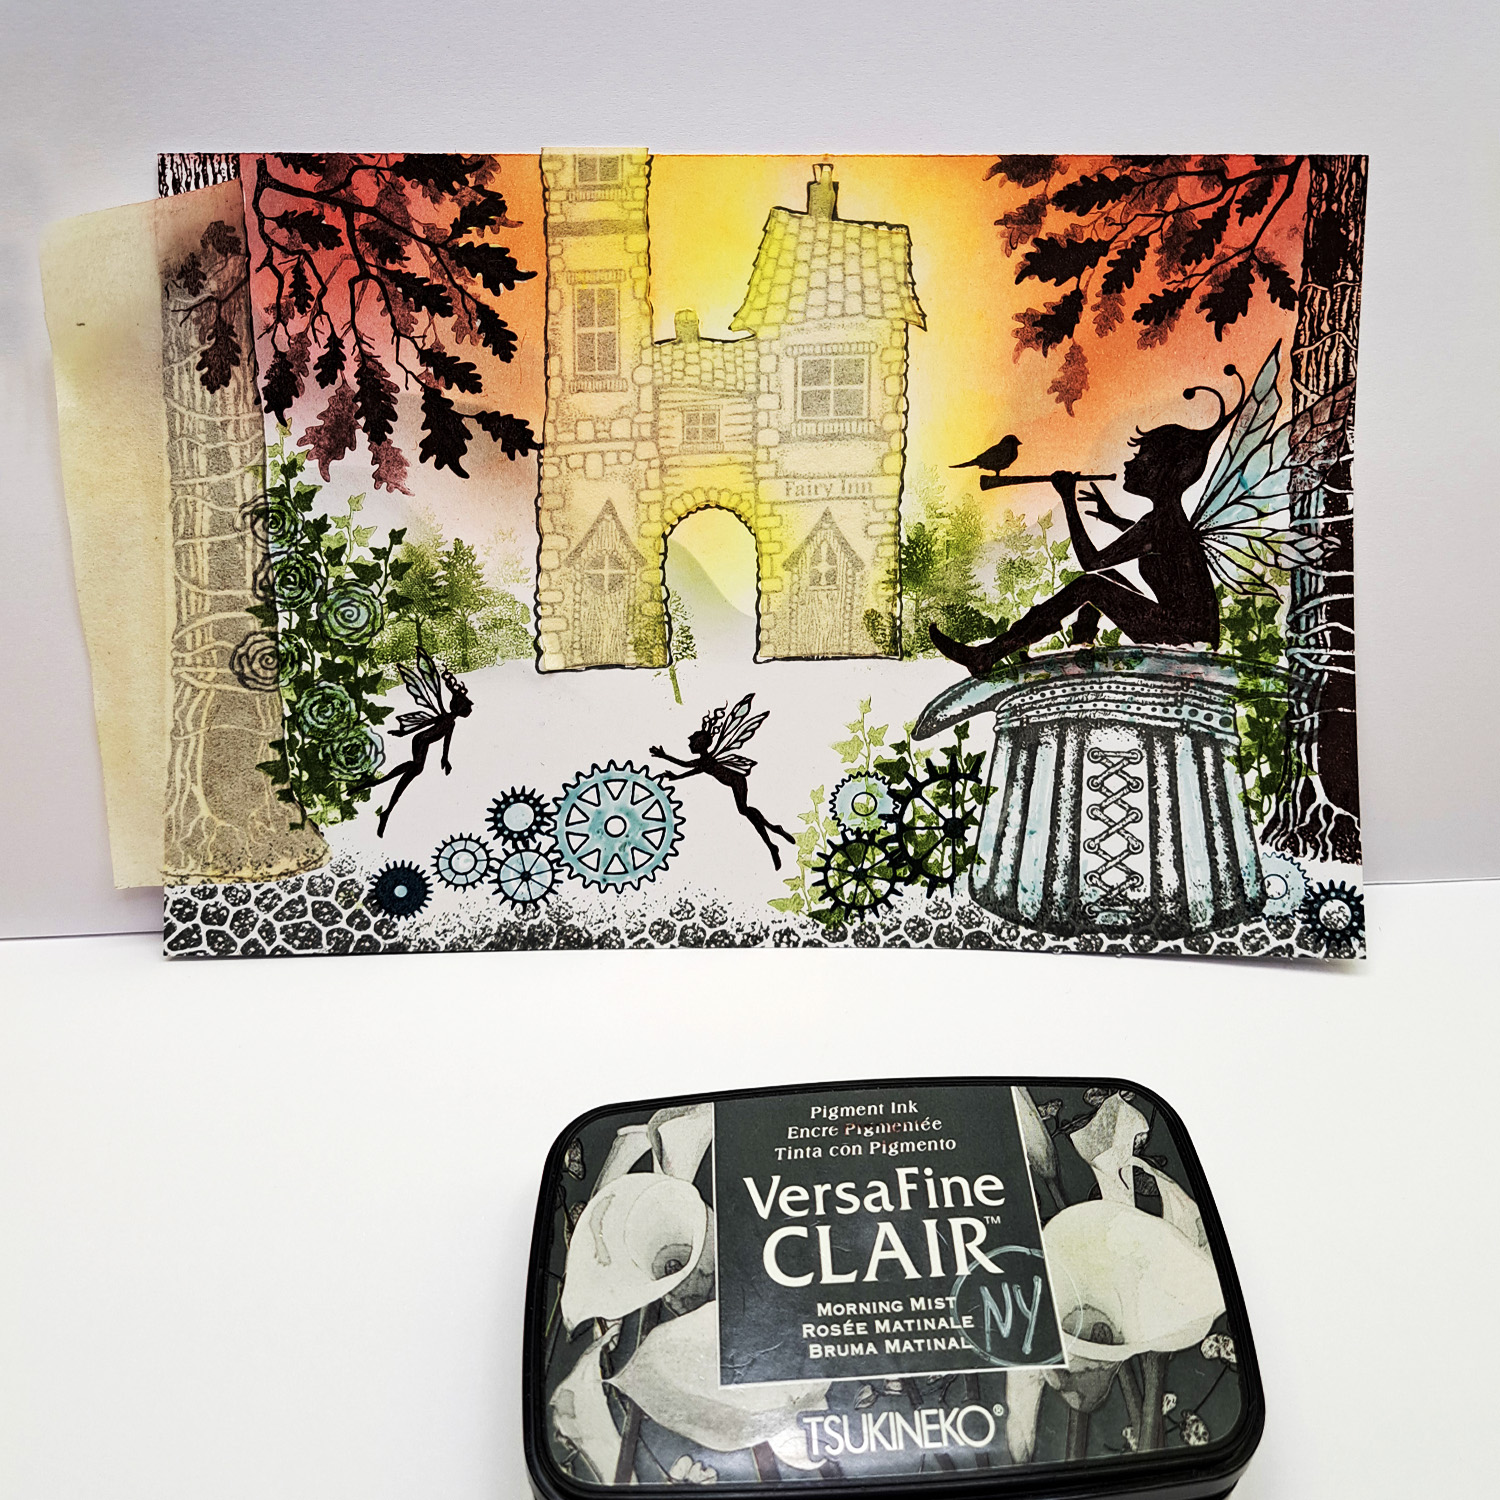
Add to basket Versafine Clair Ink Pad – Morning Mist
£6.10
Add to basket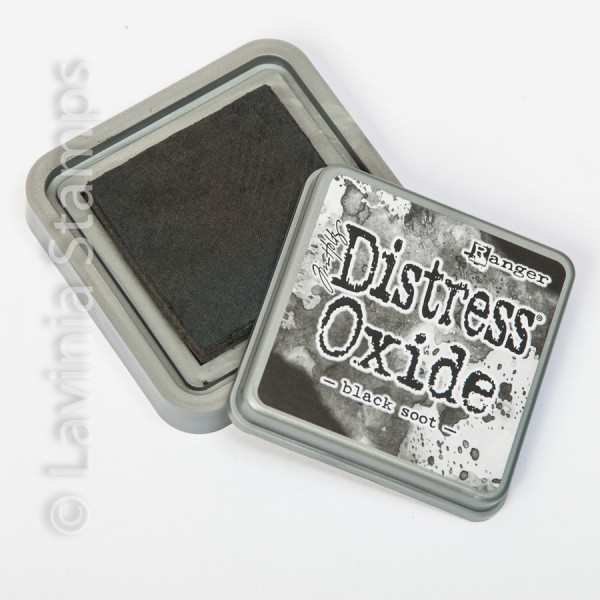 Distress Oxide Ink Pad – Black Soot
£6.60
Add to basket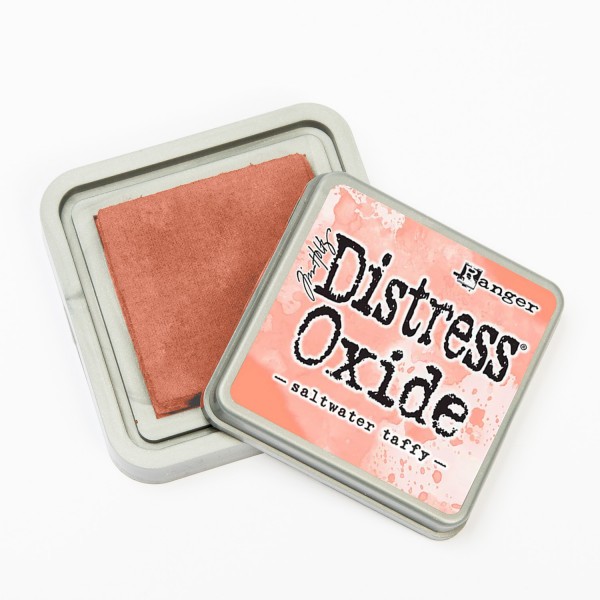 Distress Oxide Ink Pad – Saltwater Taffy
£6.60
Add to basket PanPastels – Diarylide Yellow
£9.80
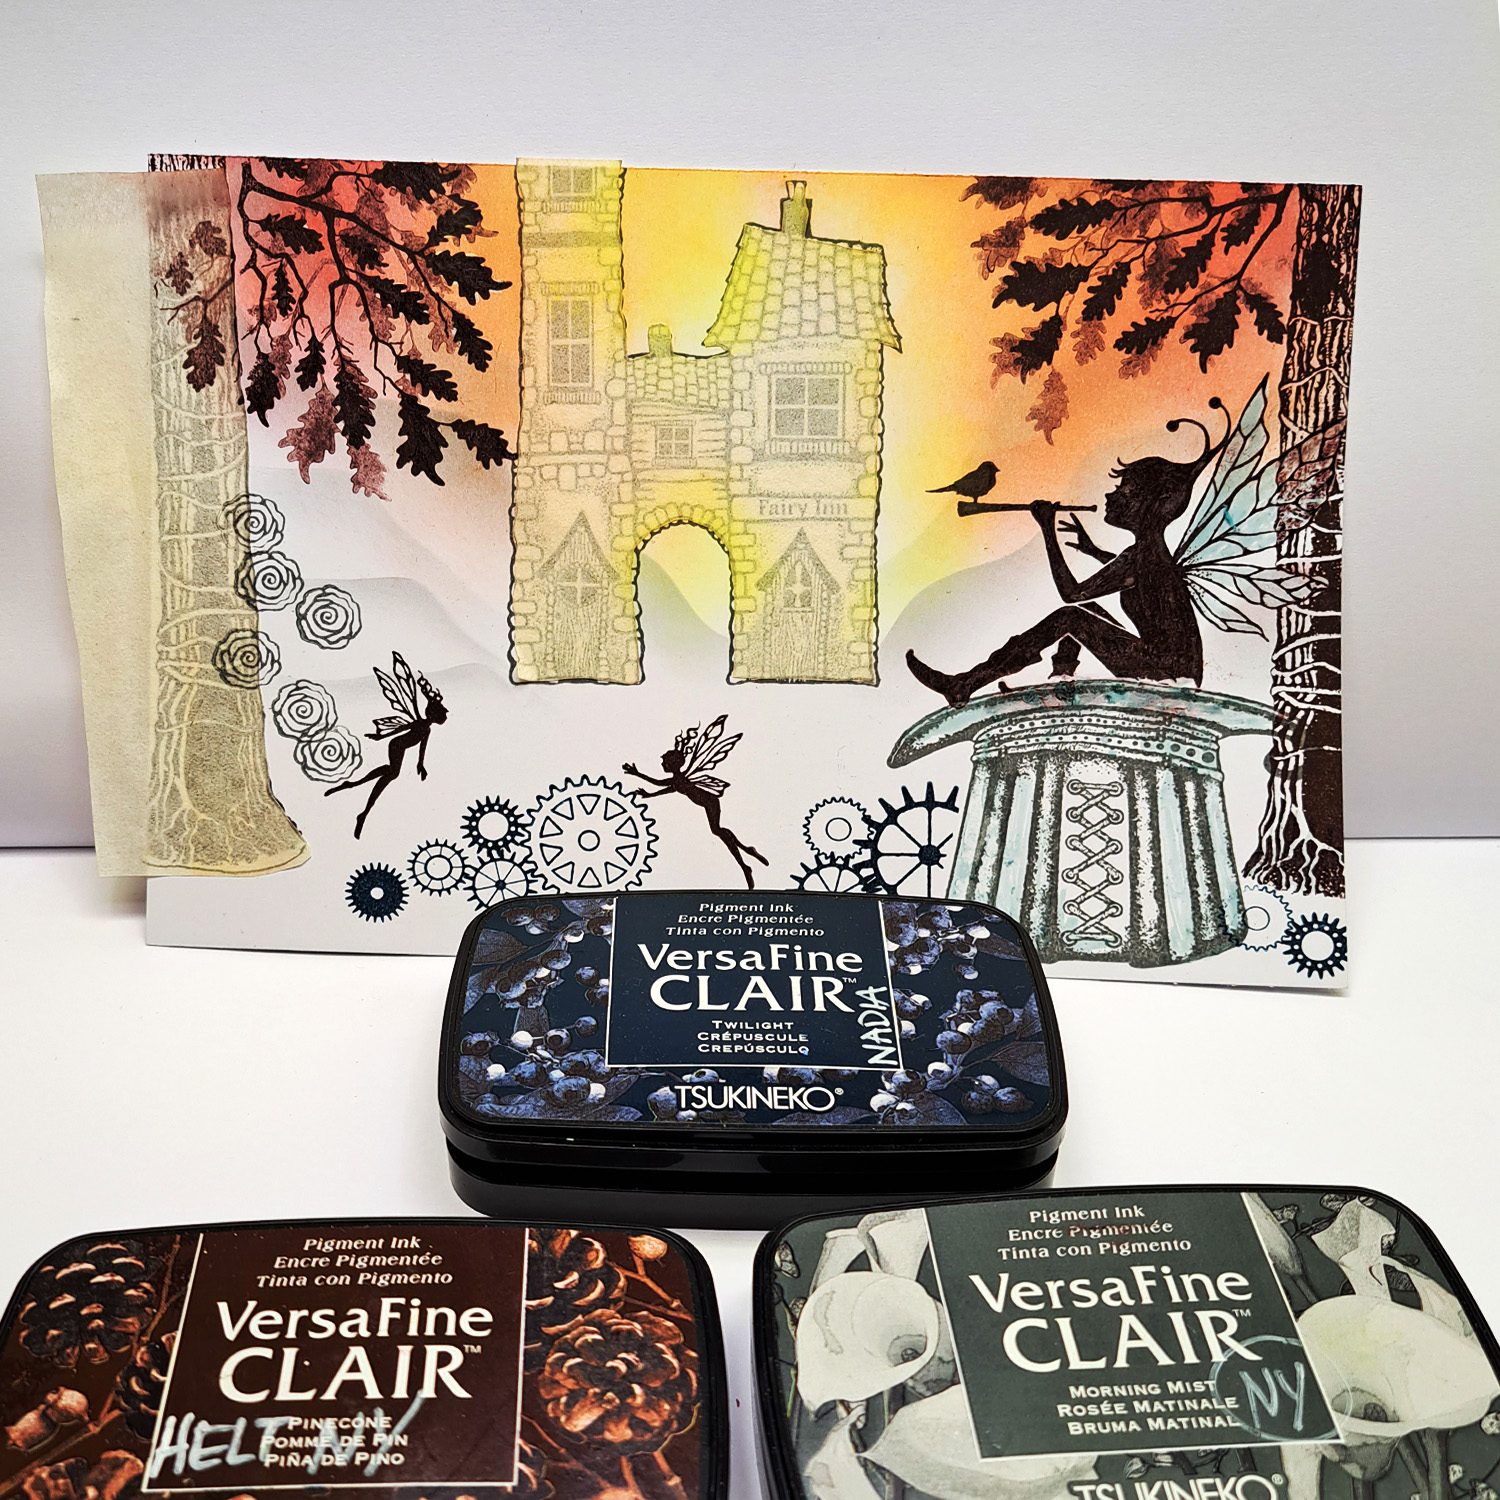
Add to basket Versafine Clair Ink Pad – Twilight
£6.10
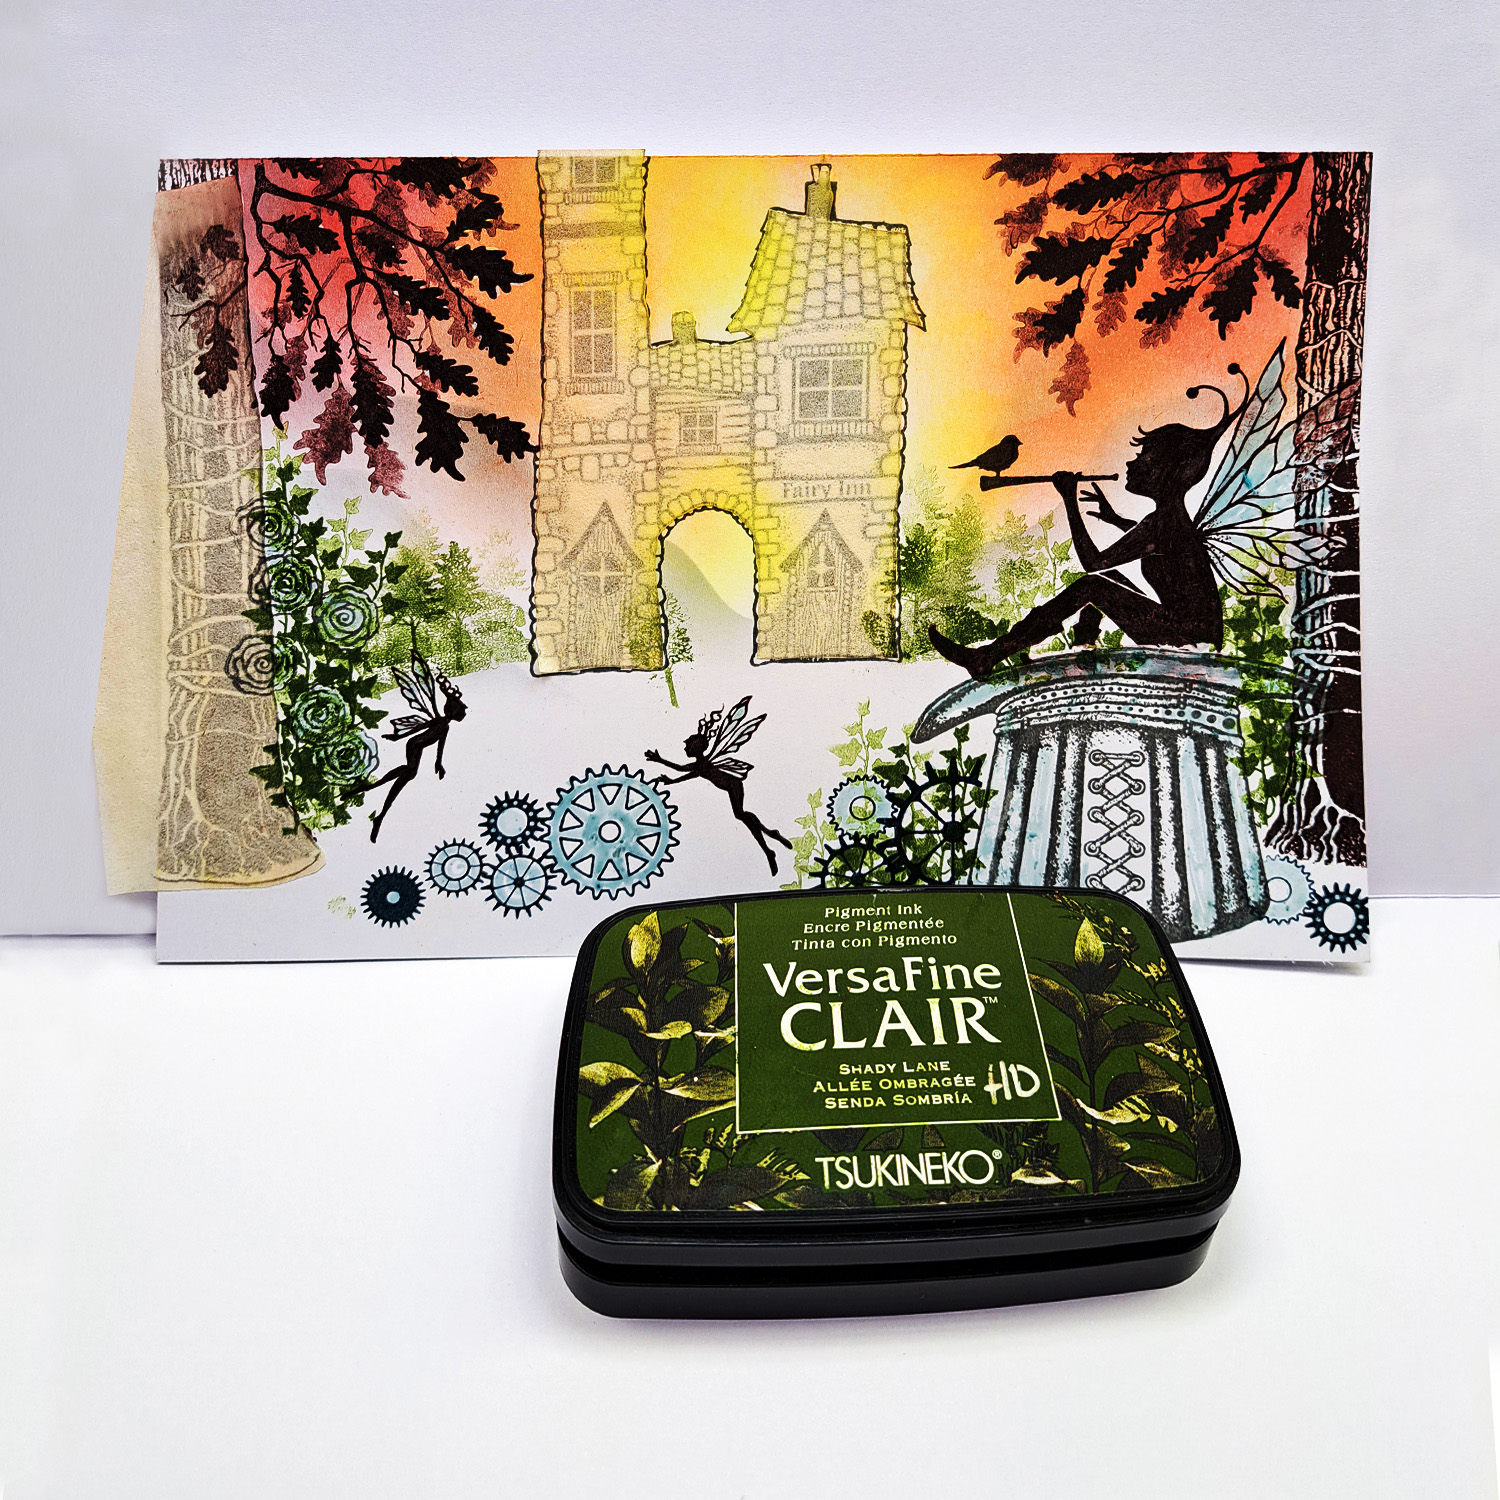
Add to basket Versafine Clair Ink Pad – Shady Lane
£6.10
Add to basket Elements Premium Dye Ink – Olive
£6.16
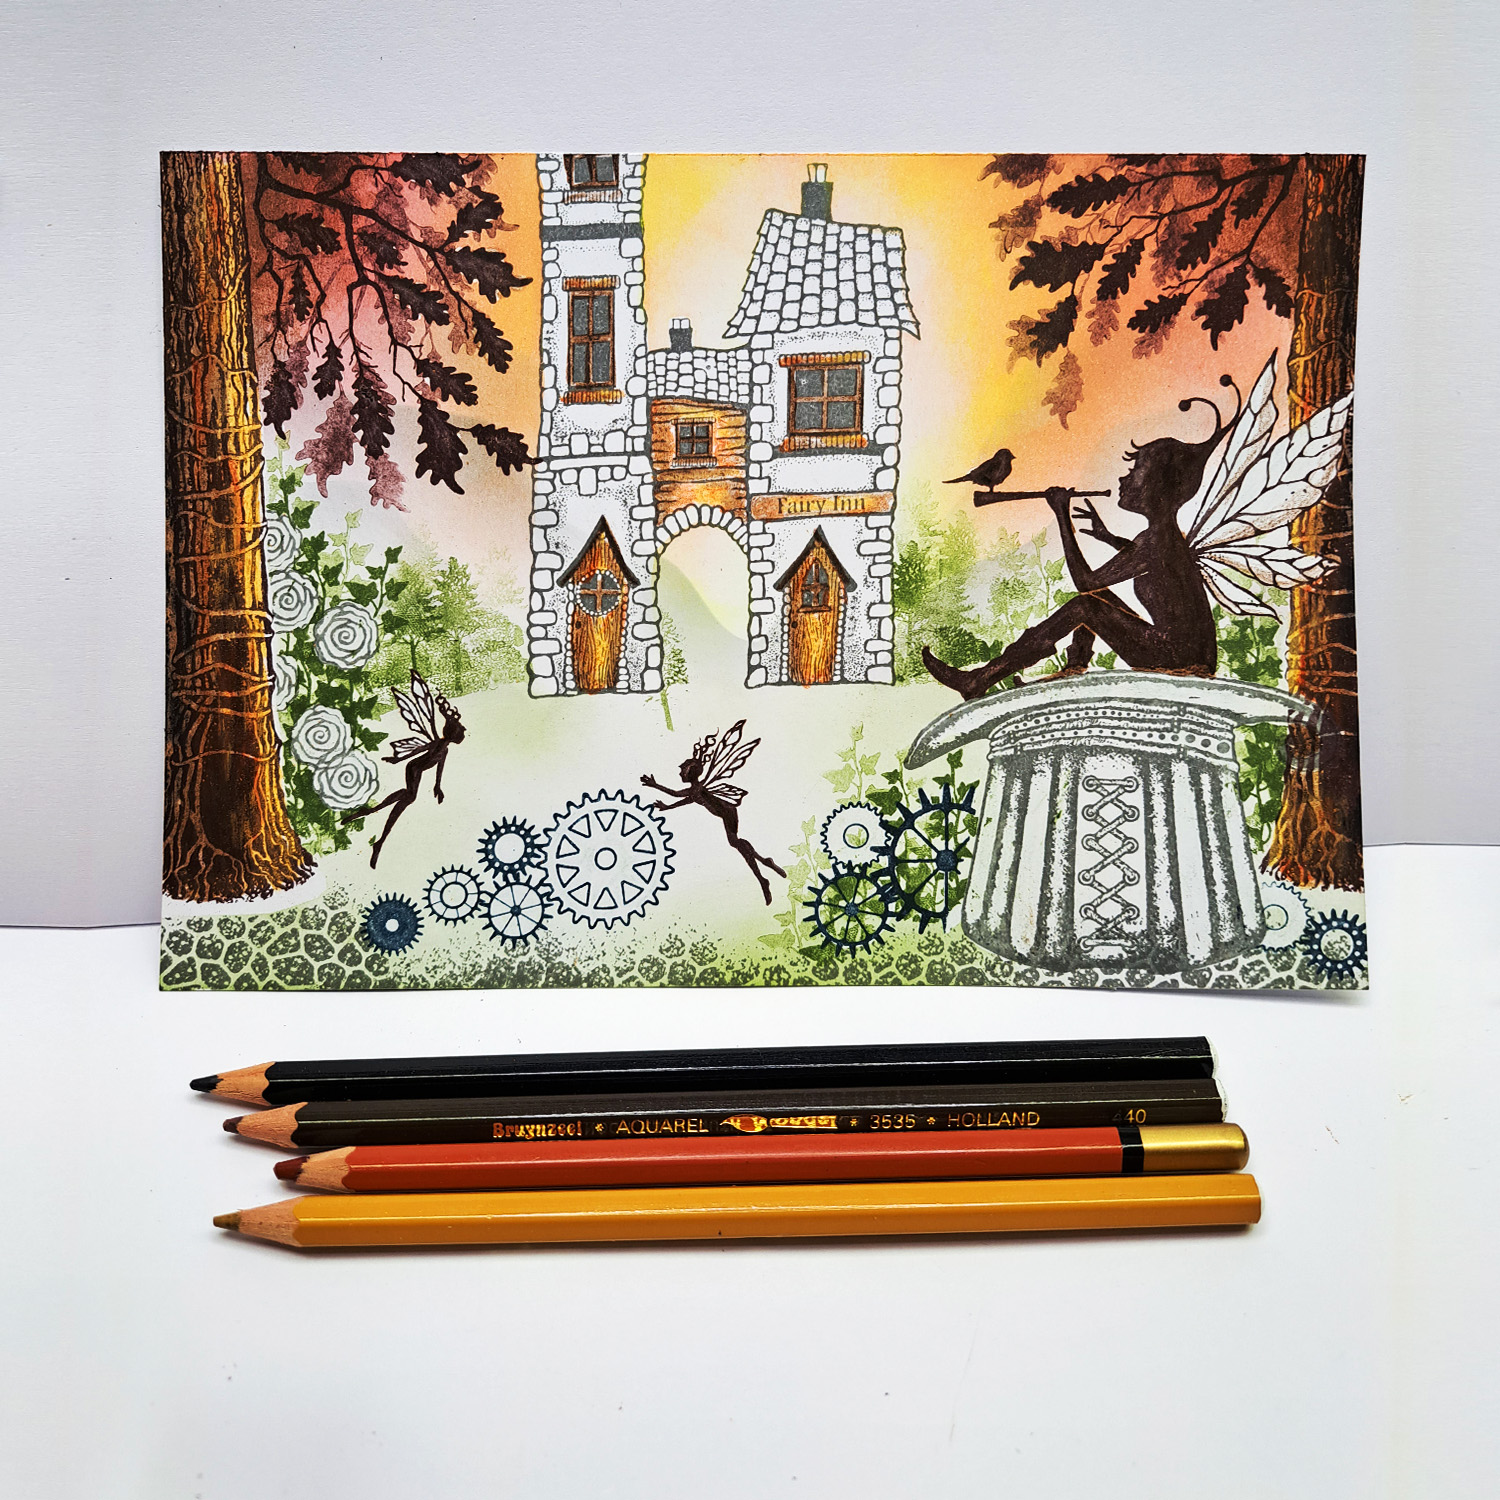
Add to basket Expression Watercolour Pencils | 24 Colours
£21.00
Add to basket Posca Fine Tip Pens Spring Collection
£3.20
Select options Posca Fine Tip Pens Summer Collection
£3.20
Select options