Step by Step by Tina Ashton
Hello, It’s Tina here with a cheerful Step-By-Step Tutorial called “The Garden Swing”. I hope you enjoy it. 🧚♀️
Step 1.
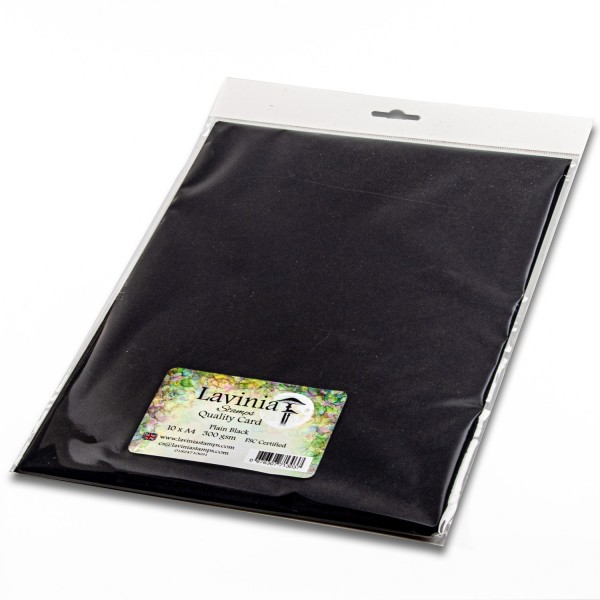
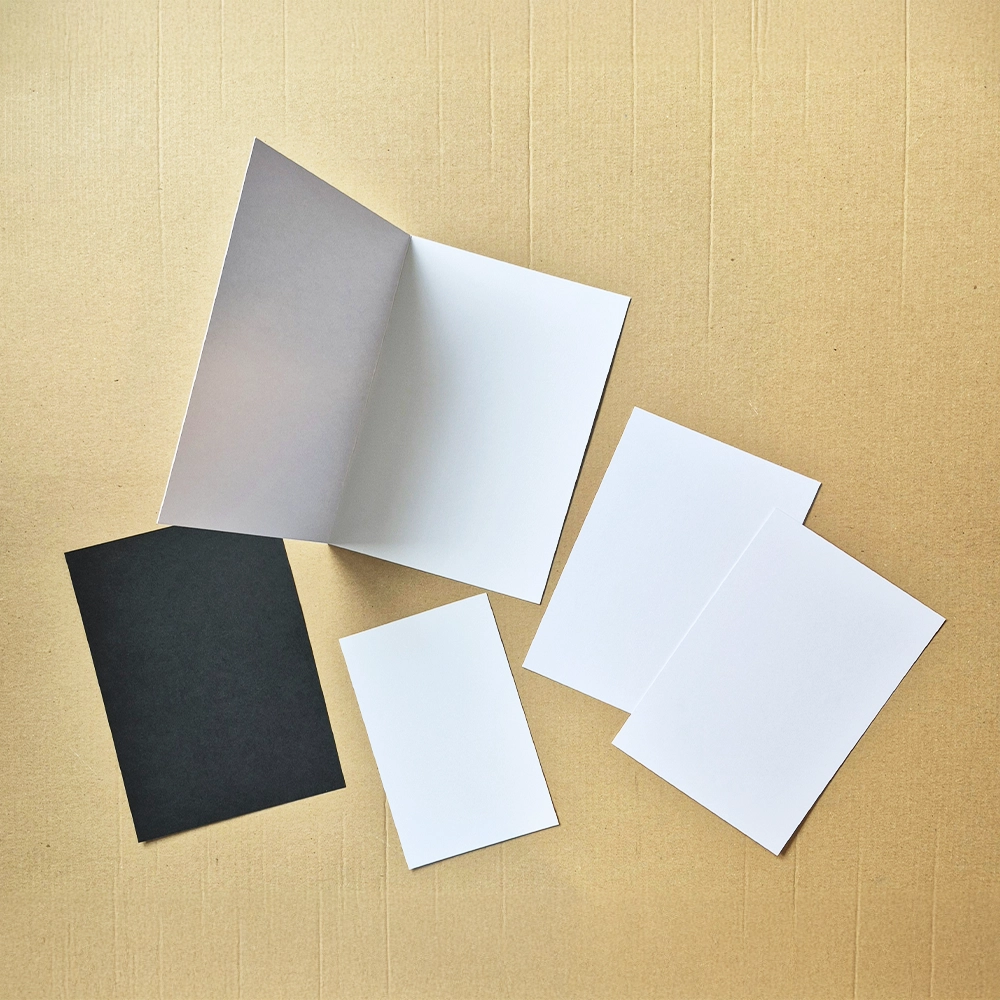
Gather the following: 1 of 7” x 5” blank white greetings card, 2 of 16 cm x 11 cm White Multifarious Card, 1 of 17 cm x 12 cm black card. Plus, one scrap piece of white multifarious card approximately 14 cm x 9 cm.
Step 2.
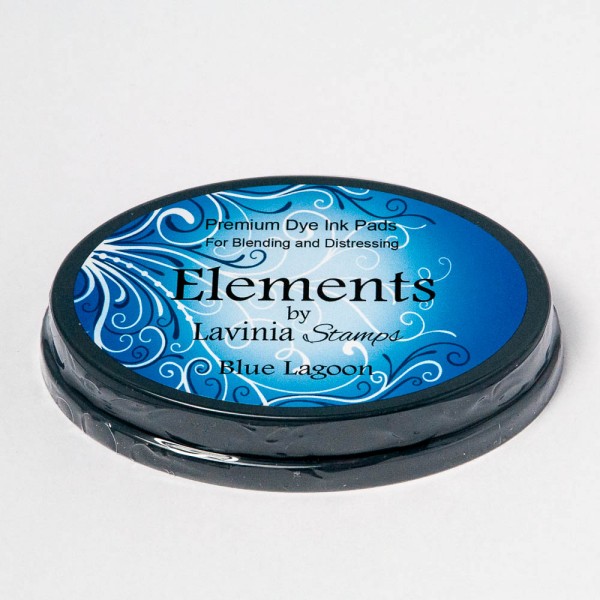
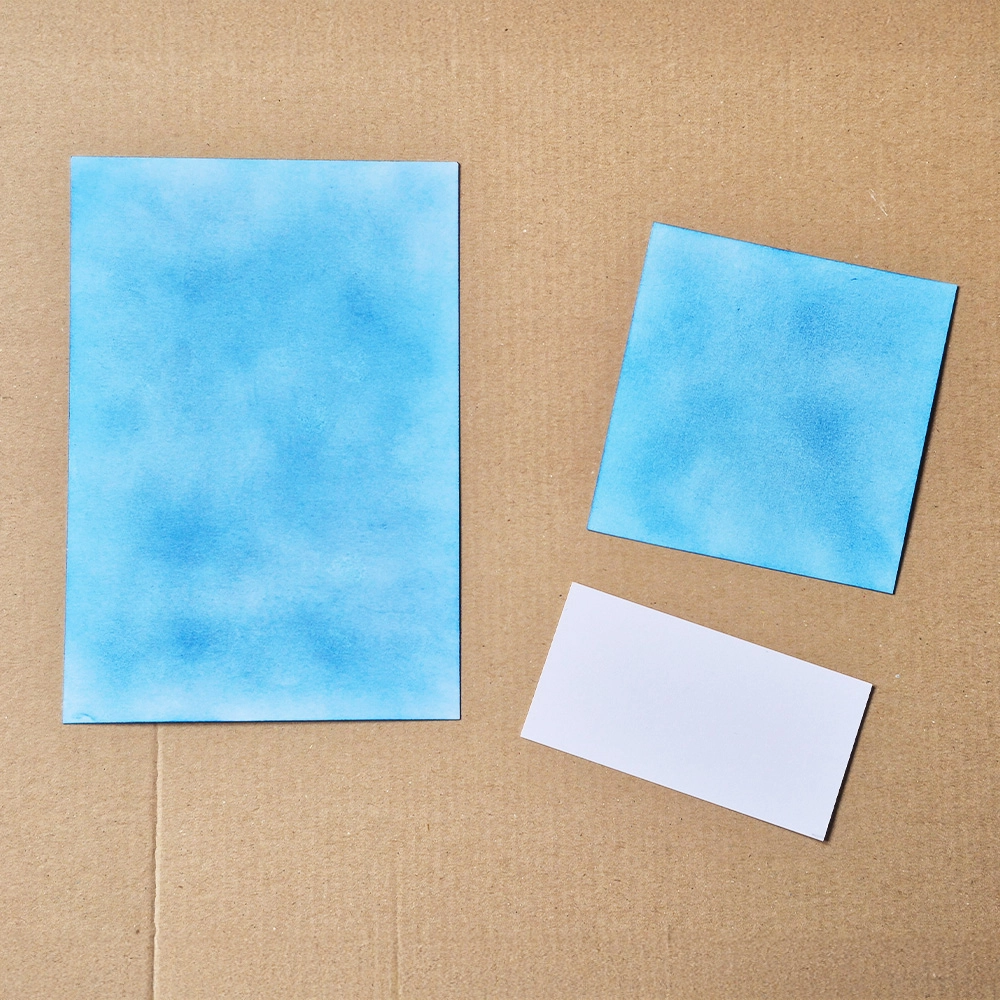
Cut the piece of scrap card into one length of 9 cm x 9 cm. Using the Elements Ink Blue Lagoon brush on a blue background with a Stencil brush series 9. Do the same with one of the 16 cm x 11 cm multifarious cards also in the same Blue Lagoon.
Step 3.
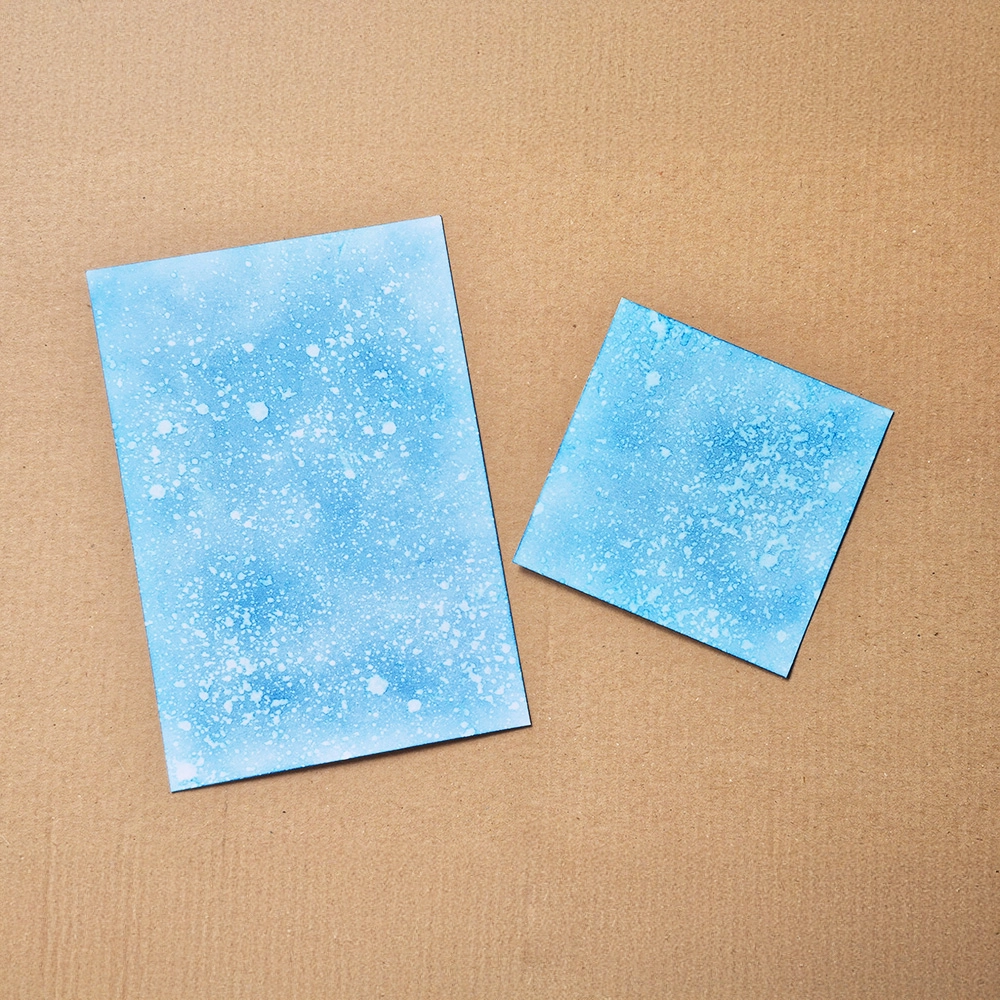
For both of the cards that we have coloured in blue inked cards spray them with some water, or splash with a fan brush and dab off with some kitchen paper to create a distressed look.
Step 4.
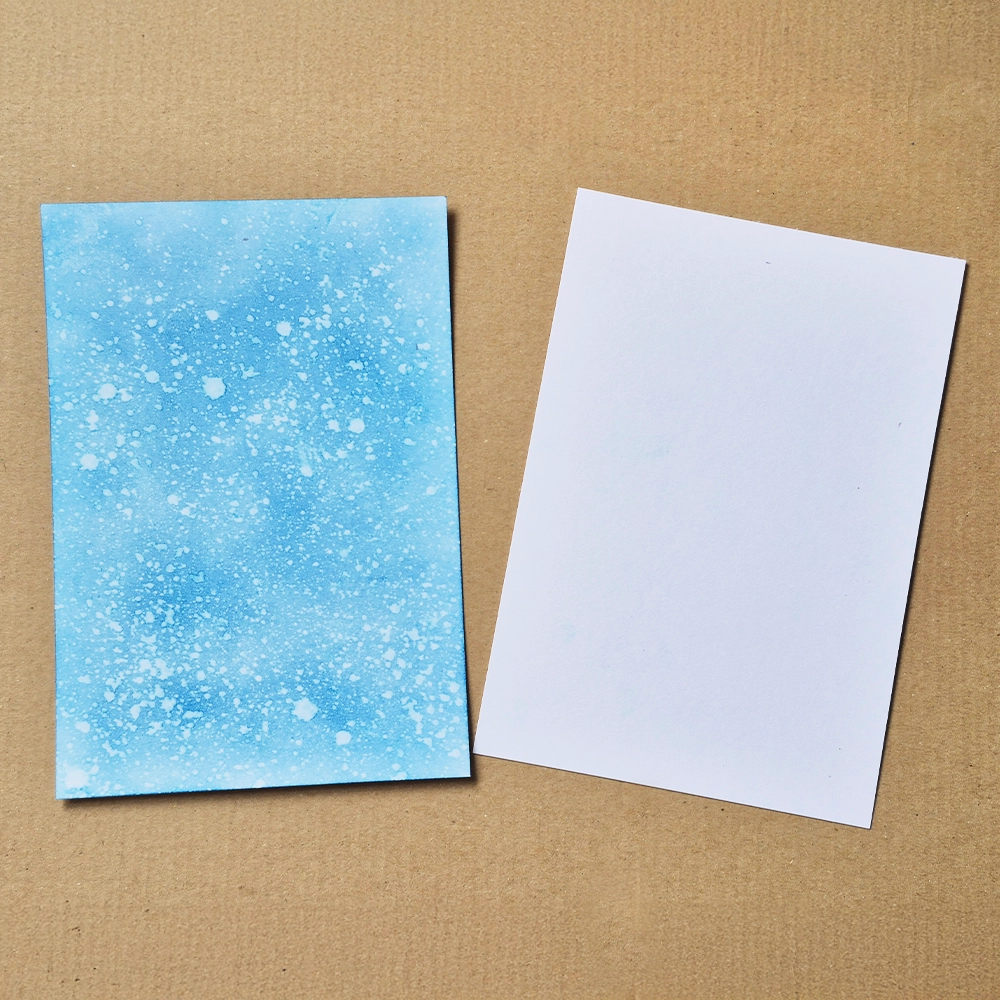
On both the white multifarious 16 x 11 cm card and the blue inked card of the same size, make a light pencil mark central and to the top of the cards 1 cm down. Make another mark on the right side of the cards 1 cm in from the edge. This will be a guide for placement of our tree stamp.

Step 5.
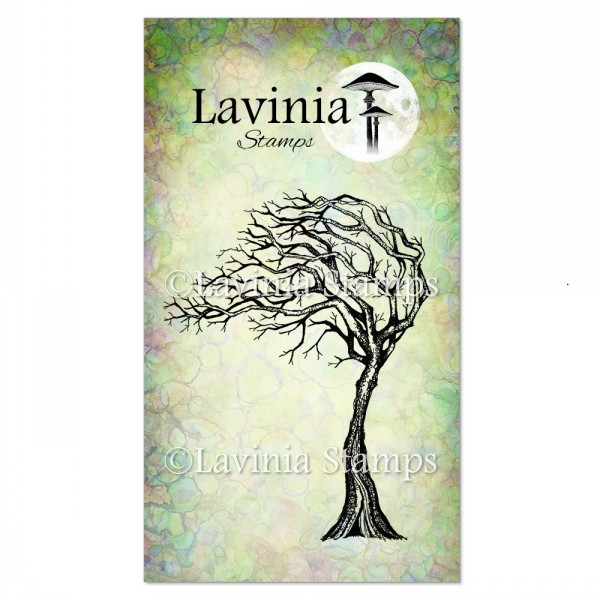
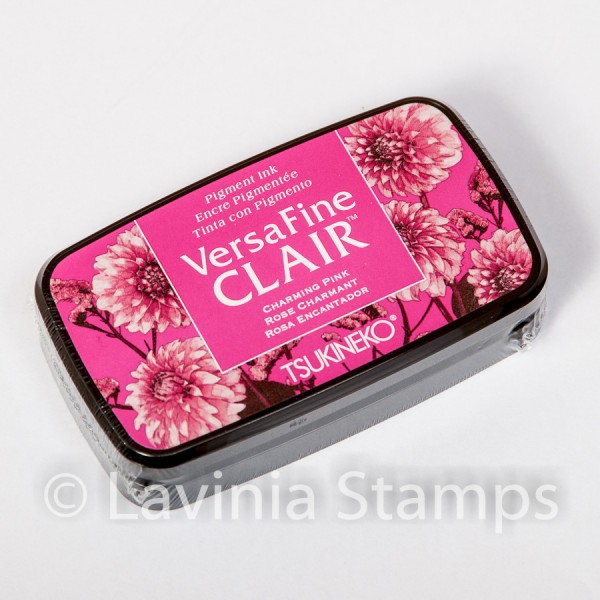
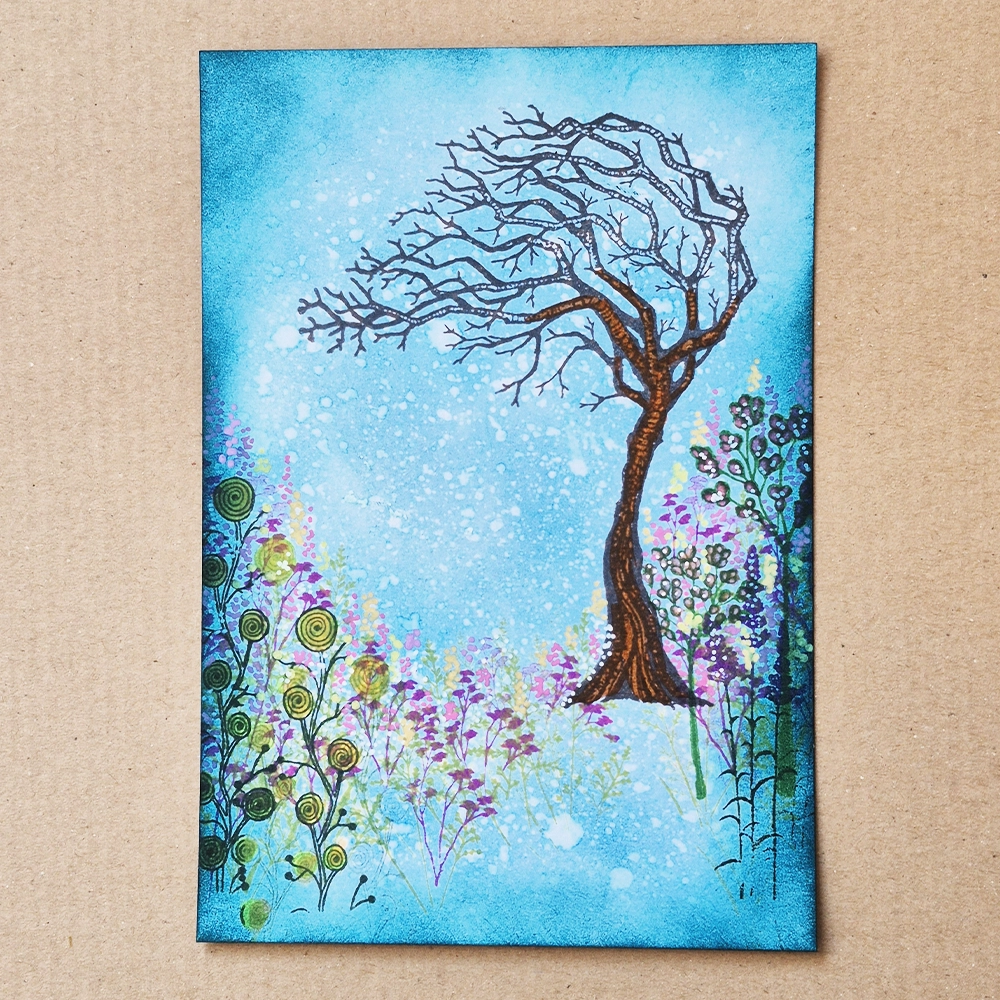
Get your Lavinia Seasonal Tree Stamp and stamp the whole tree in Versafine Clair Fallen Leaves on to the blue inked card 16 x 11 cm. Stamp the top half of the tree only onto the white multifarious card, also in Versafine Clair Fallen Leaves. When stamping these, aim to get them positioned where your pencil marks are situated from Picture 4, 1 cm in on the right and 1 cm down from the top. Once dry, add Elements ink in Blue Lagoon with a brush to the top half of the tree canopy on the white card and use water to distress it as we did in Pictures 2 & 3.
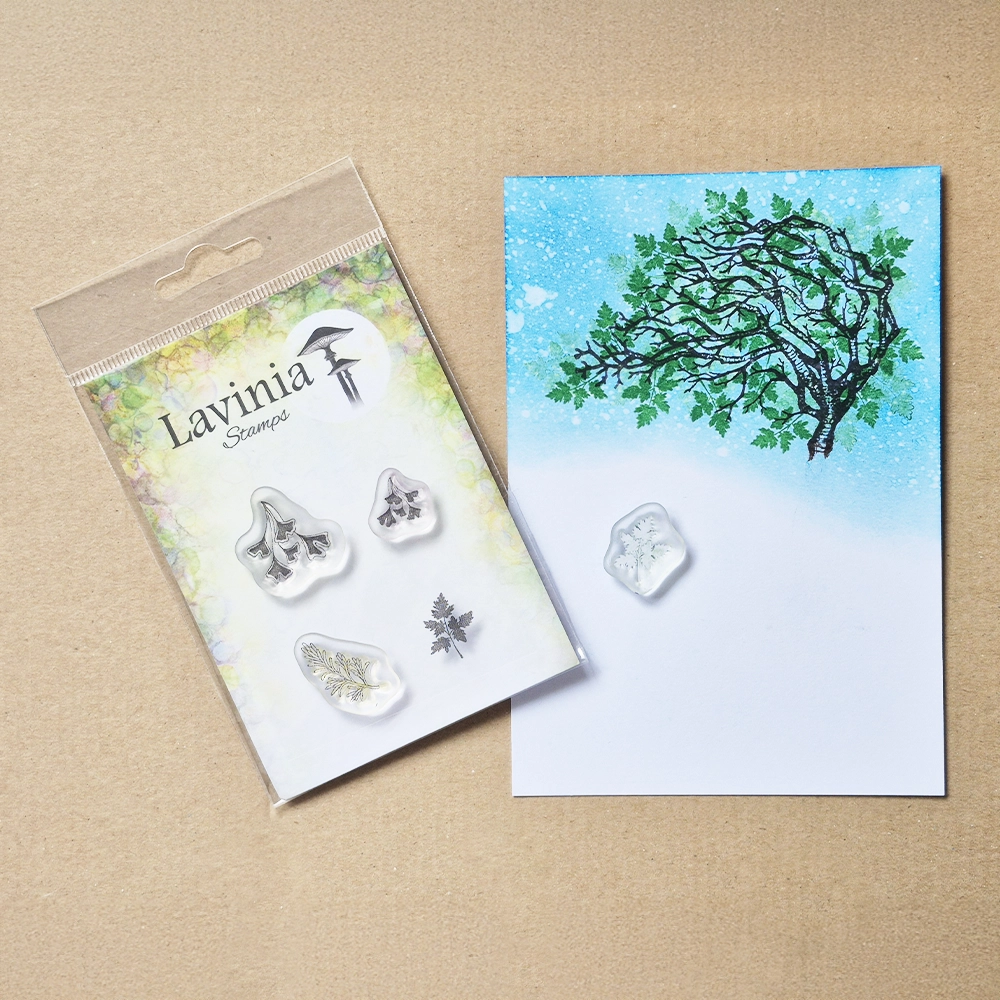
Step 6.
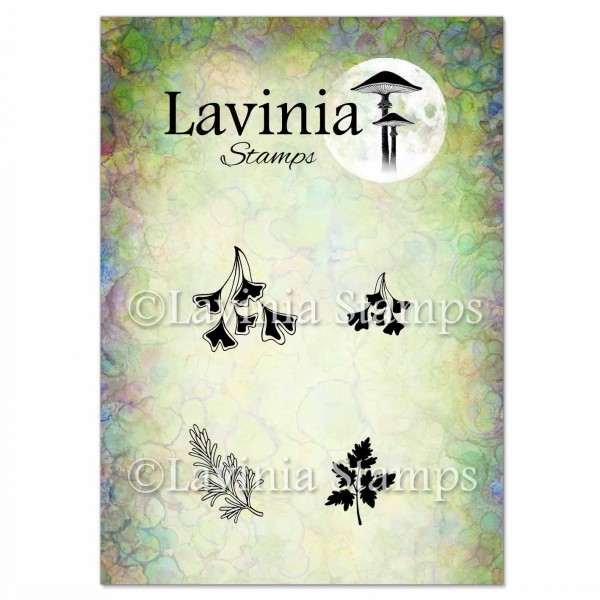
On the card with the tree canopy only, stamp the leaf stamp from the Wild Foliage set several times in Versafine Clair Green Oasis, using 1st and 2nd generation stamping.
Step 7.
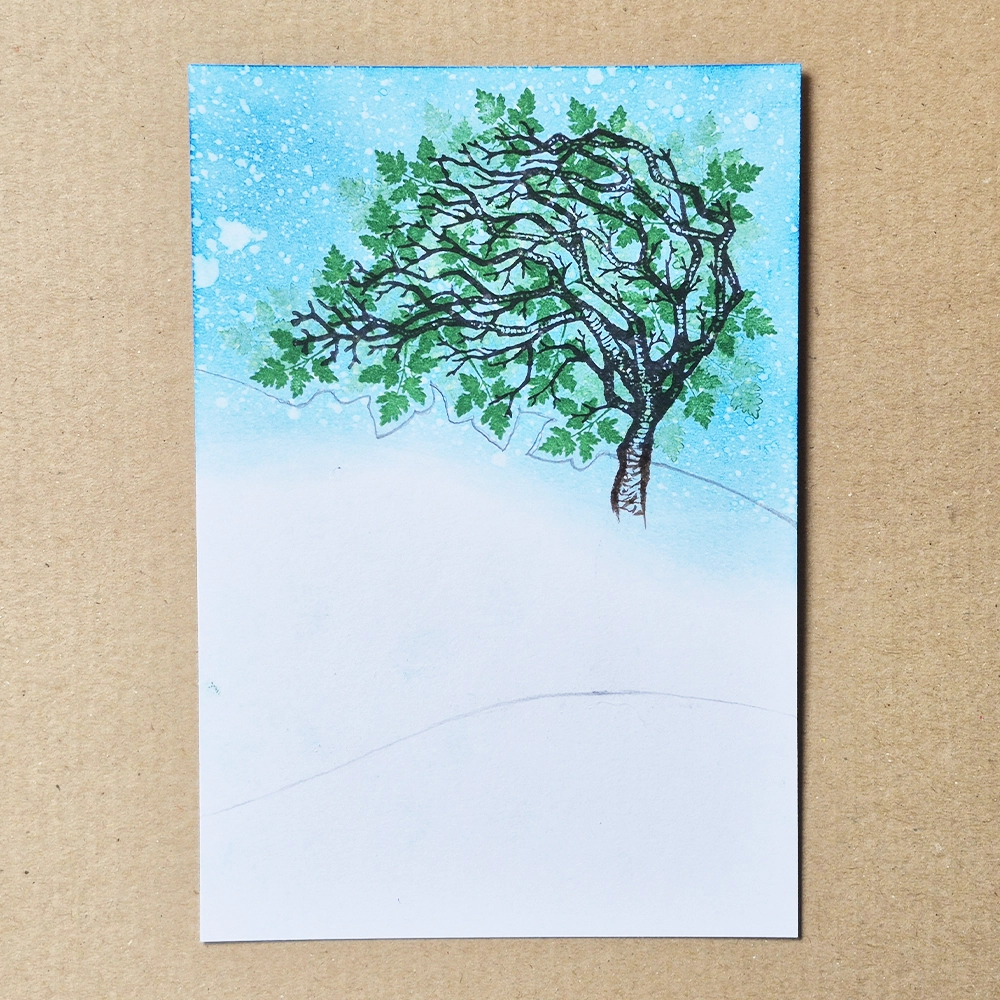
Draw a pencil outline around the edges of the tree canopy and fussy cut it out in a similar way to photo shown.
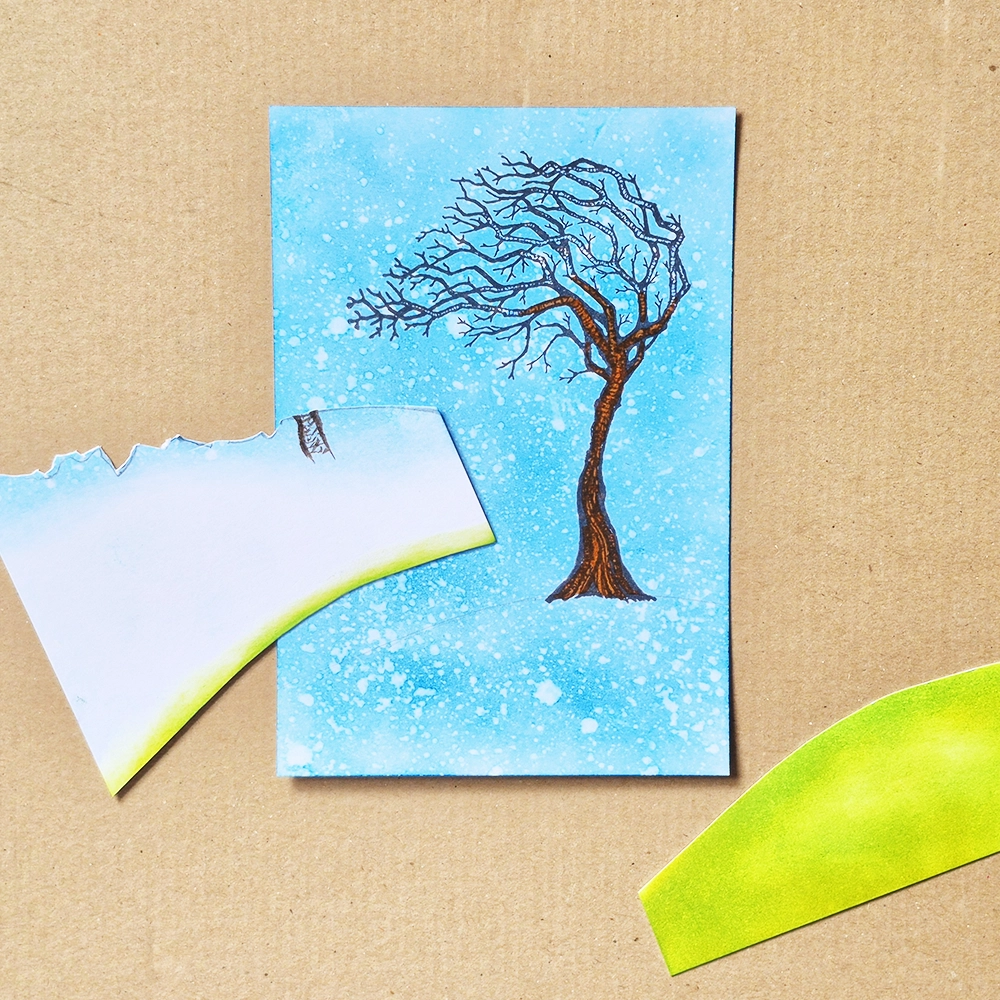
Step 8.
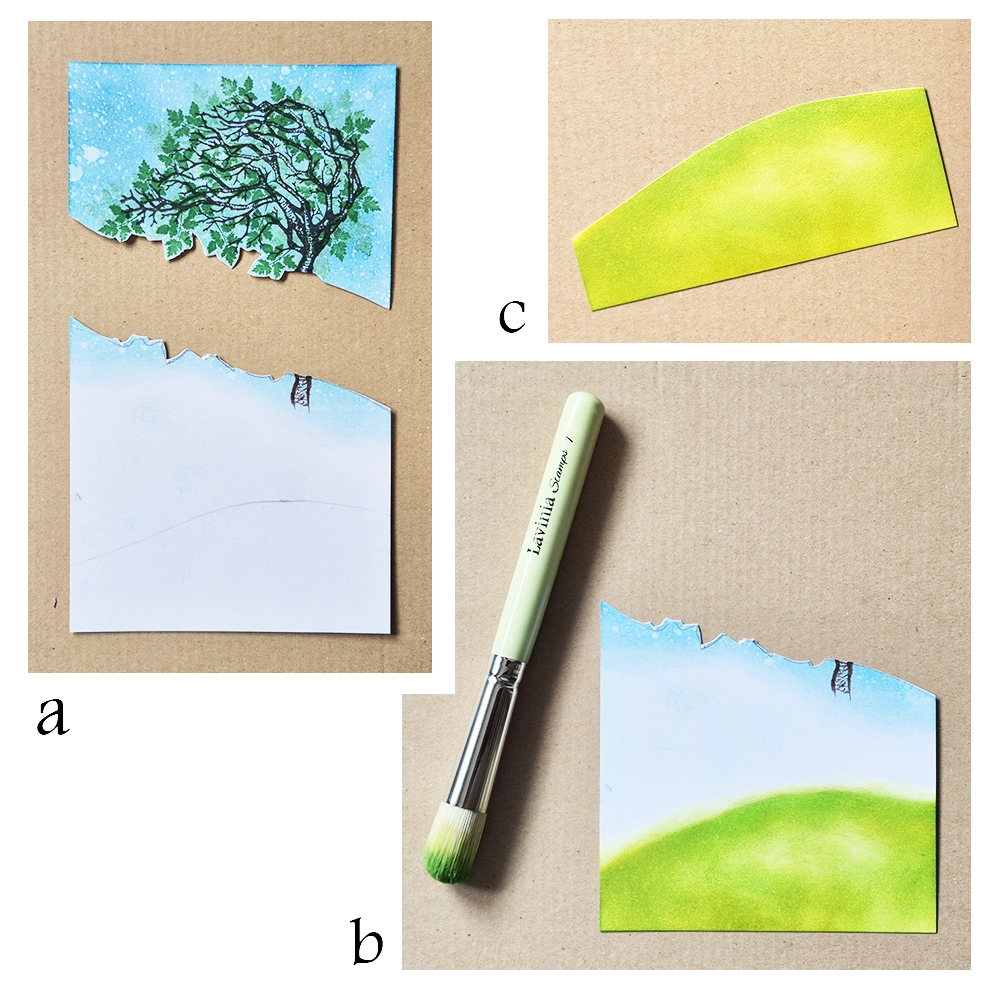
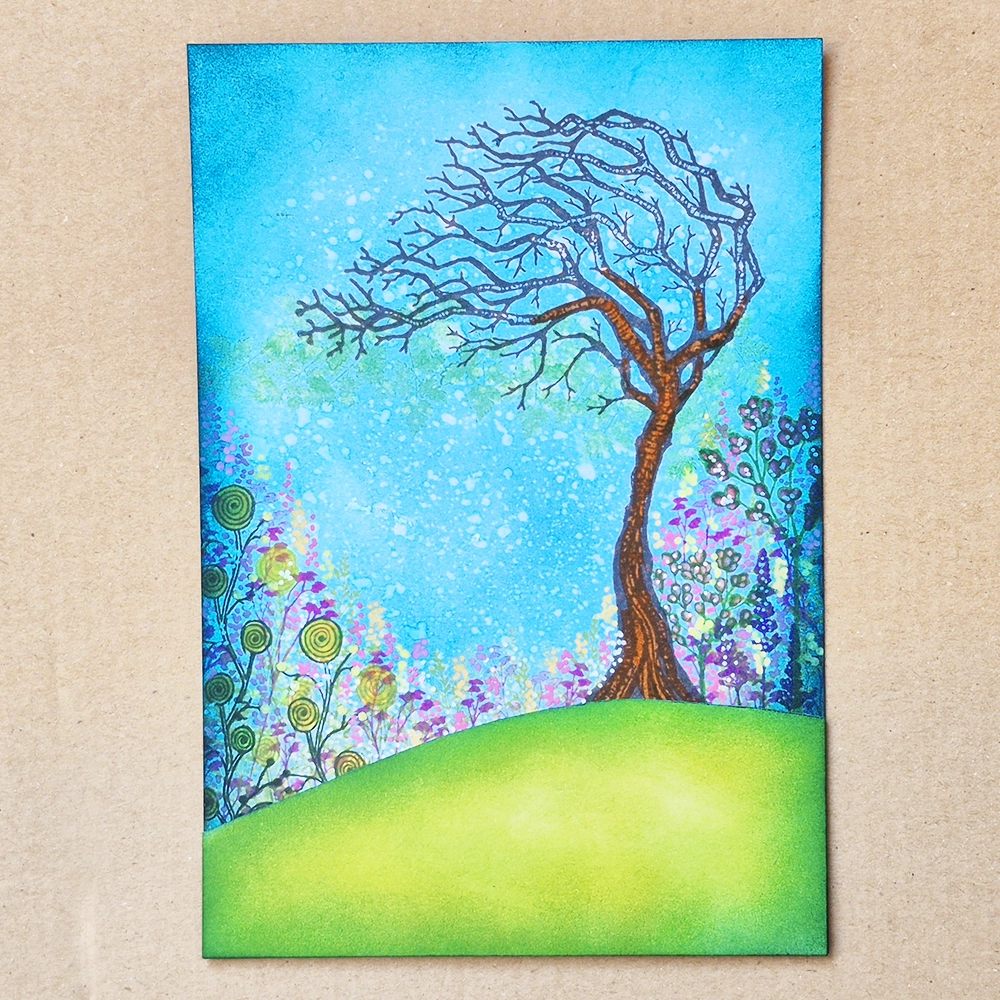
With the bottom half of the card we have just cut the canopy from, draw a pencil line to create a slope/hill with a maximum height of about 4.5 cm from the bottom of the card. This will just cover the base of your tree trunk on the base card. Use a stencil brush series 7 and brush on Elements inks in Lime Punch, Greensleeves & Green Parrot to create your hill. Cut out the Green hill along the top pencil line.
Step 9.
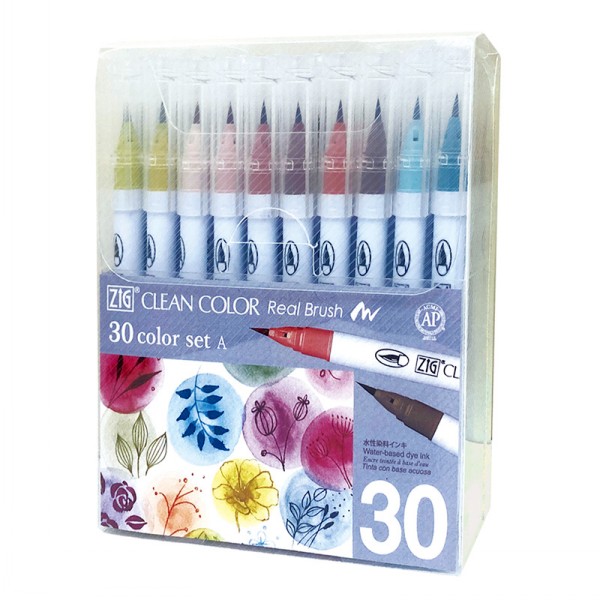
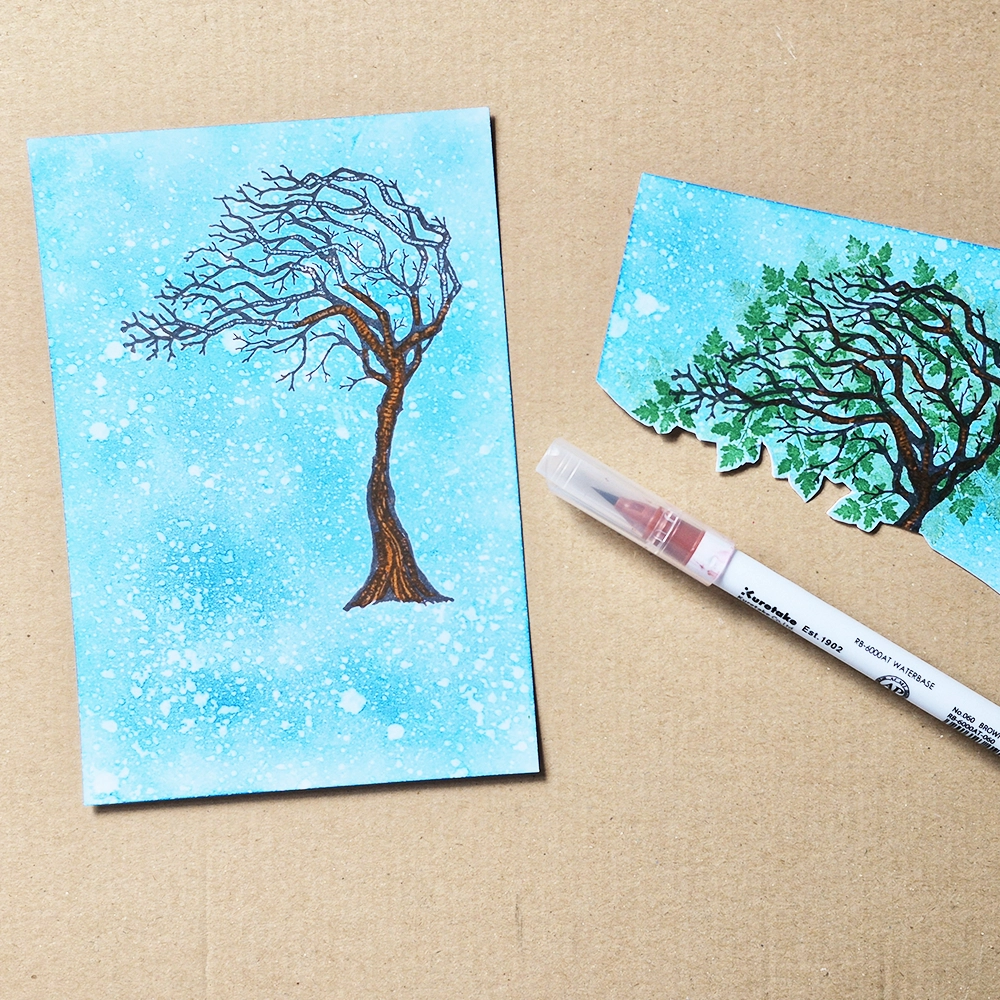
Add colour into your tree using a Zig Clean Colour Pen in Brown. Do this on both cards, the whole tree and the tree canopy.
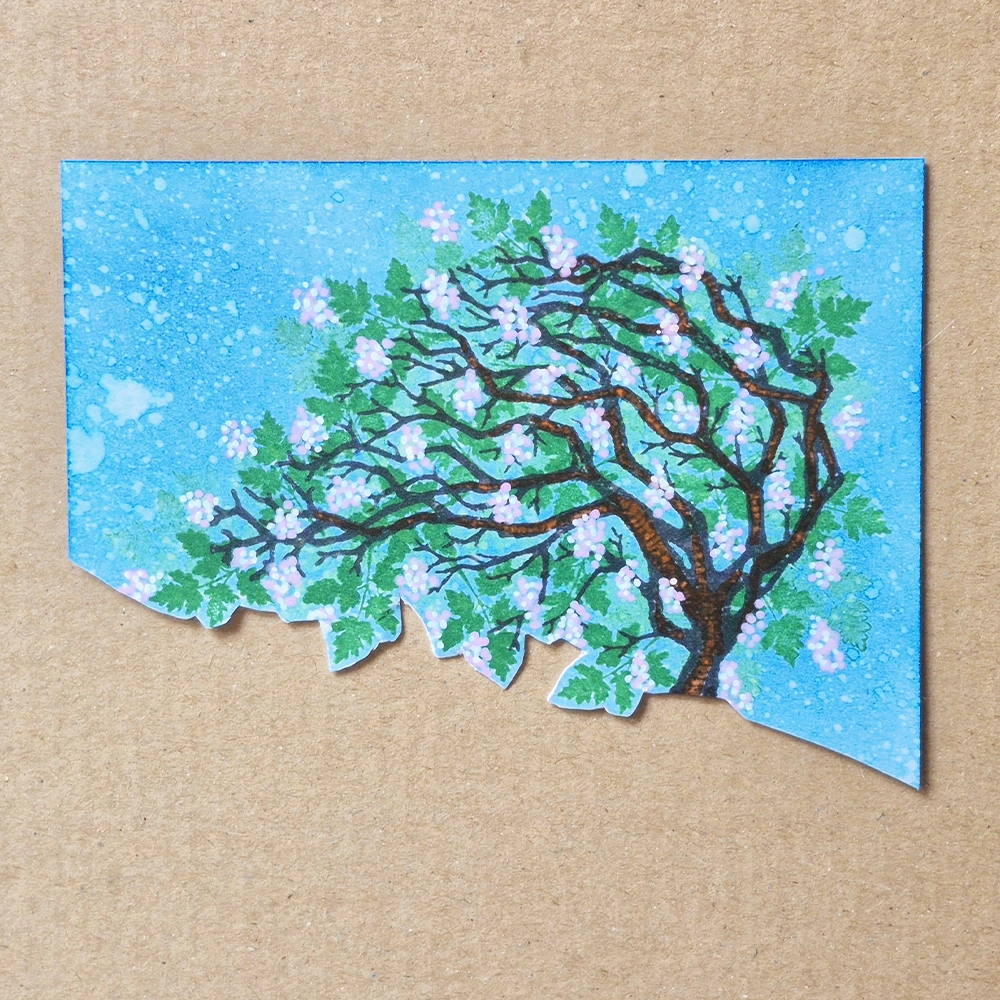
Step 10.
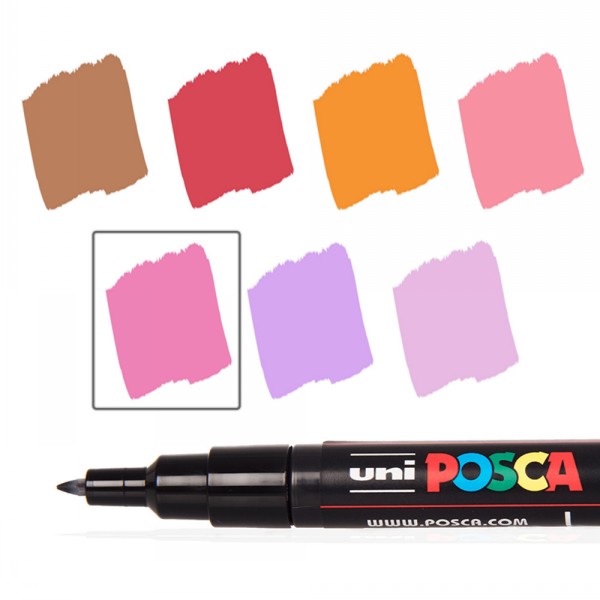
Using a pink and white Posca Pen add dots to your tree canopy to create your tree blossom. Only needed on the half tree canopy as the other will be hidden.
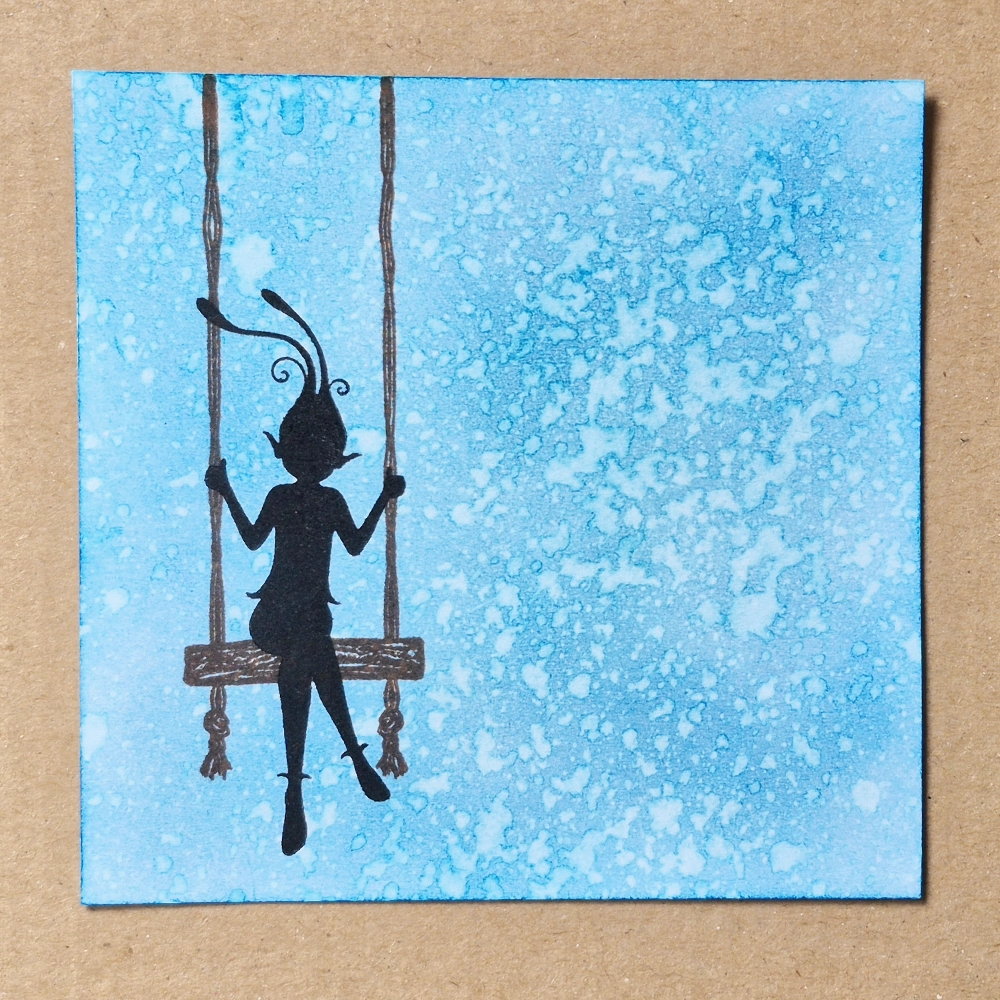
Step 11.
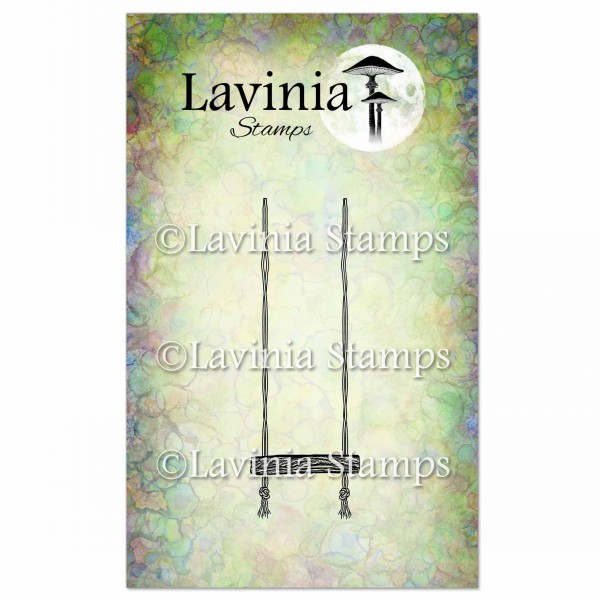
On your small blue inked 9 x 9 cm card Stamp the Swing in Versafine Clair Acorn. Then also stamp Pris on to the Swing using Versafine Clair Nocturne.
Step 12.
Fussy cut Pris on the swing, cutting it as detailed as you wish.
Step 13.
Using your background blue card with the full tree, add in a faint pencil line at the top of where your slope/hill finishes when laid on top. This will give you a guide to add your foliage.
Step 14.
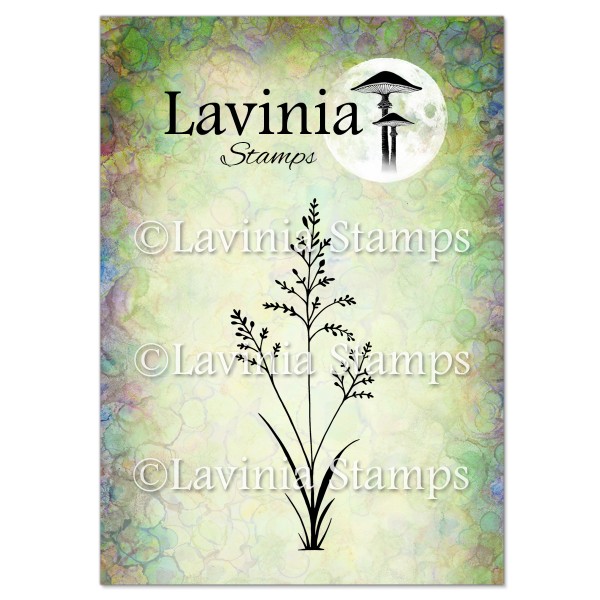
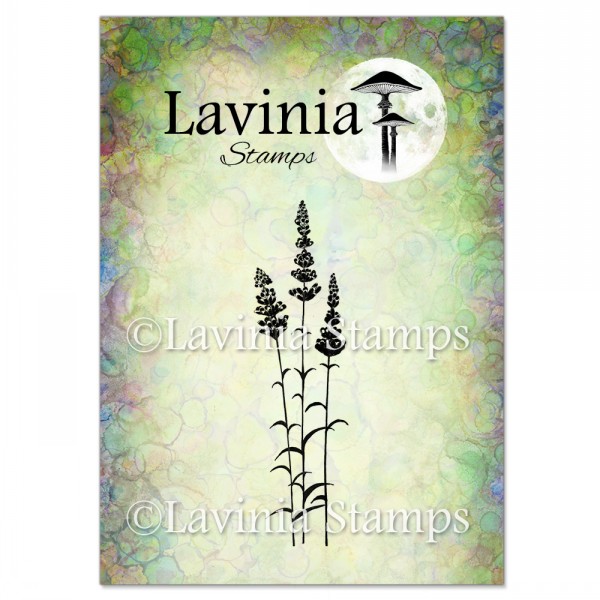
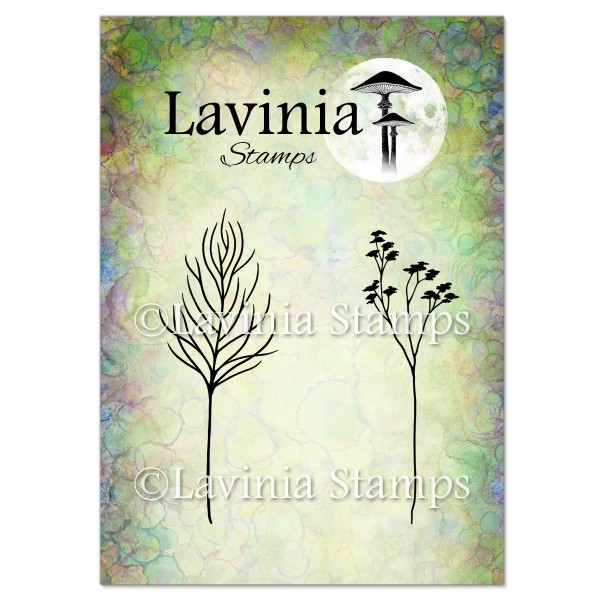
I stamped Orchard Grass in Versafine Clair Avocado, Zen Rose in Rain Forest, Meadow Blossom in Green Oasis. Then Lavender in Purple Delight and Flora Set in Charming Pink. All Versafine Clair inks, 1st & 2nd generation stamping. Add colour to your flowers with Zig Clean Colour Pens and also Posca Pen dots in various colours to enhance the flower scene. At this stage I also darkened the edges using Elements Ink in Mermaid to all 3 pieces of the scene.
Step 15.
Glue the green hill/slope card on to the base tree card lining it up at the edges and just covering the base of your tree hopefully. Then in 2nd generation stamping, using Versafine Clair Green Oasis and the leaf from the Wild Foliage set, add in some leaves at the bottom of your tree canopy on the base card to create a subtle background.
Step 16.
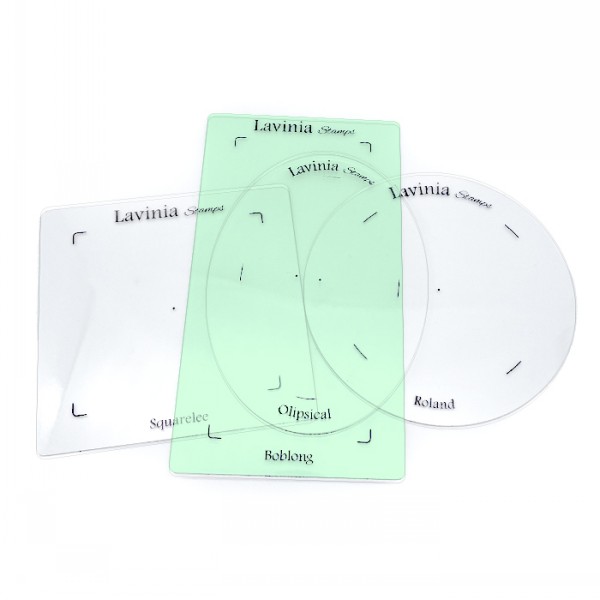
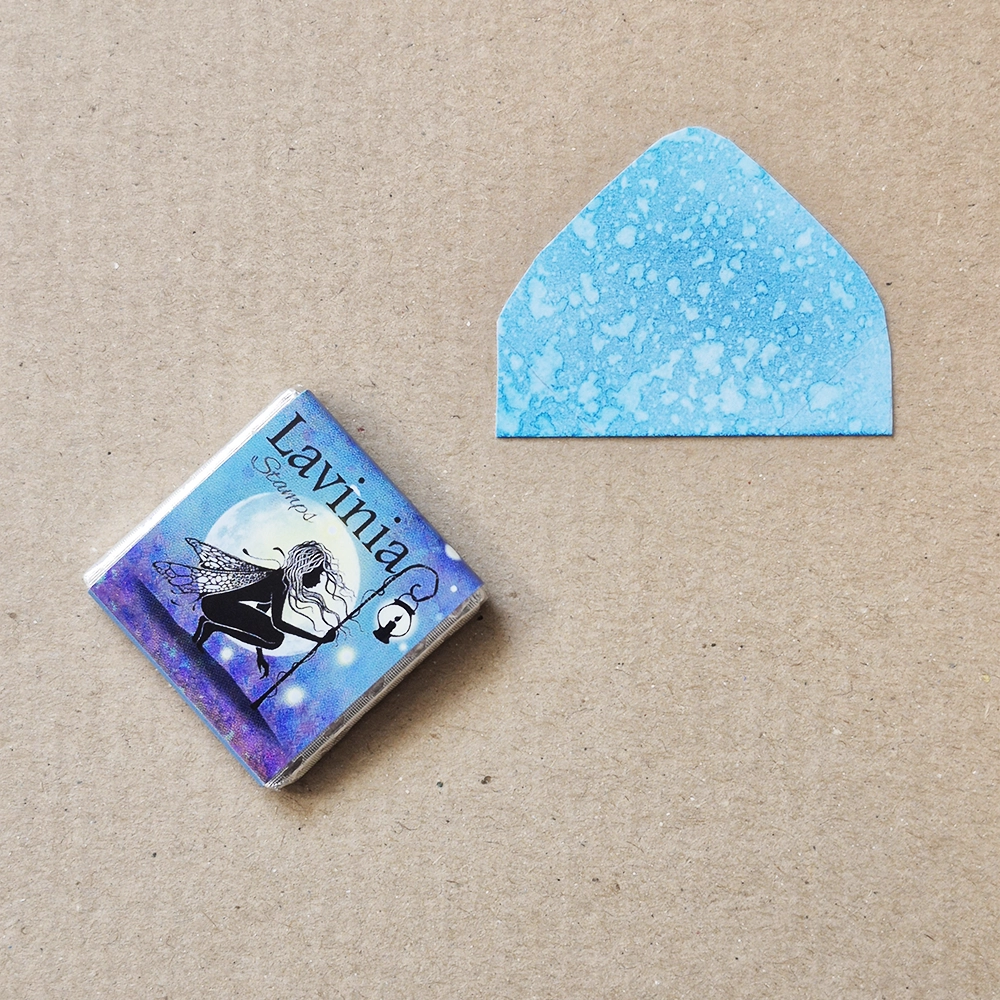
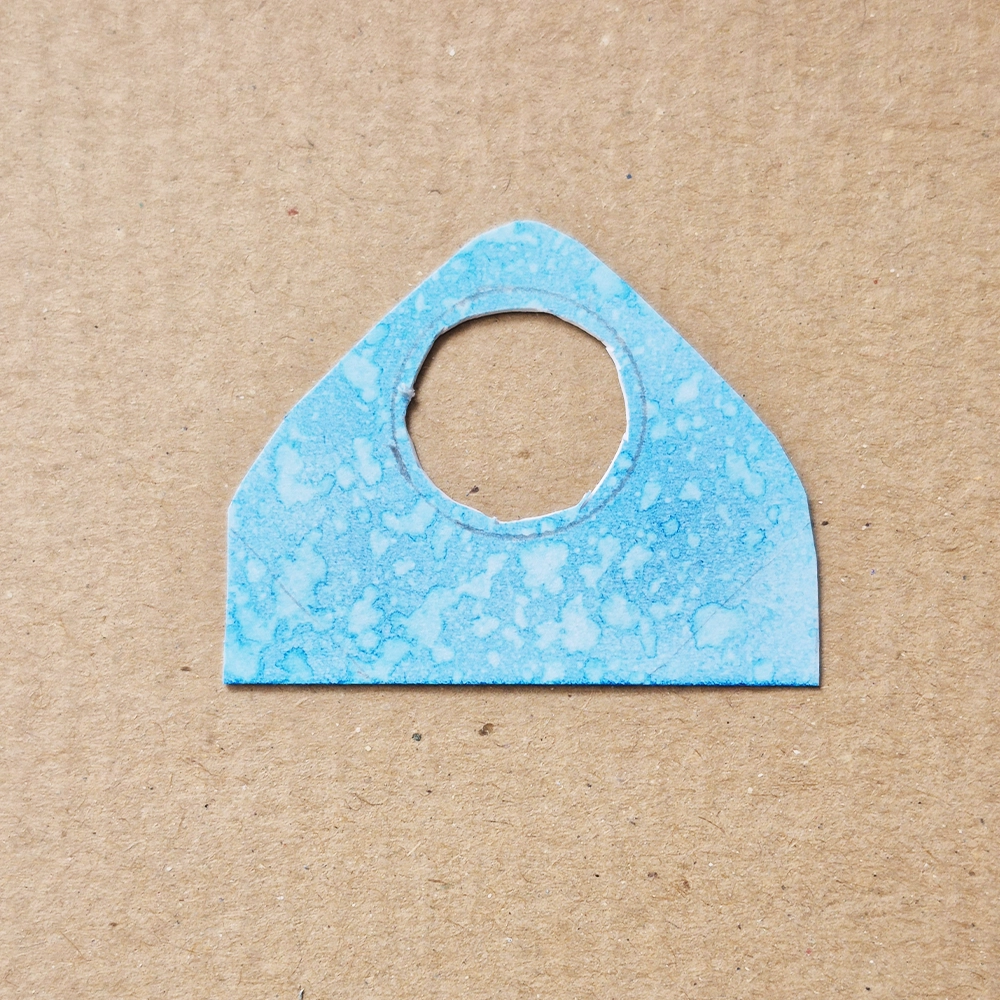
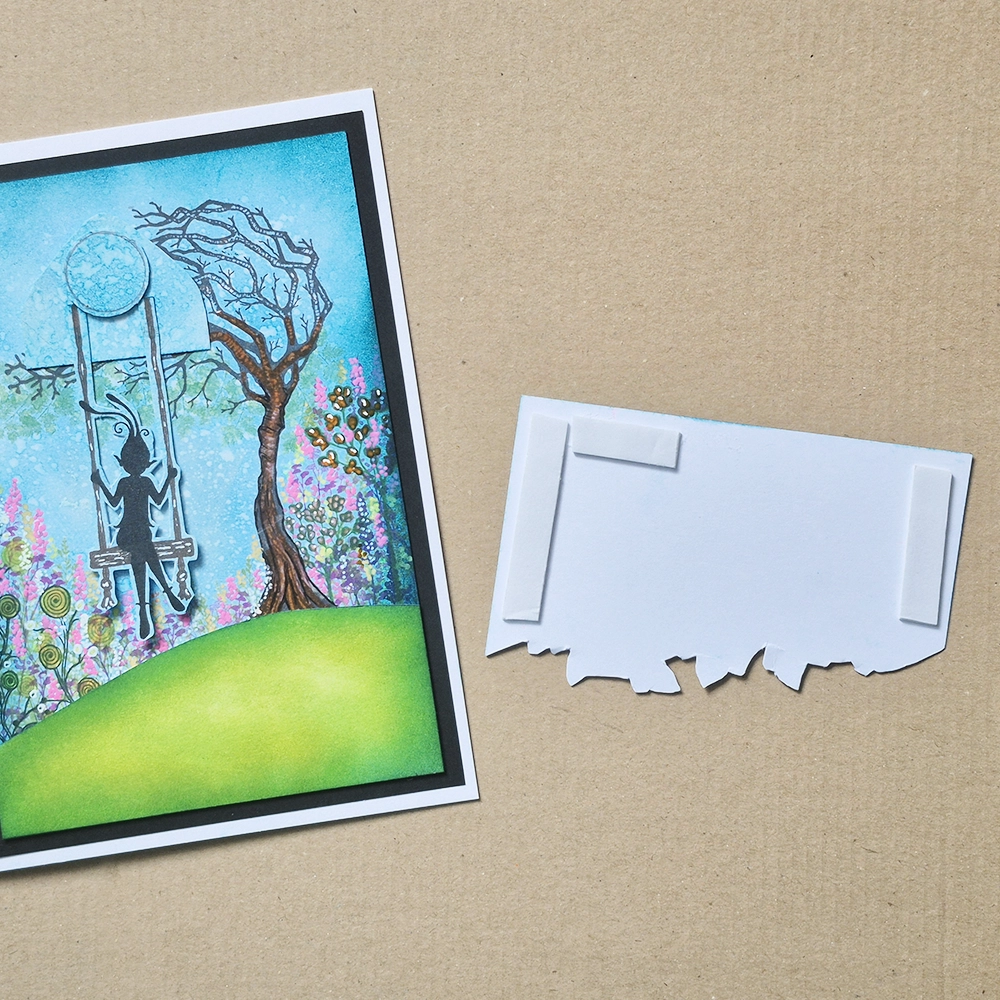
To make the Swing Mechanism cut a piece of card into a sort of envelope shape. I used a Lavinia Chocolate turned onto its side (like a diamond shape) as a template to create the triangle at the top. See photo for size guide, it is approximately 3.5 cm tall.
Step 17.
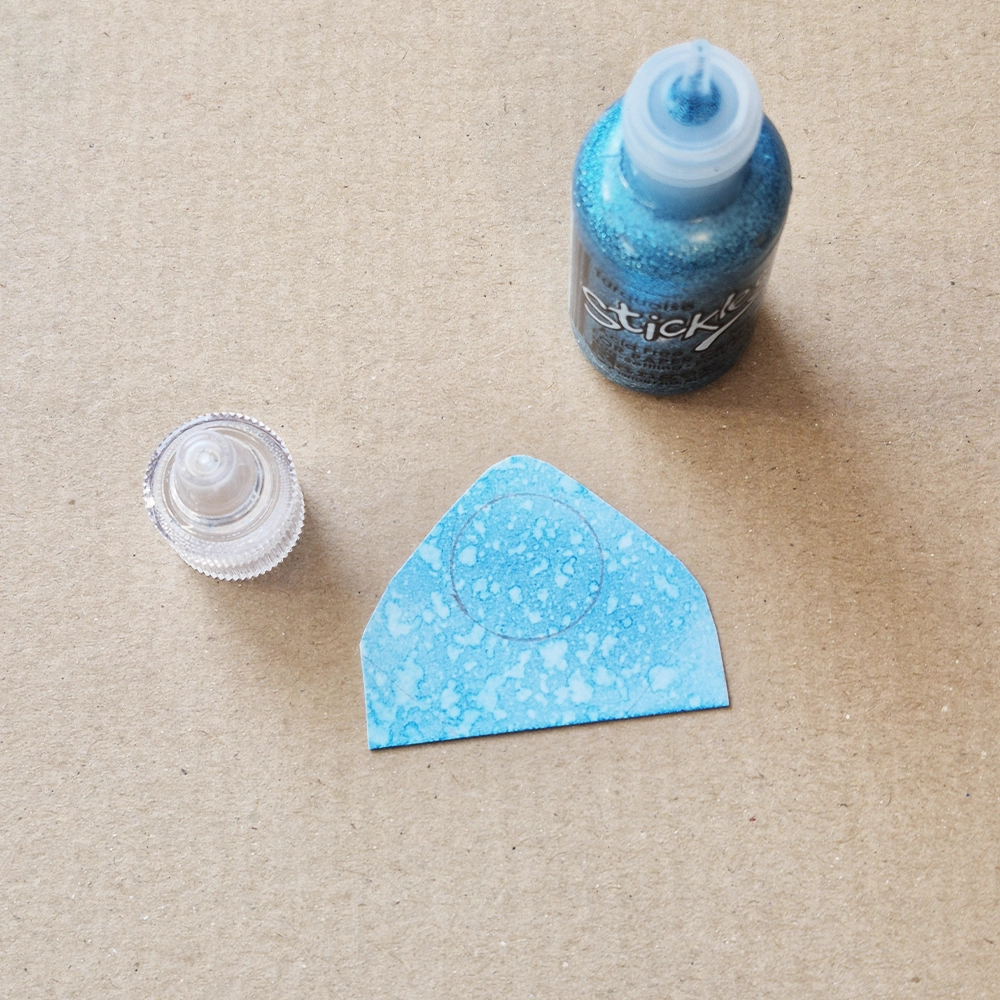
Back to your Swing Mechanism and the little blue envelope shape. Add a pencilled circle at the top as shown in photo. I used the top off my Stickles as a guide, but the circle is approximately 1.75 cm diameter.
Step 18.
Cut out inside the pencilled circle using a craft knife, it does not need to be a perfect circle.
Step 19.
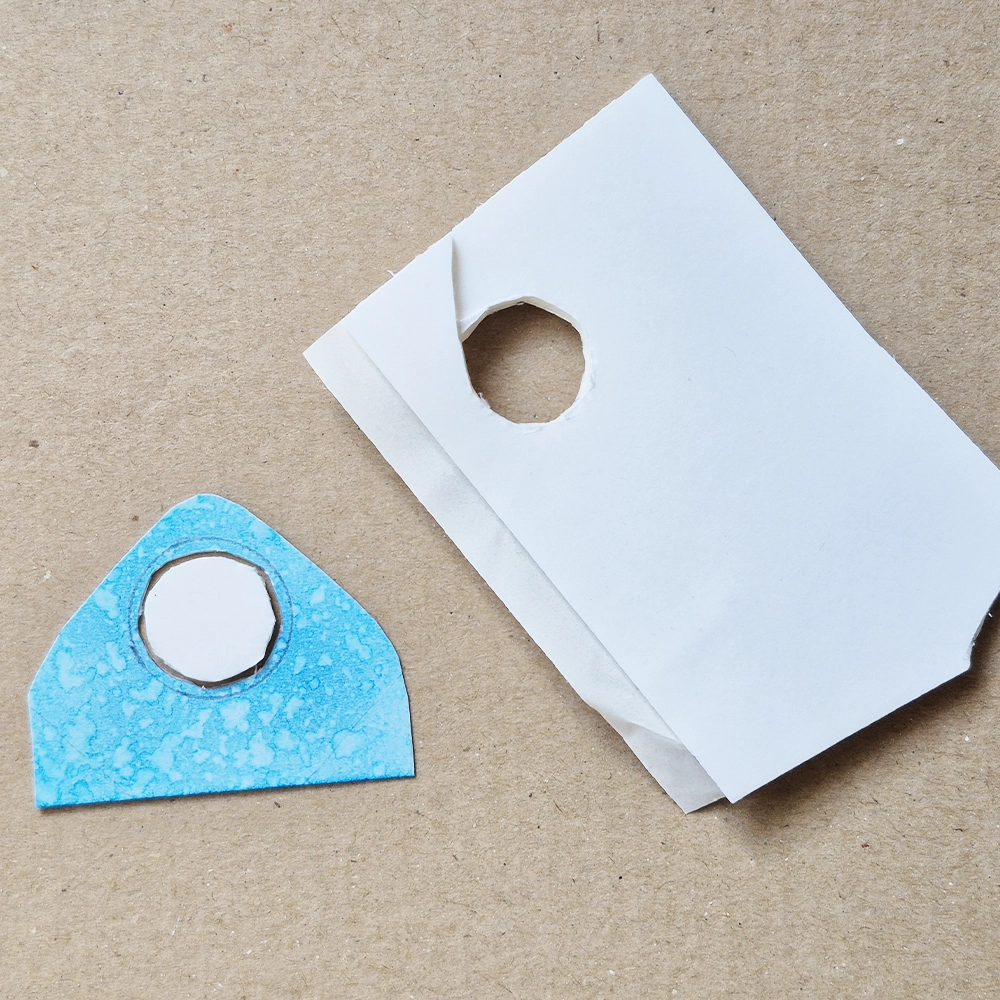
Using some double-sided adhesive foam, cut out a circle that fits loosely inside your circle aperture on the mechanism. It needs to be able to move around inside the circle, so not a tight fit or your swing will not swing! At this point we keep the adhesive protective bits on.
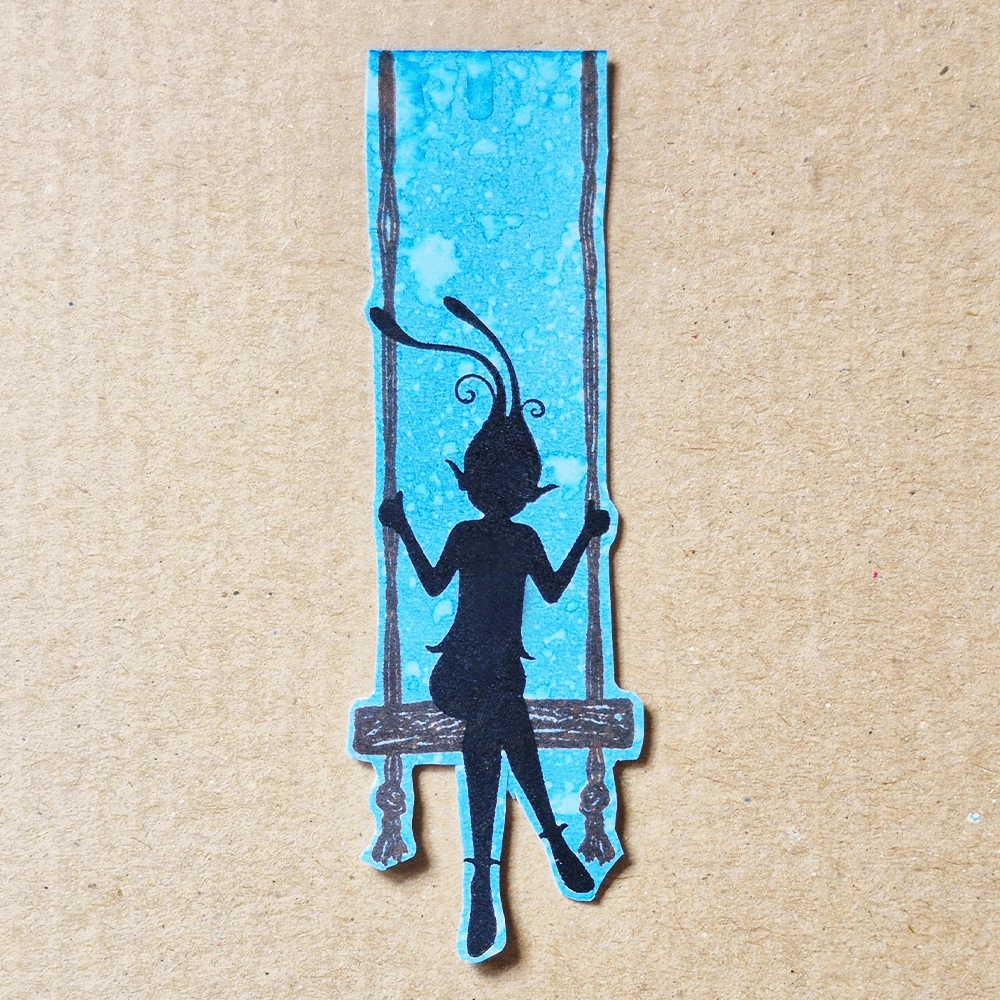
Step 20.
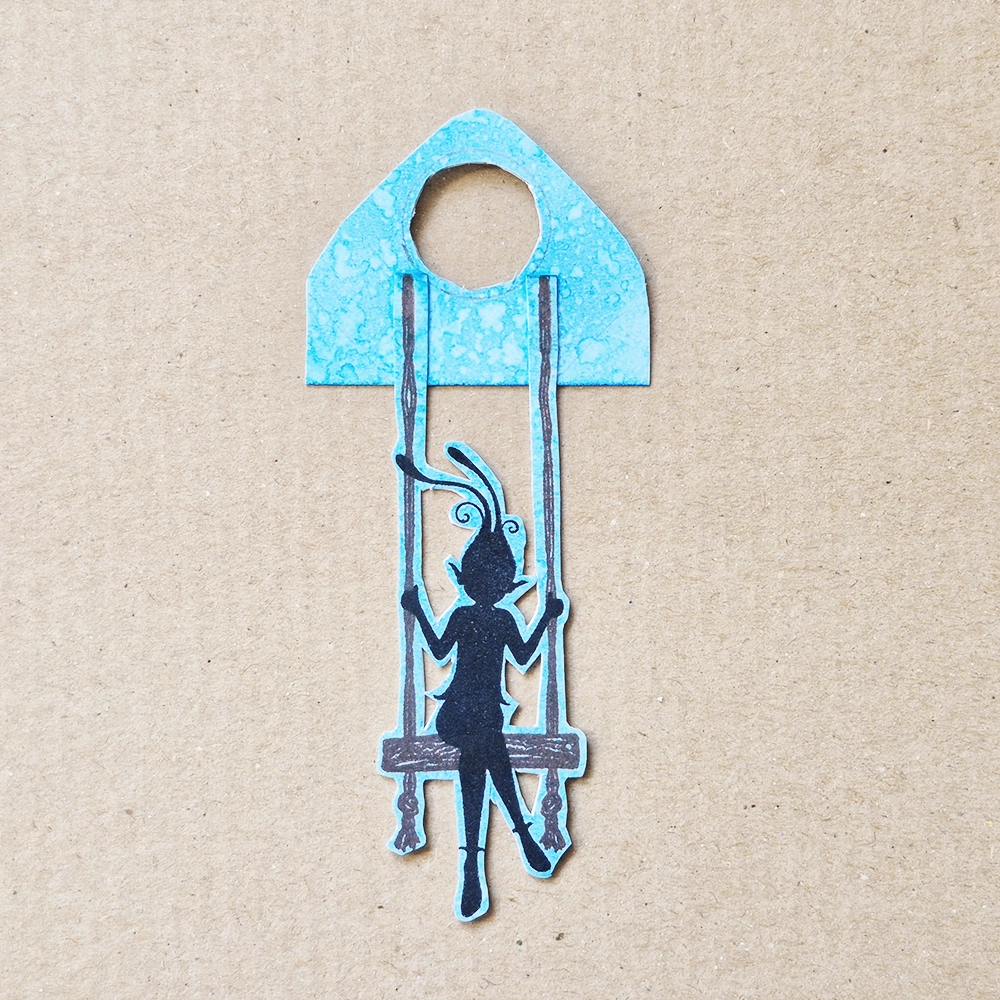
If you want to cut out around the Swing and Pris more detailed, then do this now with a craft knife. This picture is not essential but does allow you to see some foliage as she swings! Then glue the swing to the mechanism, just below your circle (see photo).
Step 21.
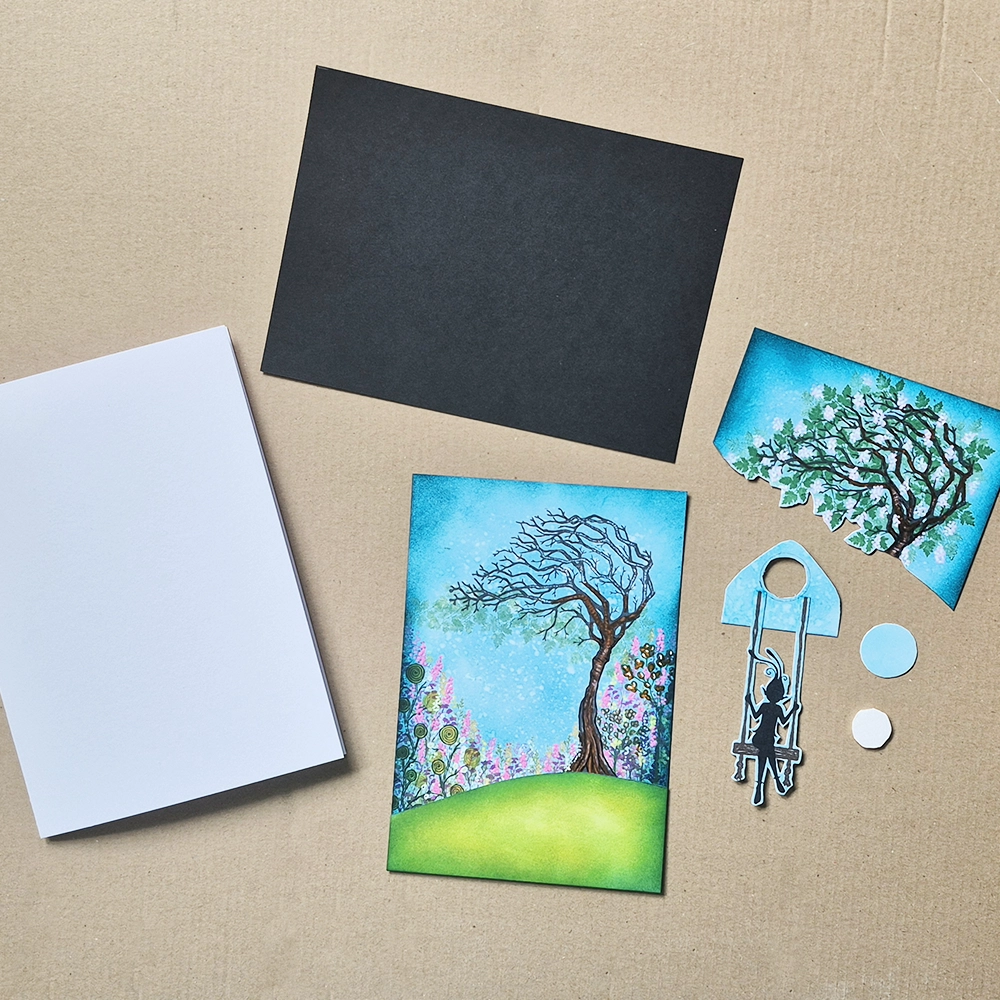
Cut out an additional circle from scrap card, making it slightly bigger than your aperture in the mechanism, so slightly bigger than the lid of a stickles bottle at approximately 2 cm diameter. Any colour is fine as it will get hidden soon! You should now have all your separate pieces ready to assemble, 7 pieces in total.
Step 22.
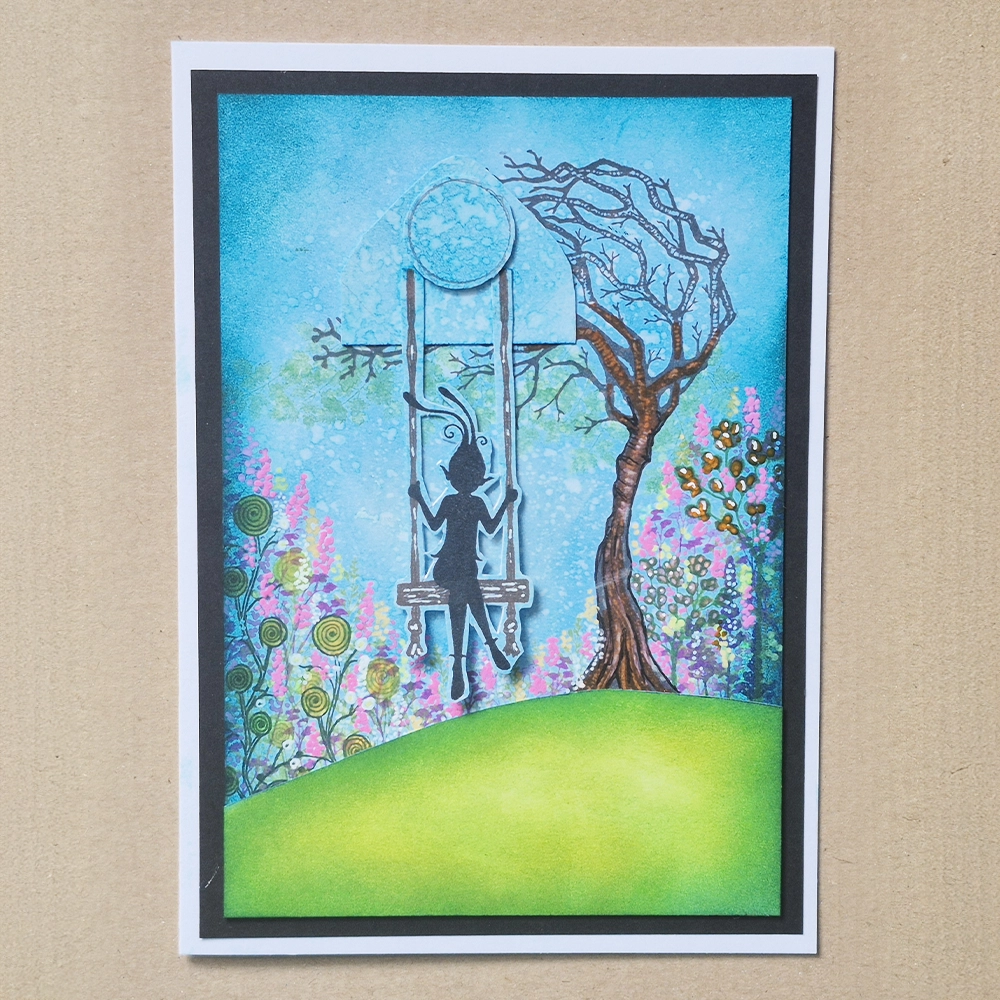
Start assembling your card by firstly sticking your black card to the blank 7”x 5” white greetings card. Then stick the tree scene 16 cm x 11 cm card on to the black card. Then place Pris on the Swing up at the tree to find the best position for her. It is best that she does not snag against the bottom green hill when swinging, so keep her slightly above it if possible. Once you are happy with her position, peel off one side of your foam circle and stick it down into the circle of the mechanism where your swing has been placed.
Step 23.
Peel off the top of your foam circle and then stick your small card circle on to it nice and centrally so that it covers the mechanism circle beneath it. You should now be able to move your swing left and right freely. Using foam double sided tape in thin strips add some to the back edges of the tree canopy cut-out, but only on the right & left side, plus a small bit at the top. This is to stay clear of the movement of the mechanism so don’t be tempted to add more…and definitely none at the bottom at all or it could stop your swing from swinging!
Step 24.
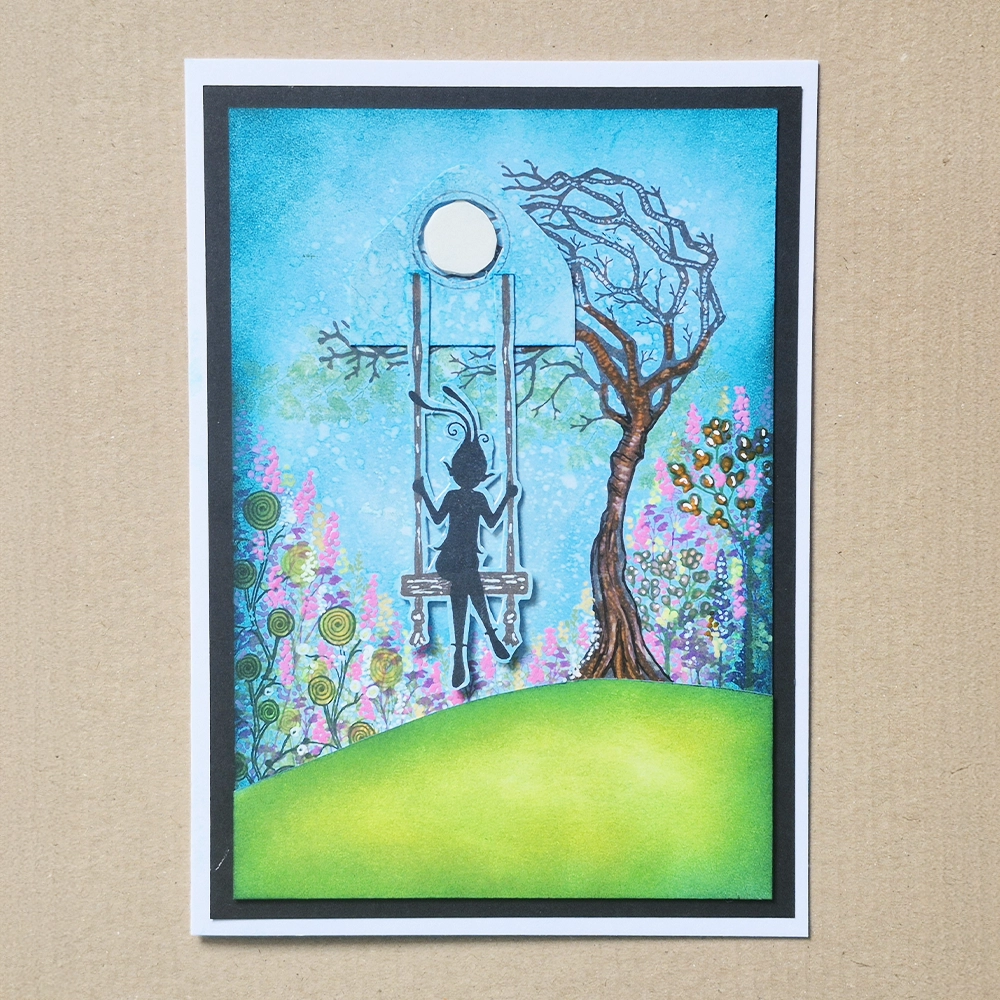
Stick down the tree canopy card cut-out, lining up your edges & corners with the base tree scene card. I then added a few highlights with a Gel Pen and some words from Sentiment Stickers 6, I used ‘Find your Peace’ to finish it off. Now align it over the base card with the tree on to be sure the top of the slope just covers the base of the tree trunk.

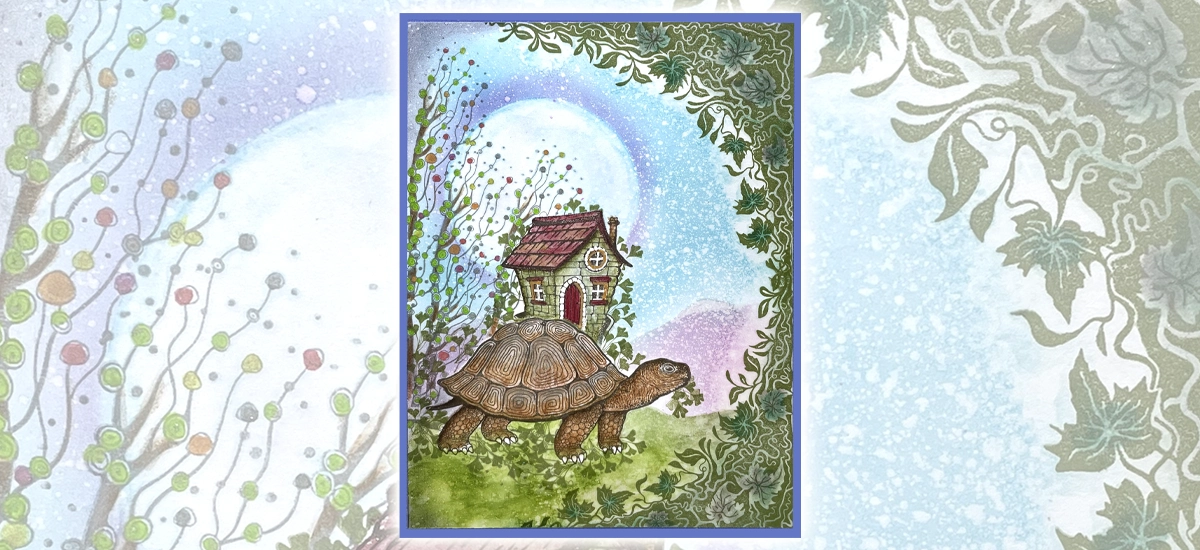
The card is now complete! I hope you have enjoyed this tutorial. I look forward to seeing your Garden Swings. Have fun! Tina.