Step by Step by Mona Hauge
Hi everyone! 🧚♂️
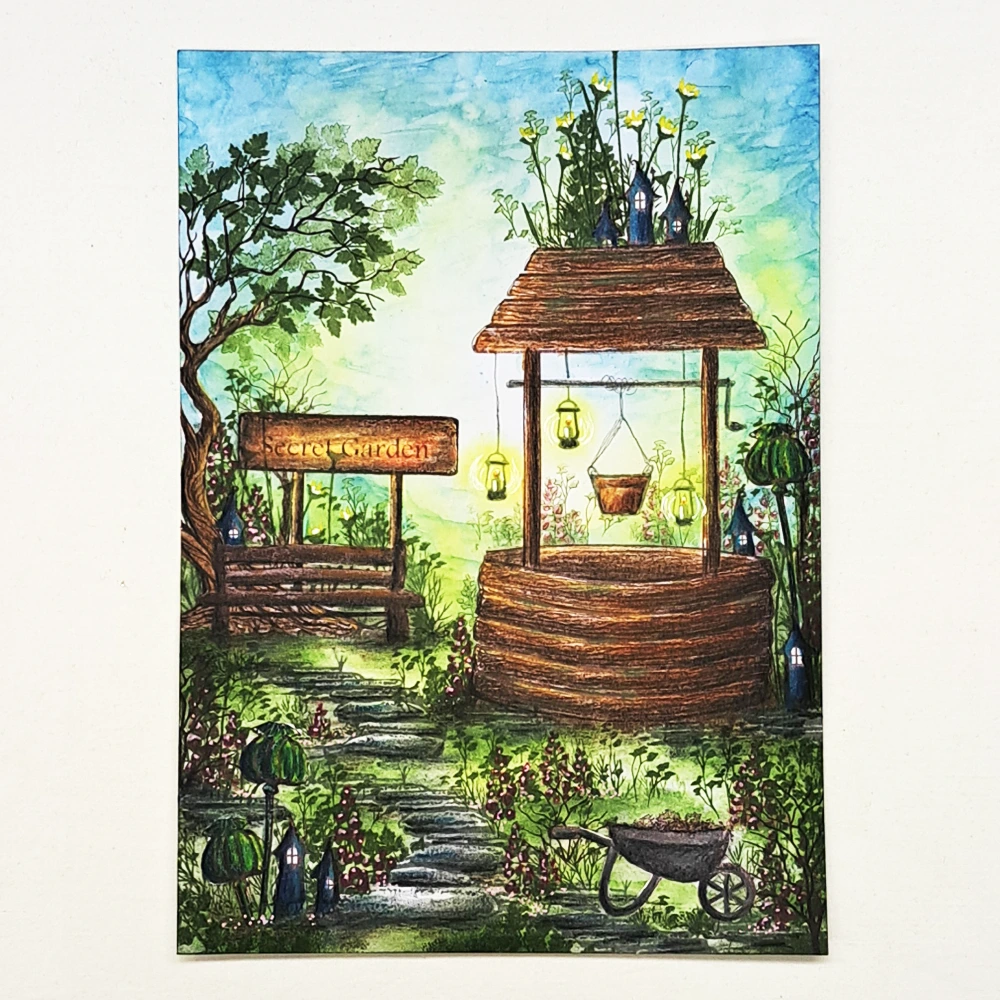
It’s Mona here with my latest step by step tutorial called Wishing Well. Hope you enjoy it! You can find all the products I used listed on the right hand side!
Big Hugs,
Mona x
Step 1.
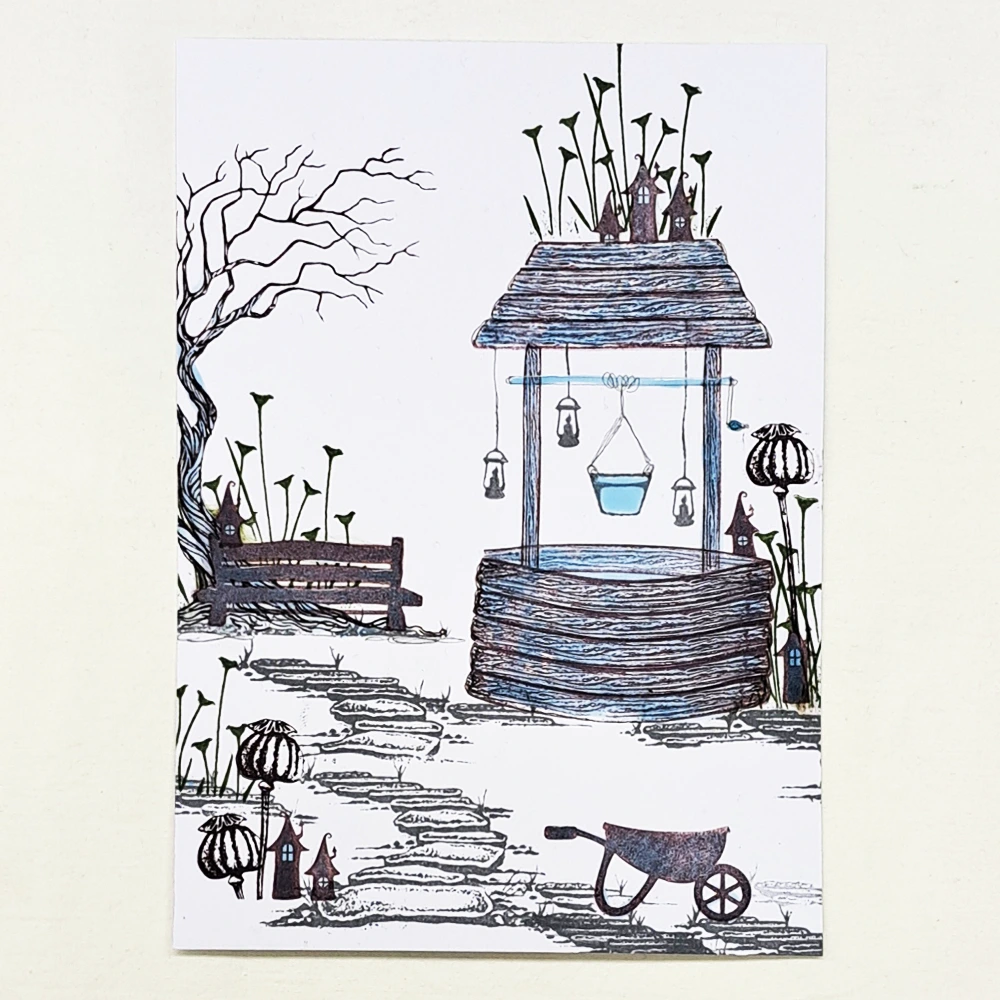
Take a piece of white Multifarious card, size A5.
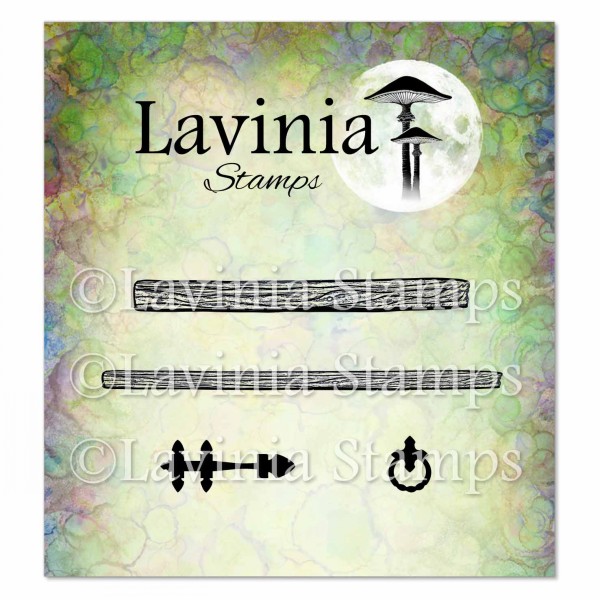
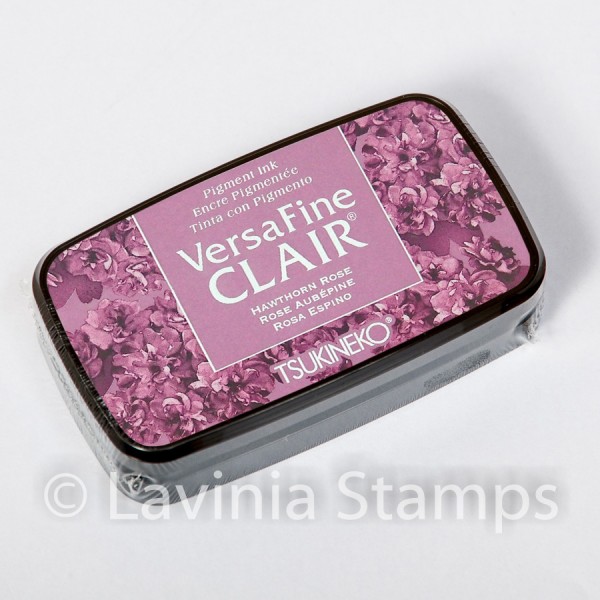
Let’s start with using the widest plank from the Hobbits Door Accessories Stamp Pack LAV967. Slightly manipulate the stamp so it curves on your Acrylic Block, as seen in the picture above. We will be stamping using the Versafine Clair Ink in Pinecone.
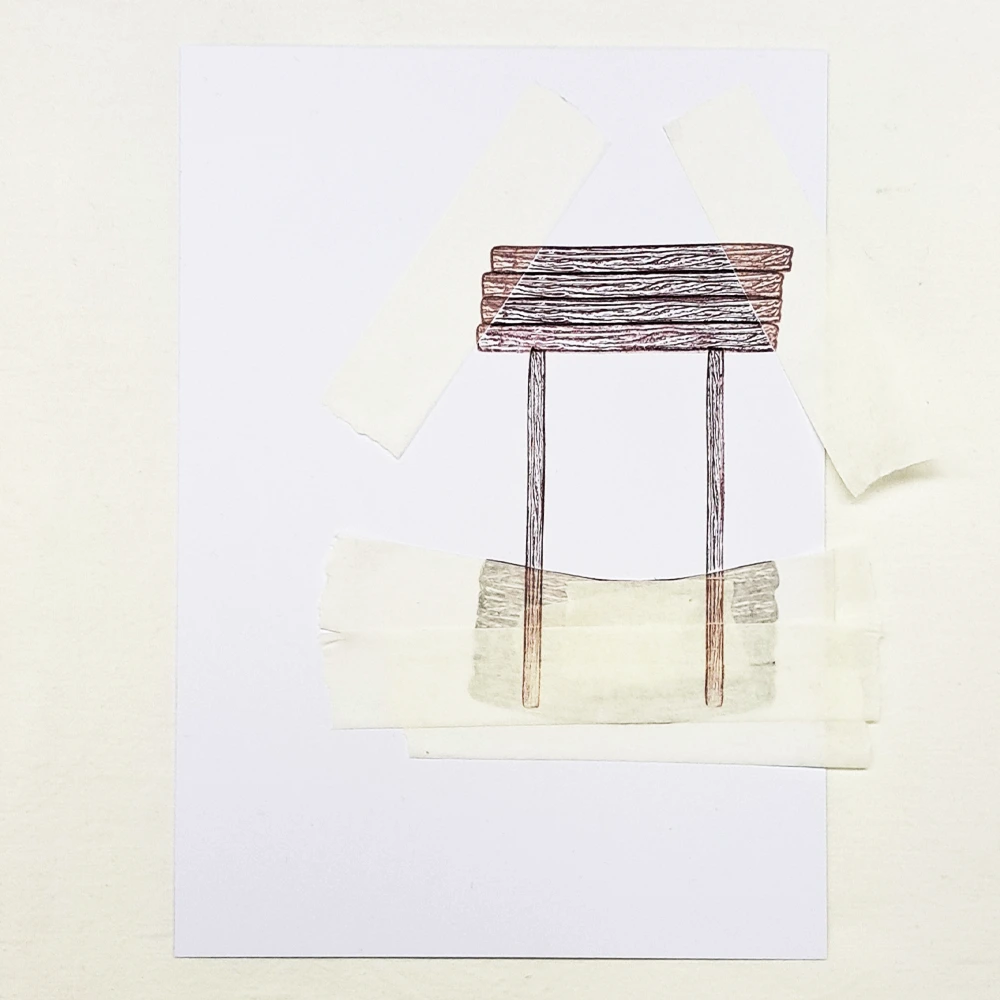
Step 2.
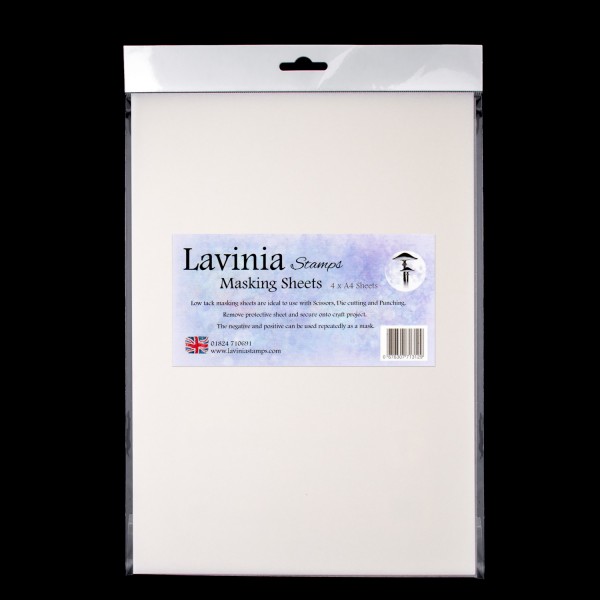
Stamp the plank five times on top of each other to create the base of the Wishing Well. Mask this section using a sheet/tape and stamp the slimmer plank from the Hobbits Door Accessories Stamp Pack LAV967 to create poles to hold the roof.
Before stamping, mask the top like you can see in the picture above, to create our little roof. Stamp using the wider plank on your Acrylic Block in a straight shape over the mask you have created. Stamp using the Versafine Clair Ink in Pinecone.
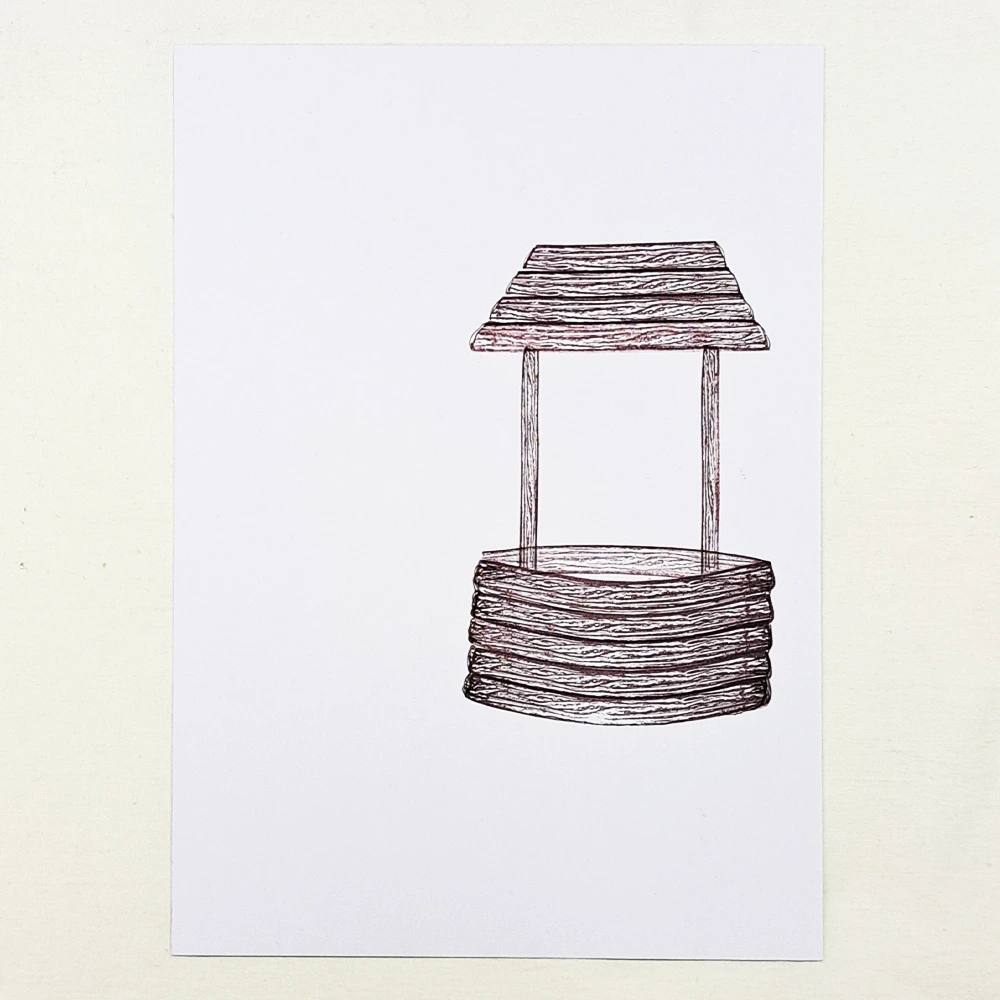
Step 3.
Remove all the masking, then add masking sheet/tape on the base of the Wishing Well.
Place the wider plank from the Hobbits Door Accessories Stamp Pack LAV967 on your Acrylic Block in the same curved position as before. To create dimension, we are going to stamp the far side of the Wishing Well. Stamp using the second-generation stamping technique with the Versafine Clair Ink in Pinecone.
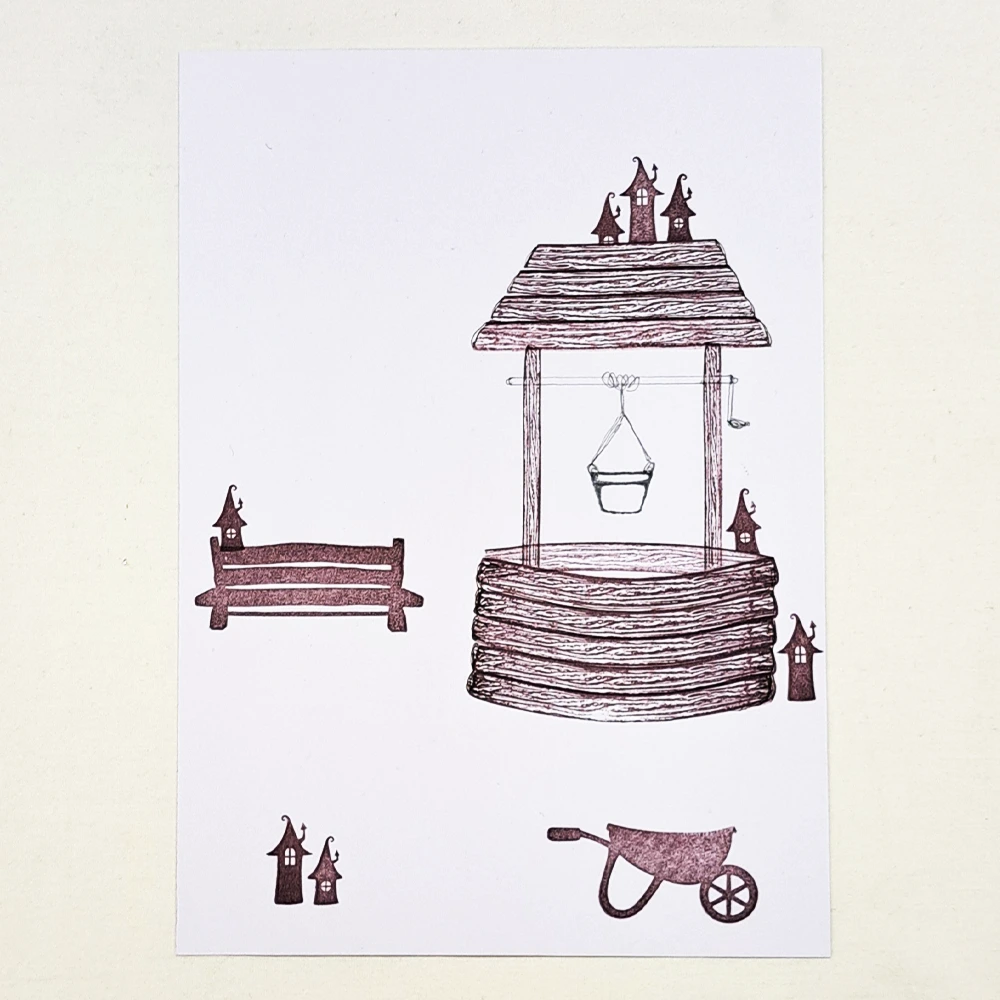
Step 4.
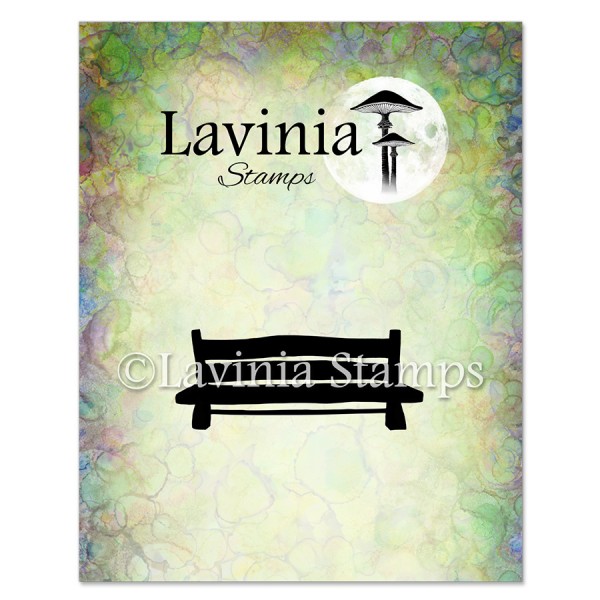
For this next step, use the Versafine Clair Ink in Pinecone and stamp the Bench Stamp LAV937, the Wheelbarrow Stamp LAV954 and the Small Pixy Houses LAV734 like you see in the picture.
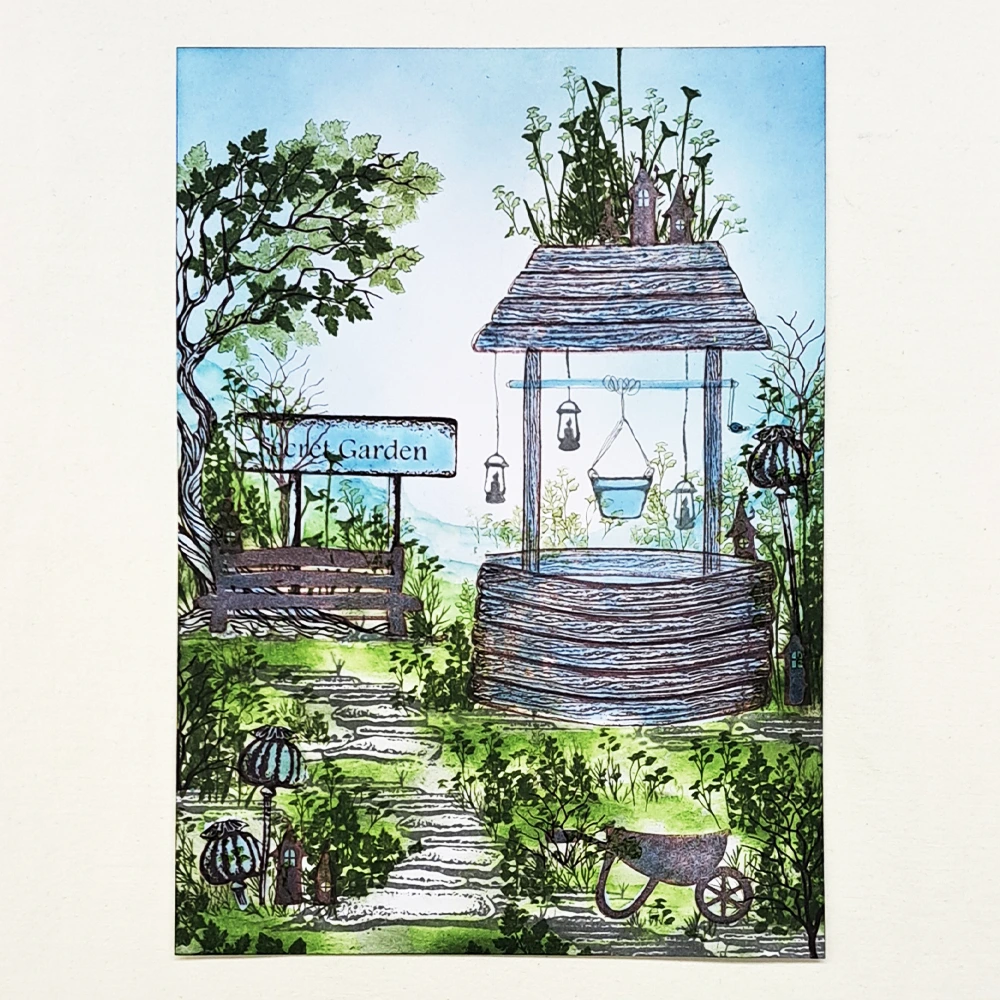
In the Flower Pots Stamp Pack LAV826, stamp the biggest pot in the centre of the Wishing Well, with the Versafine Clair Ink in Morning Mist. Use your sketching skills to draw a rod going across the Wishing Well and draw two hanging ropes to hold the pot. To do this use a grey waterproof pen, look at the picture for details. Now cover everything in liquid masking fluid.
Step 5.
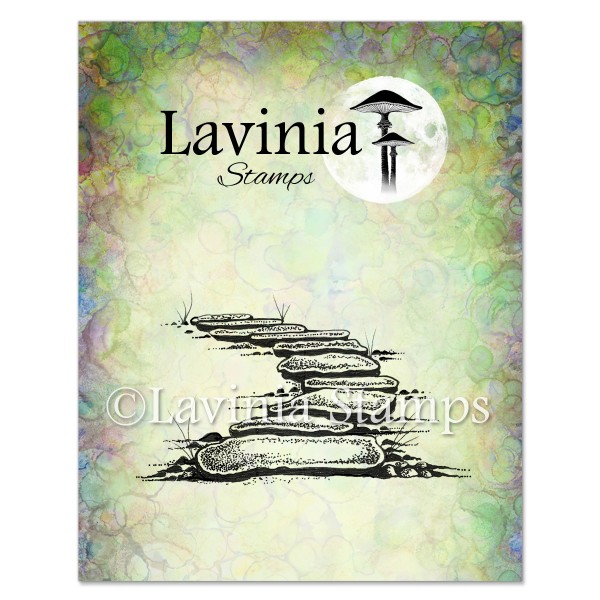
Stamp the Fairy Path Stamp in LAV246 using the Versafine Clair Ink in Morning Mist. Look at the picture for placement.
Step 6.
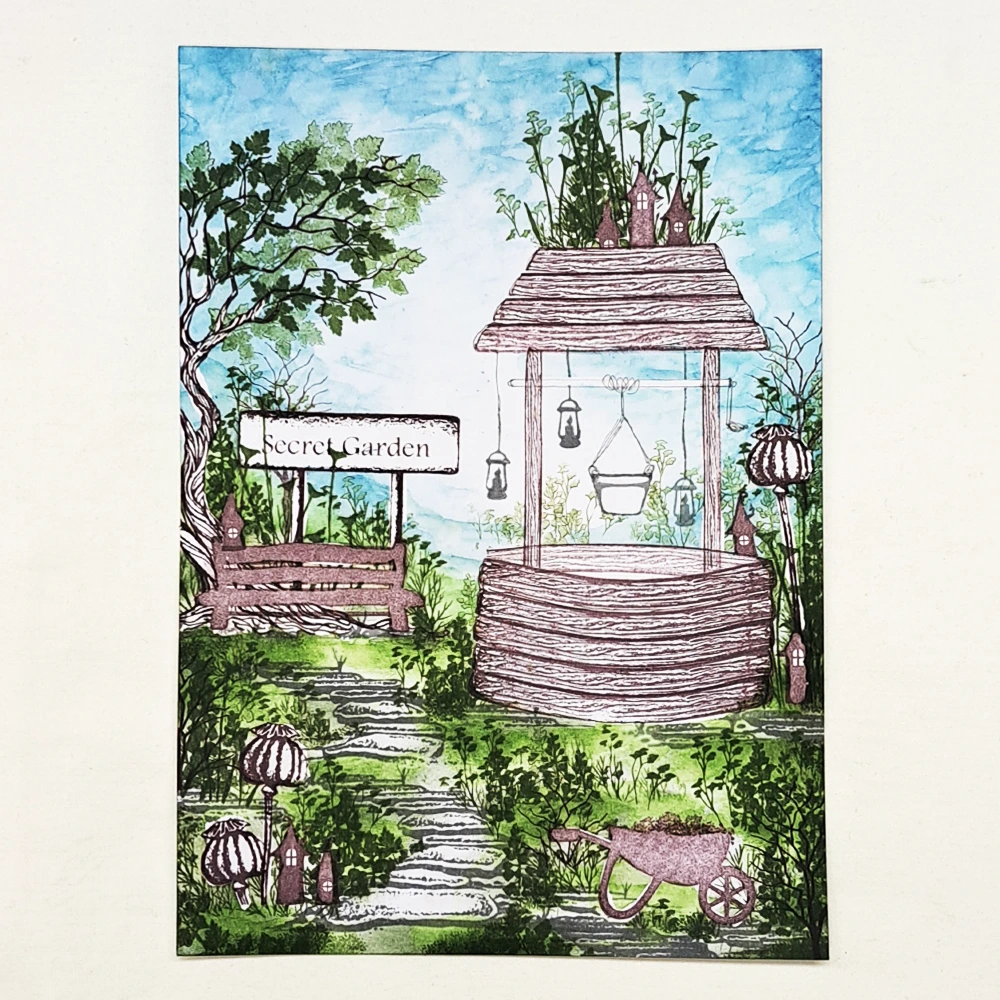
The Tree of Courage Stamp LAV657 will look fabulous behind our Bench! Stamp using the Versafine Clair Ink in Pinecone. Cover it in Liquid Masking fluid.
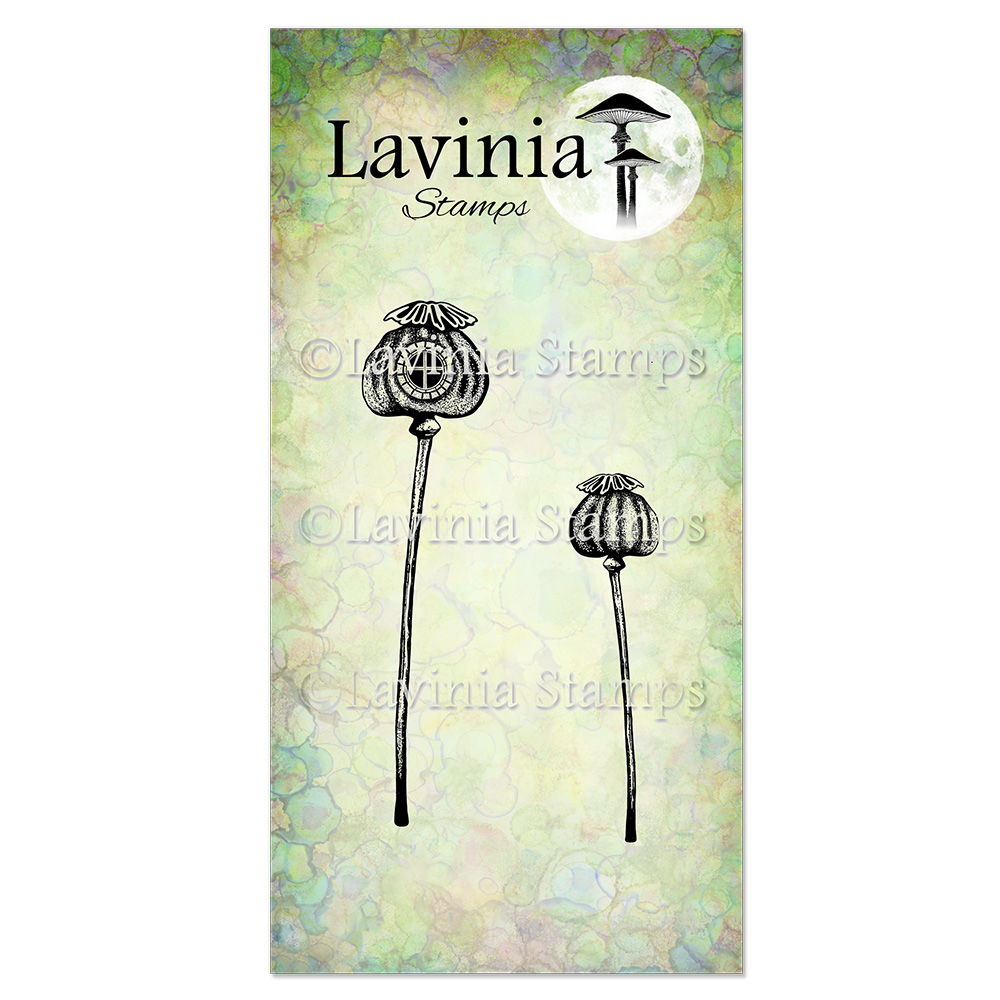
From the brand new ‘Twilight Tea’ collection, we want to use the Poppy Lodges Stamps LAV989 with the Versafine Clair Ink in Pinecone. Cover the Poppies in Liquid Masking fluid. Stamp the Fairy Buttercups LAV375 using the Versafine Clair Ink in Shady Lane. Refer to the picture for placements.
Step 7.
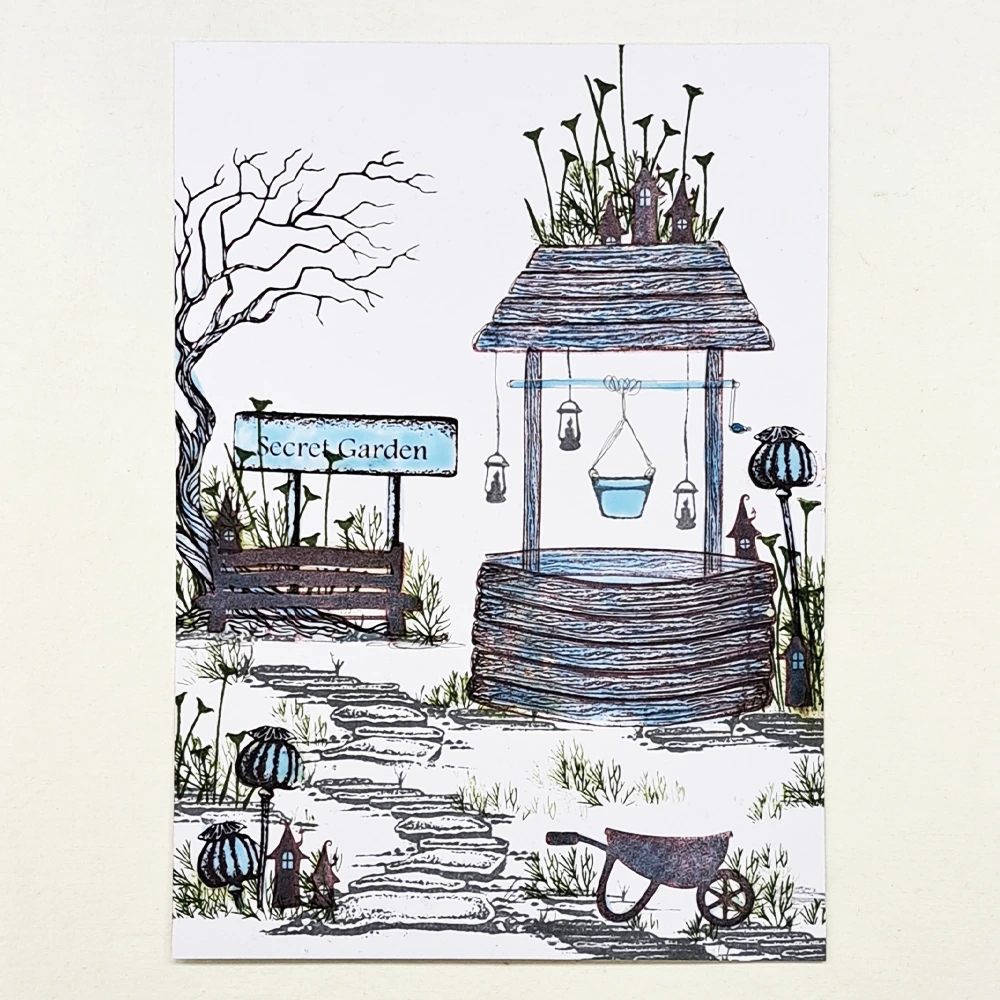
Stamp the Secret Garden Sign LAV746 using the Versafine Clair Ink in Pinecone. Once dried, cover the sign in liquid masking fluid.
To make some grass, use the Dill Stamps LAV938 using the Versafine Clair Ink in Shady Lane. Use the Small Lanterns Stamps LAV728 to hang off the Wishing Well roof, using the Versafine Clair Ink in Morning Mist.
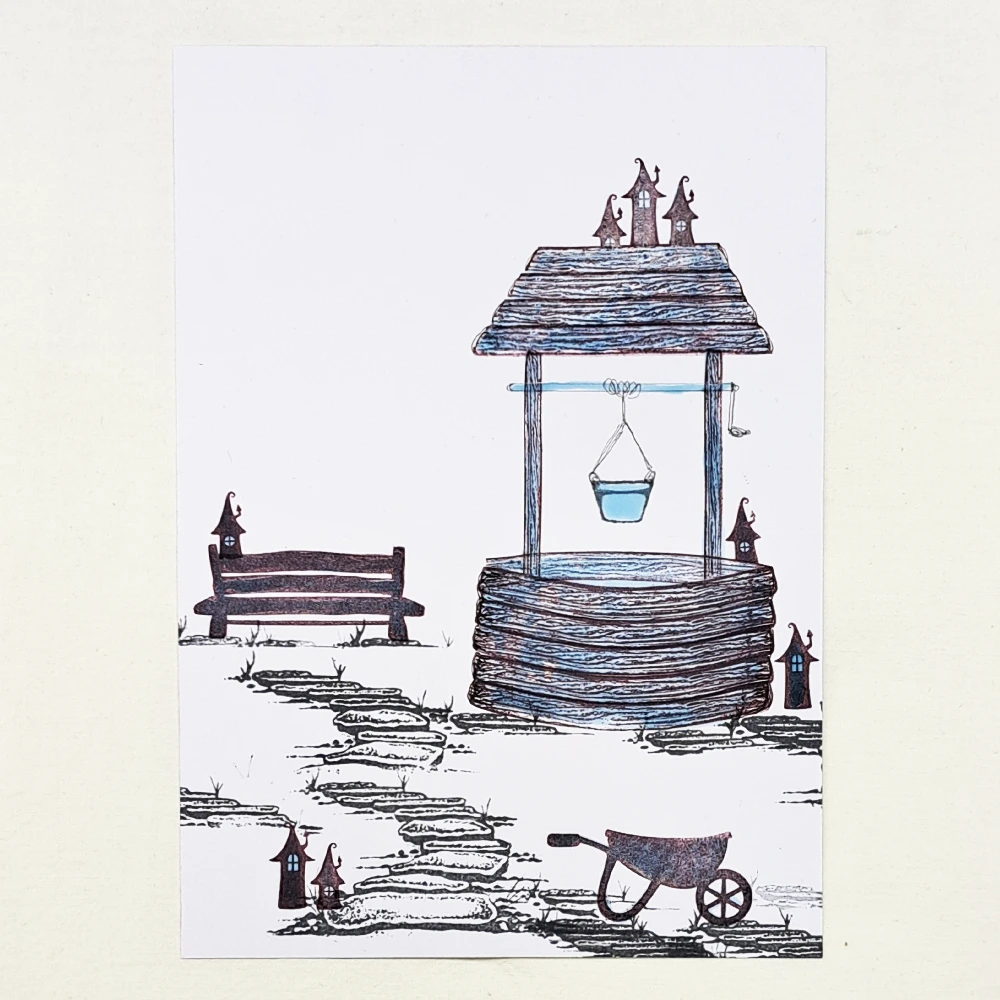
Step 8.
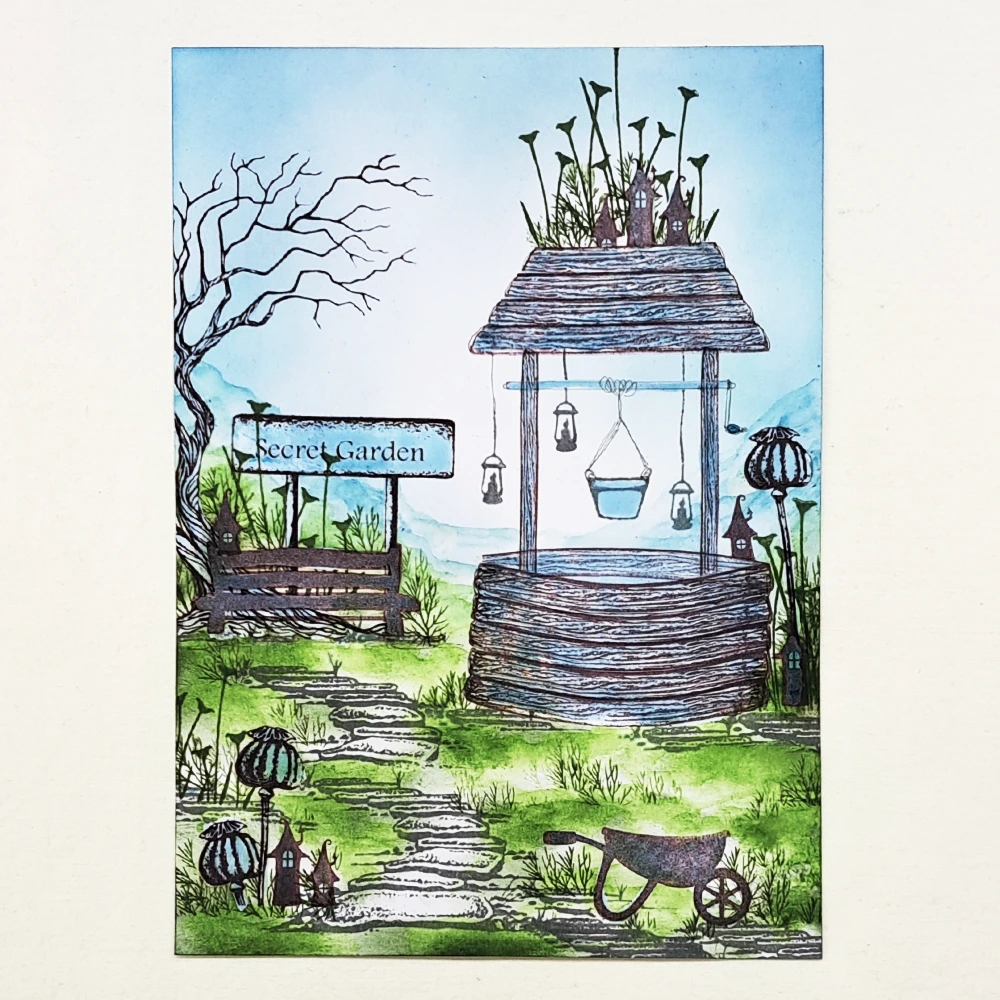
Now for the fun part, adding some colour! We will be using Elements Inks in Olive for the ground and Elements Inks in Blue Atol for the Sky. Apply the colours as shown in the picture above. Use a Watercolour brush to blend and move the colours around to create more movement in the picture.
Step 9.
We need some flowers! Stamp with the Flora Set Stamps LAV698 and the Bluebells Stamp LAV002 using the Versafine Clair Ink in Shady Lane.
Step 10.
Let’s add some leaves to the trees. Stamp with the Wild Foliage Stamp Set LAV980 using the Versafine Clair Ink in Shady Lane. Stamp using both the first and second generation stamping technique to create depth in our treetop.
Step 11.
Now we are going to remove the Masking! Before we do so we need to make sure that the card is absolutely 100% dry, or else the paper will rip when you start rubbing. To ensure the card is dry you can use a heatgun.
Rub the Masking off.
We want some more movement in our sky and some far away hills. We will use a watercolour brush to move the colours to create dimension and texture.
Step 12.
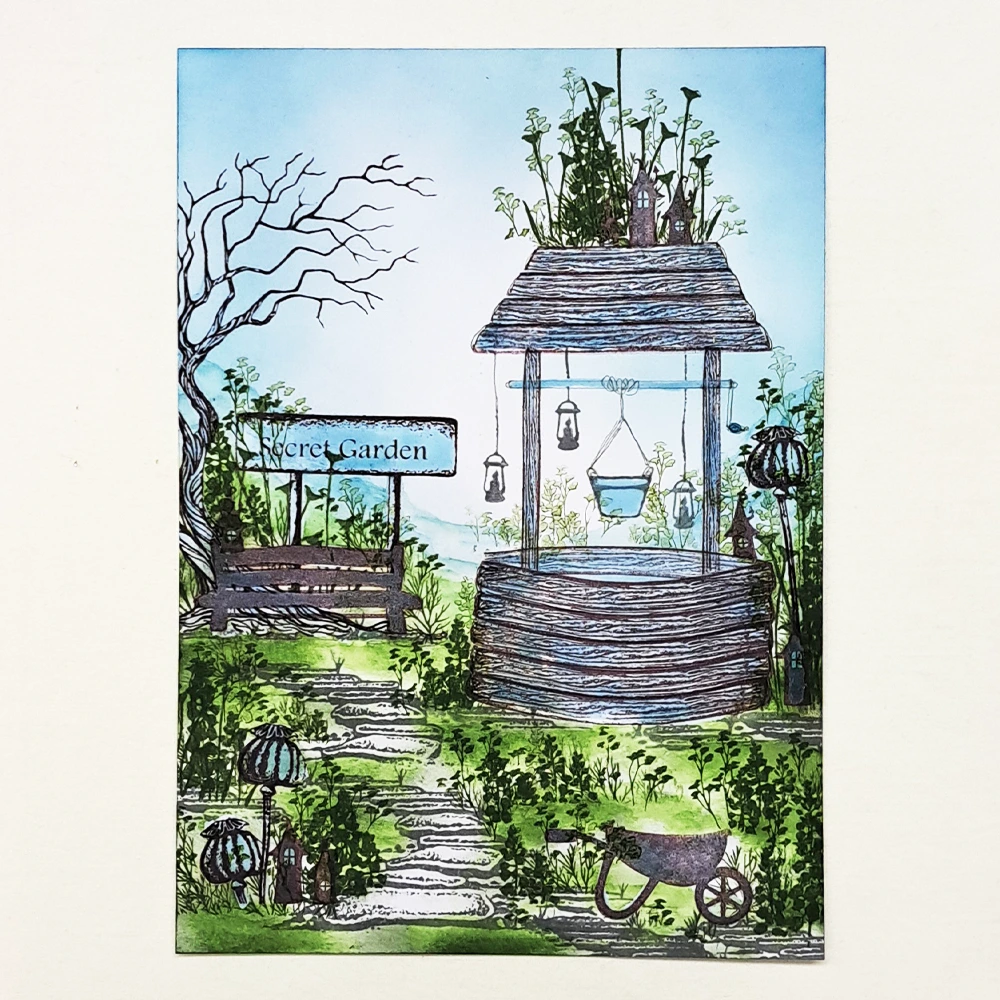
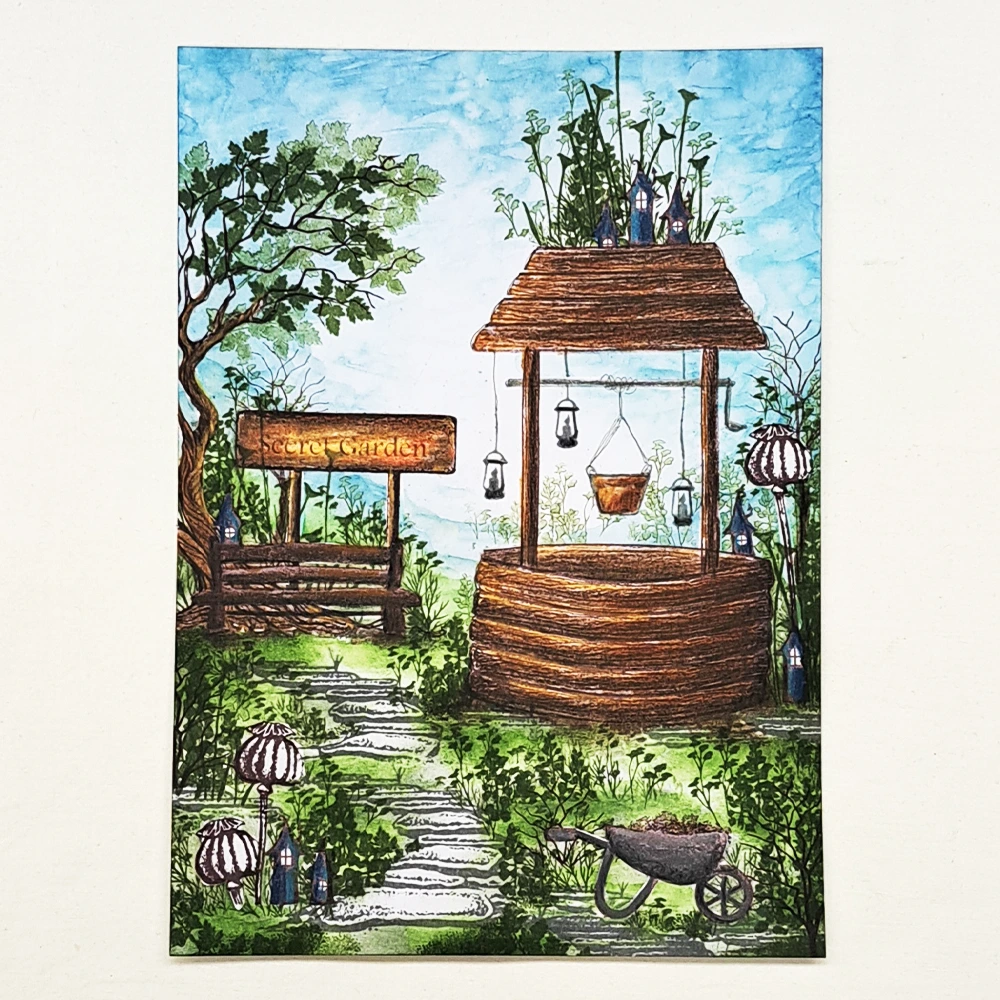
Time to start colouring! I use my Mondeluz Aquarelle pencils because they are so soft and bright in colour. They blend beautifully even without using water.
To create depth in colour and give our objects more life, we will use several shades of colour on each object.
For all our wooden parts we want to use Dark Brown, Brown, Redish Brown, Ochre and Black. Our Pixy Houses will be Blue, Gray and Black. The Wheelbarrow will be Dark Grey, Light Grey and Black.
We want there to be something in our Wheelbarrow, so it doesn’t look deserted. We will stamp the tiny foliage stamp in the Spring Trees Stamp Pack LAV168 using the Versafine Clair Ink in Pinecone. It will look like some fresh bark for the flowers.
Step 13.
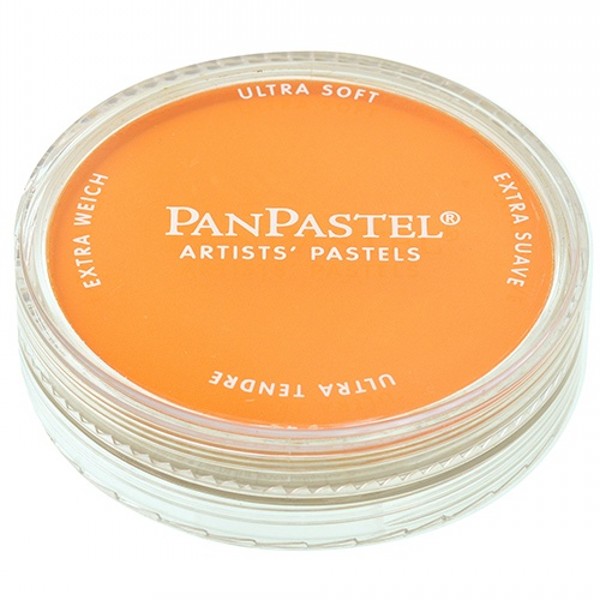
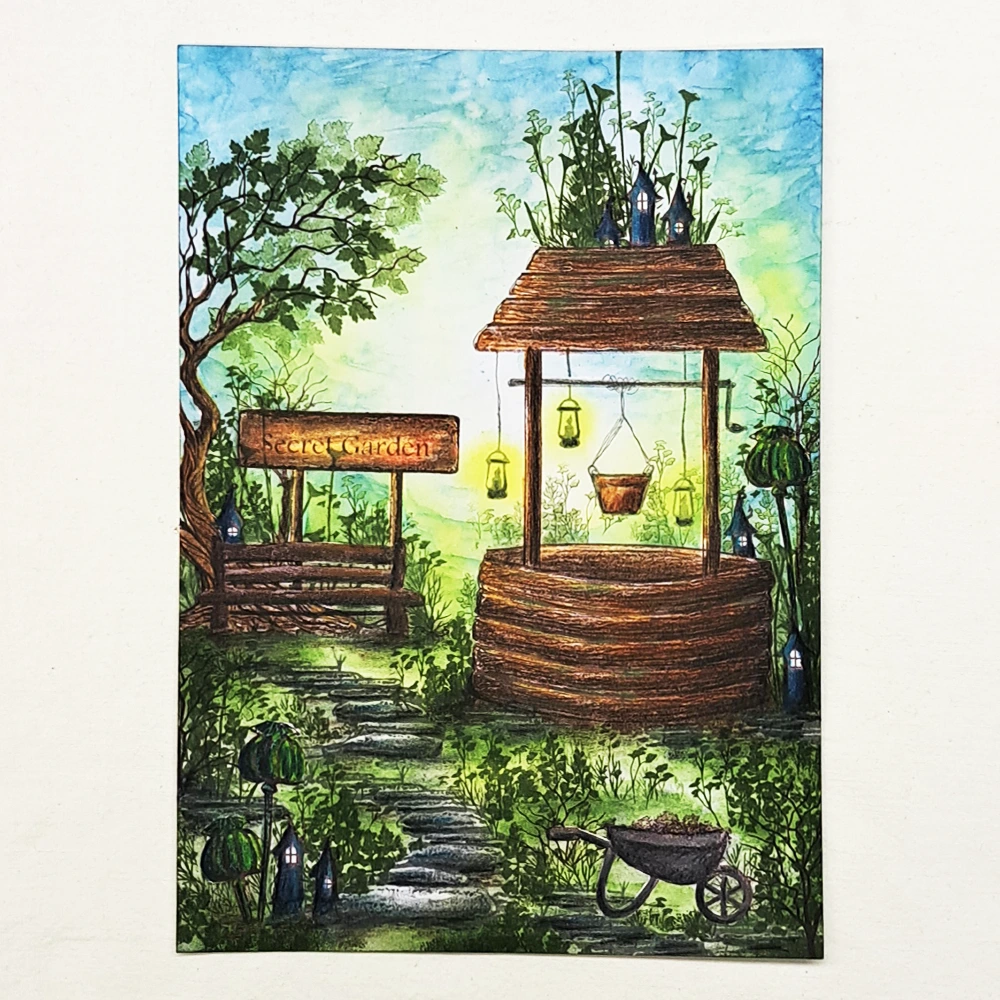
Let’s add some magical light! Using the Hansa Yellow Panpastel, both for the light in the sky and for the light in our Lanterns. Add a touch of it on the ground as well.
For our wonderful Poppies, we will colour them in Green , Blue and Brown. The fabulous Fairy Path will be coloured in several shades of Gray, Black and White.
Step 14.
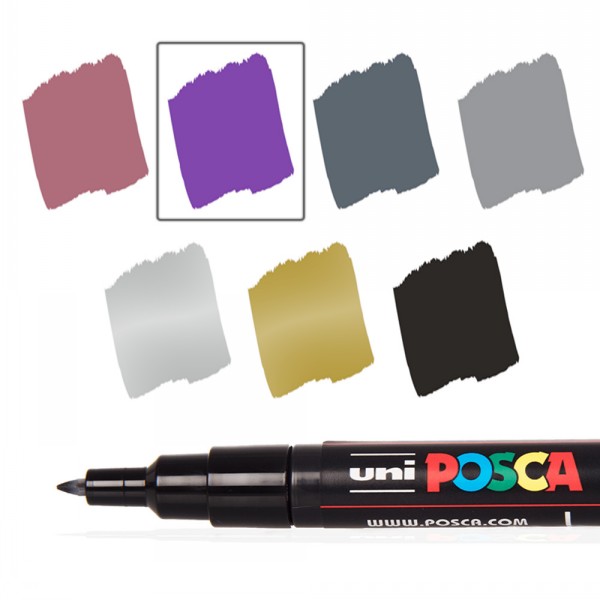
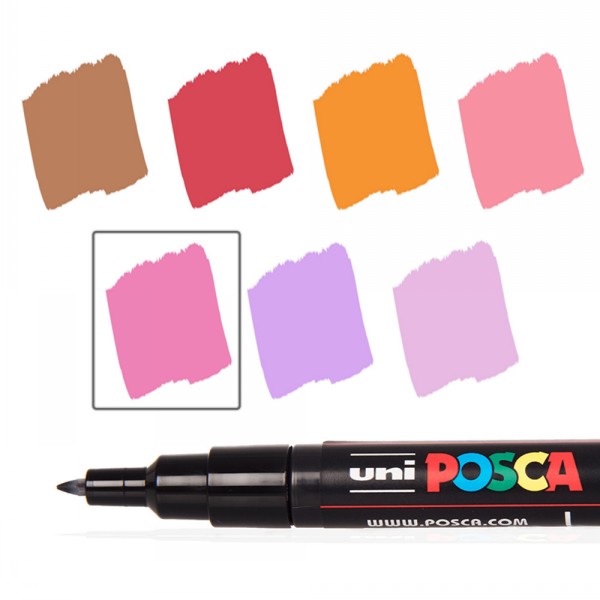
Our Bluebells will be Wine coloured with a highlight using a Light Pink Posca Pen. We will colour the Buttercups with a Yellow and a White Posca Pen.

Step 15.
The Flowers set we will be coloured in Blue. Now we can start to do highlights on everything. The Signo Uniball Pen in White is great for doing this.

Step 16.
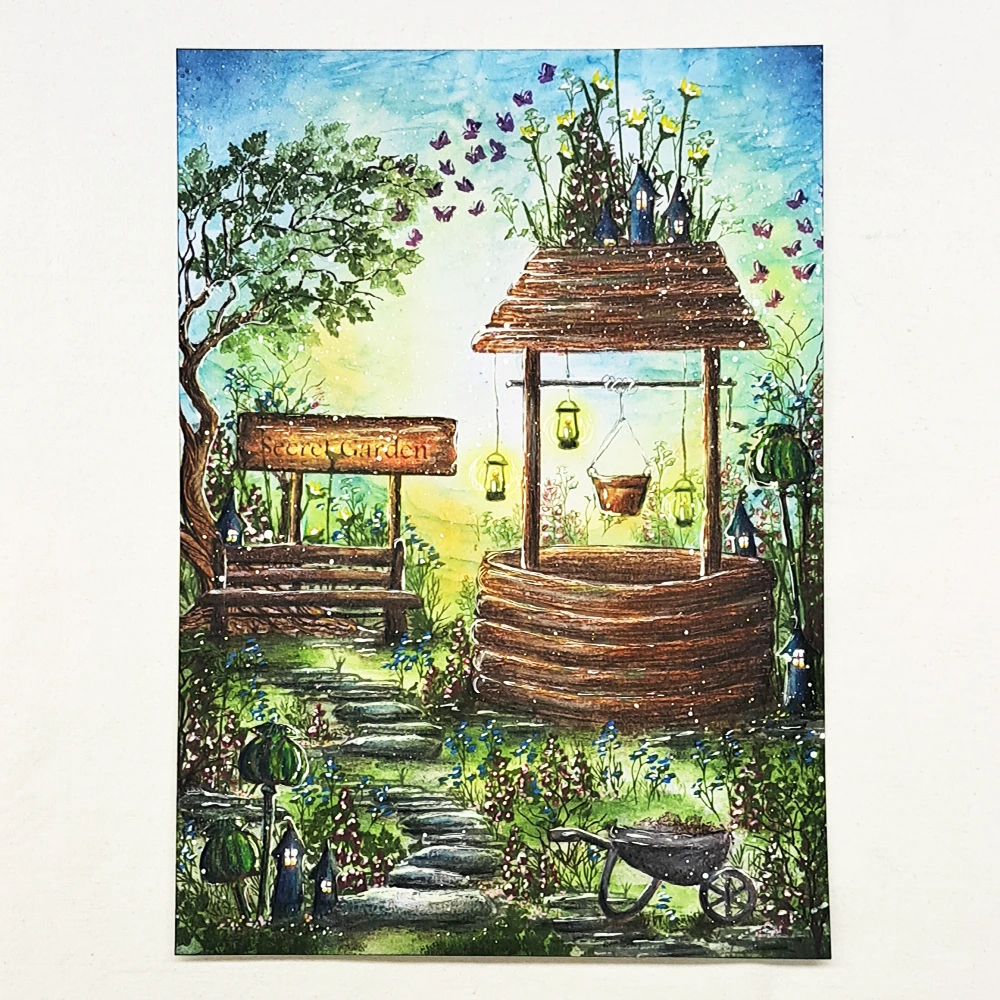
Let’s add some Flutterbies LAV556, stamp using the Versafine Clair Ink in Hawthorn Rose. Colour using a little bit of purple to create a little shadow.
Our magical light will be even more magical when we will add a hint of Panpastel Orange. Look at the picture for placement.
Step 17.
For our finishing touch we will do some White Posca Pen splatter.
We have now finished our card, and I really hope you enjoyed following my Step By Step Tutorial. If there is anything else you want to ask me, just send me a message and I will answer as soon as I can.
Big hugs from Mona.