Step by Step
Hi everyone, Mona here.
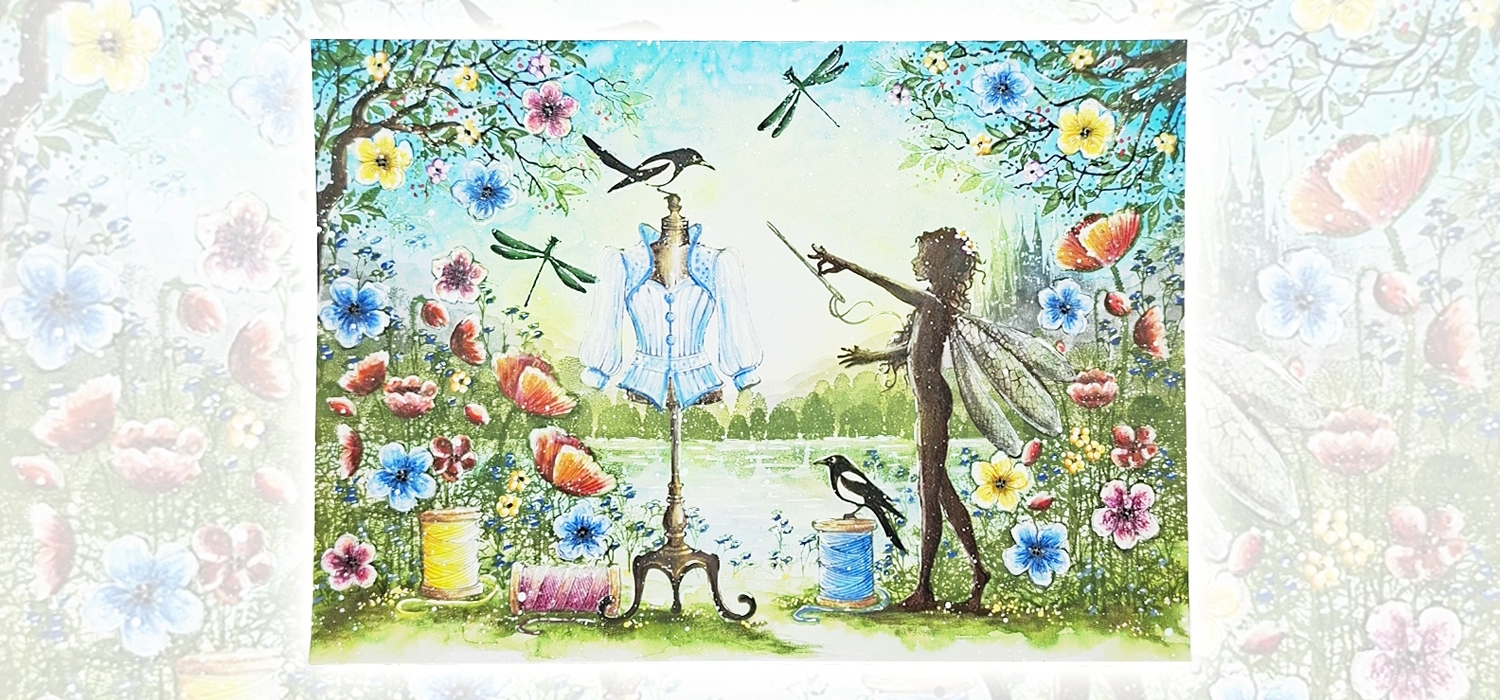
A new year and many new tutorials to come! Here is a magical scene to show the colours of nature even through these darker winter months.
It is called “Aurora” and I hope you like it.
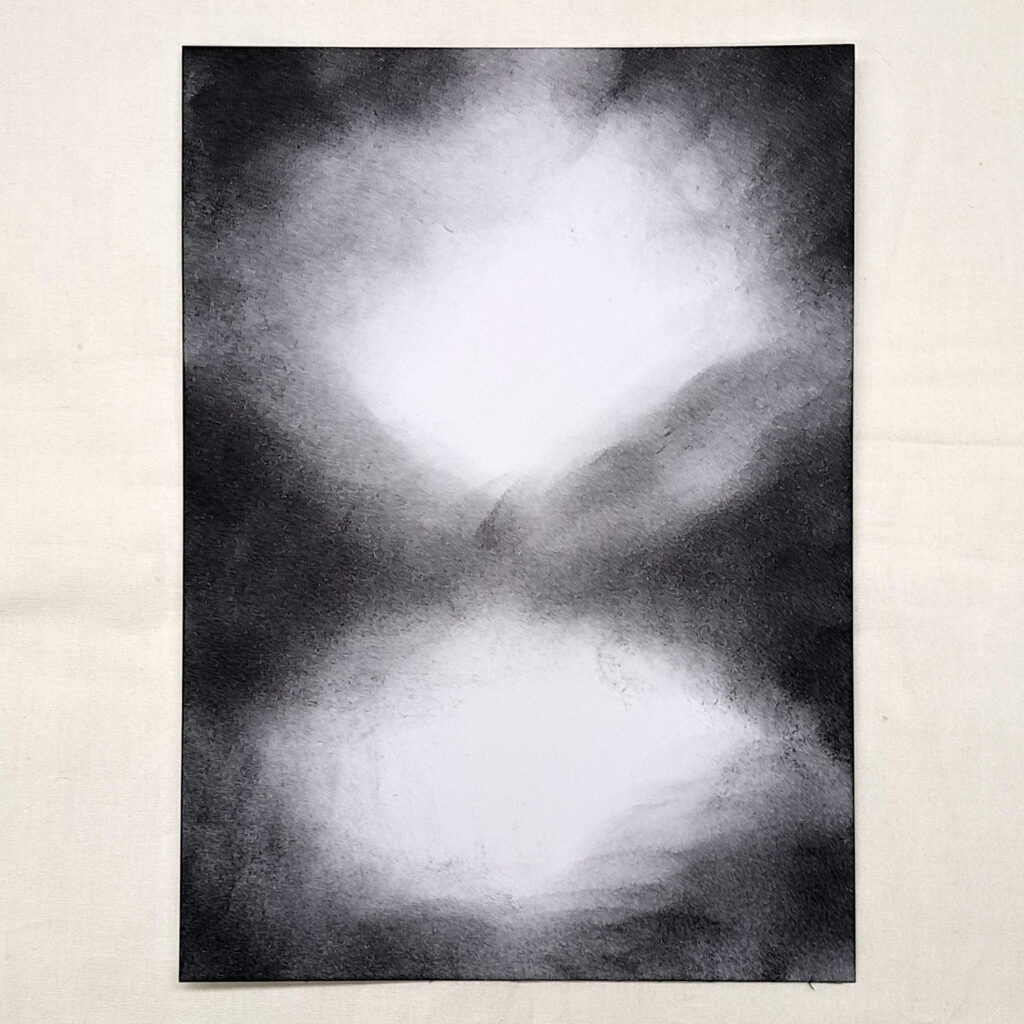
On A5 white Multifarious card we start by creating some of the background first. Use a stencil brush to apply Elements ink Graphite like you see in the picture.
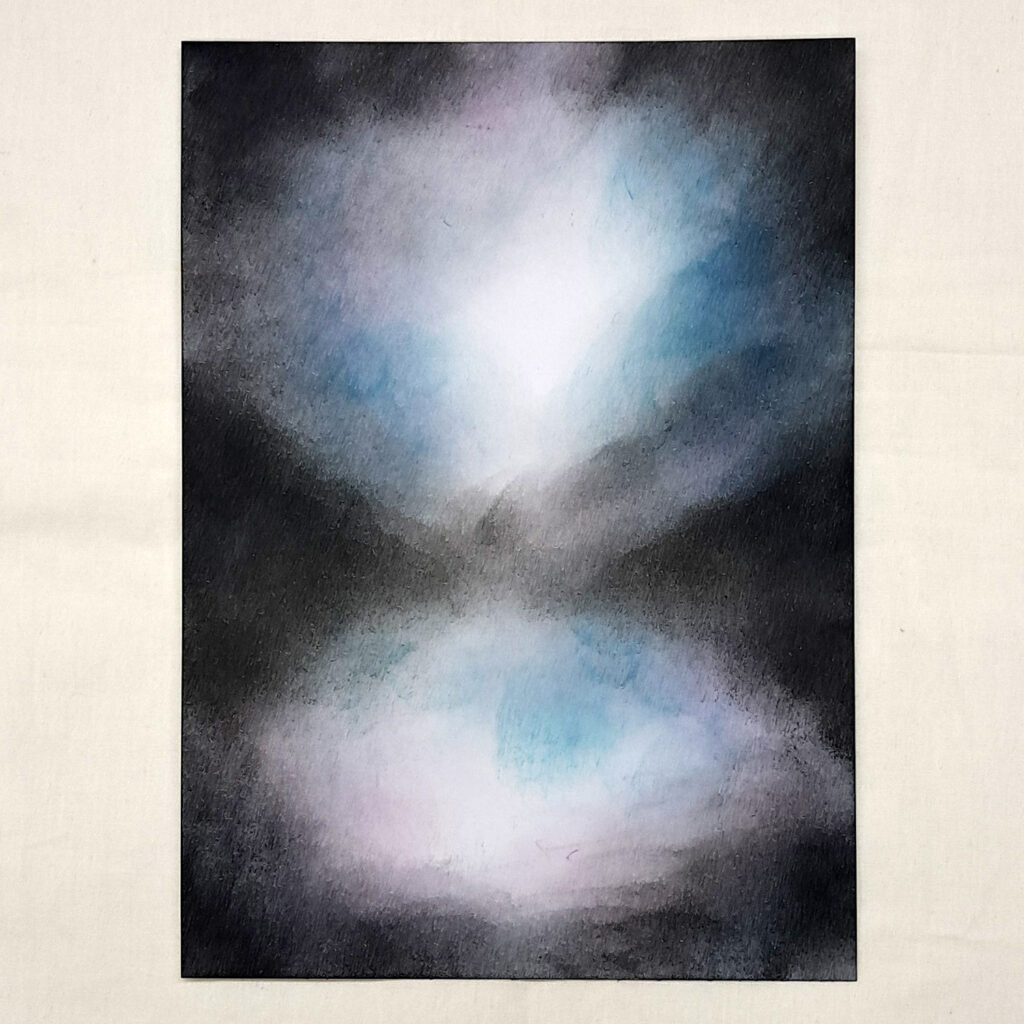
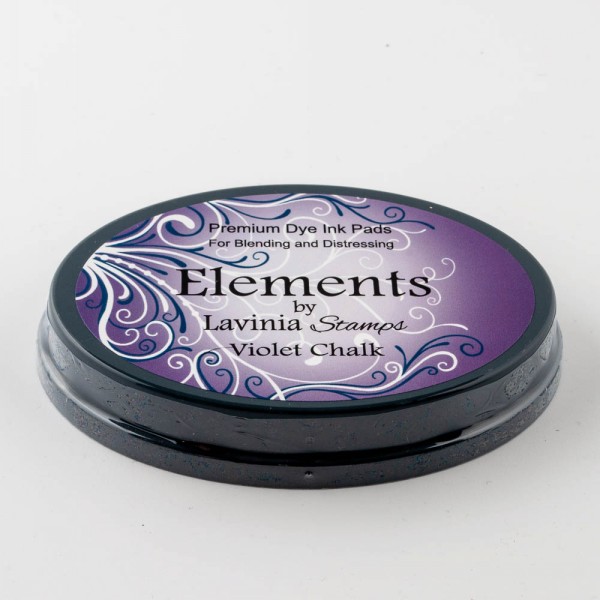
Next add some Elements ink Blue Atoll and Elements ink Violet Chalk as in the picture.
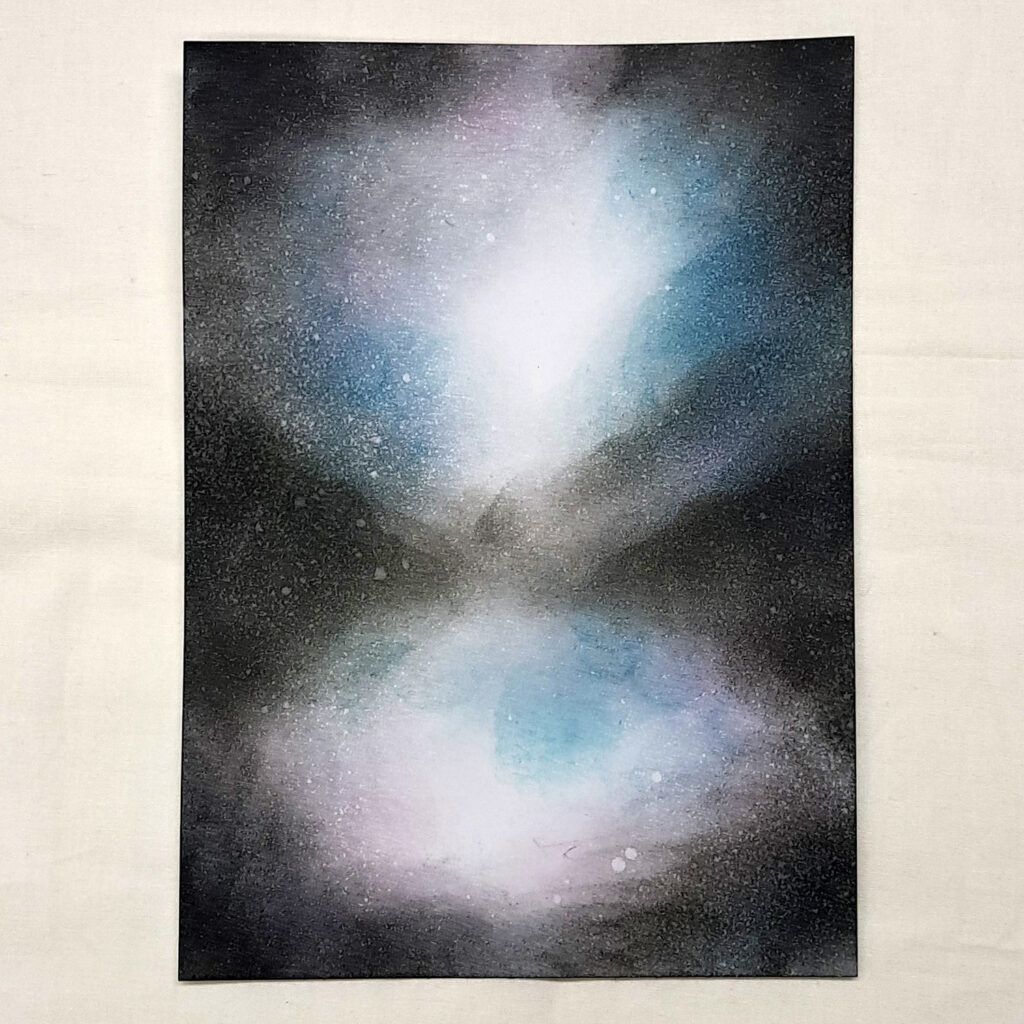
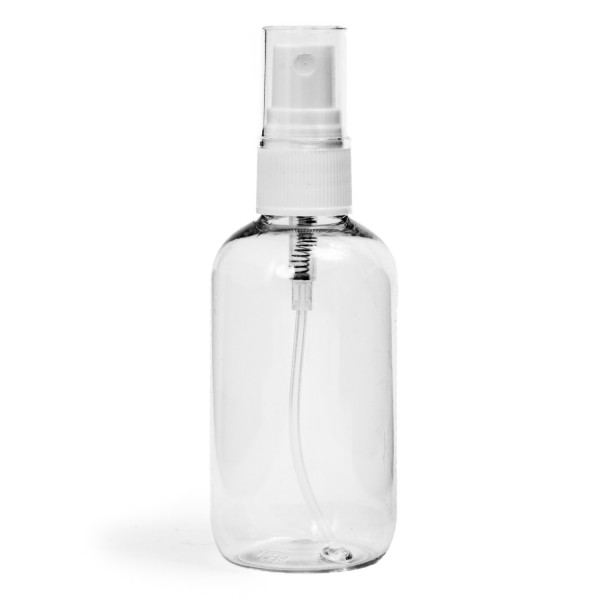
Spray some water on your card and let the magic happen. Make sure your card is completely dry before you continue.
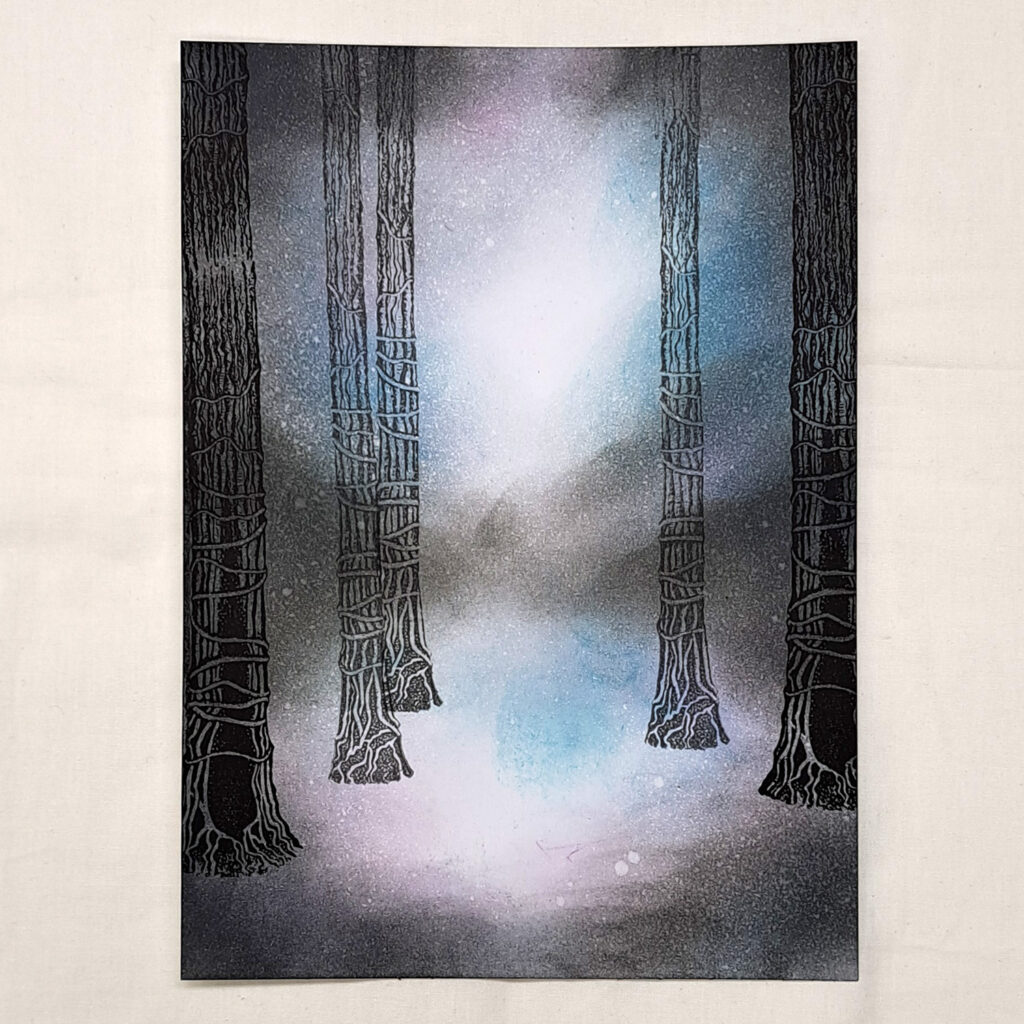
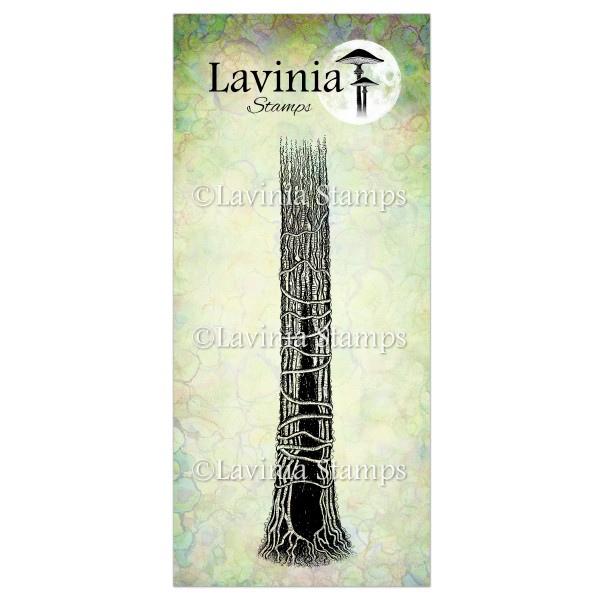
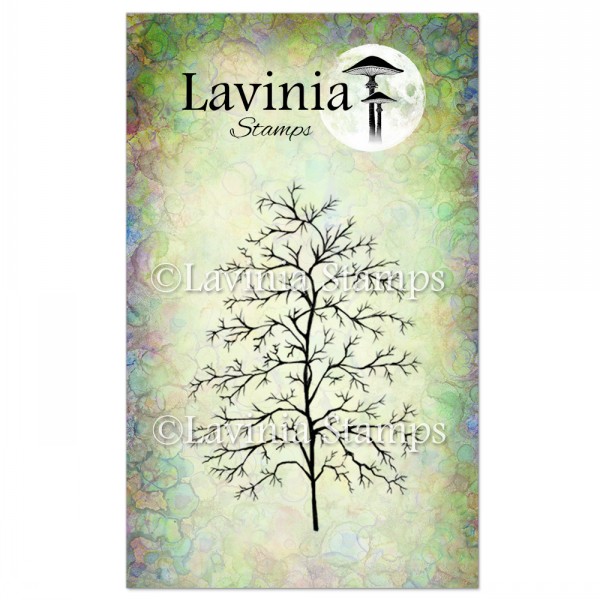
We need many trees so let us start with Tree Den LAV642 and ink up with Versafine Clair Nocturne and stamp some trees on either side. The three other trees are the Tree Stem LAV643. Ink up in Versafine Clair Morning Mist. This softer colour helps to make them appear further away. Now put Masking fluid on all the trees.
We want some bushes and the Fern Leaf LAV124 will be perfect. Ink up with Versafine Clair Nocturne and look at the picture for placement.
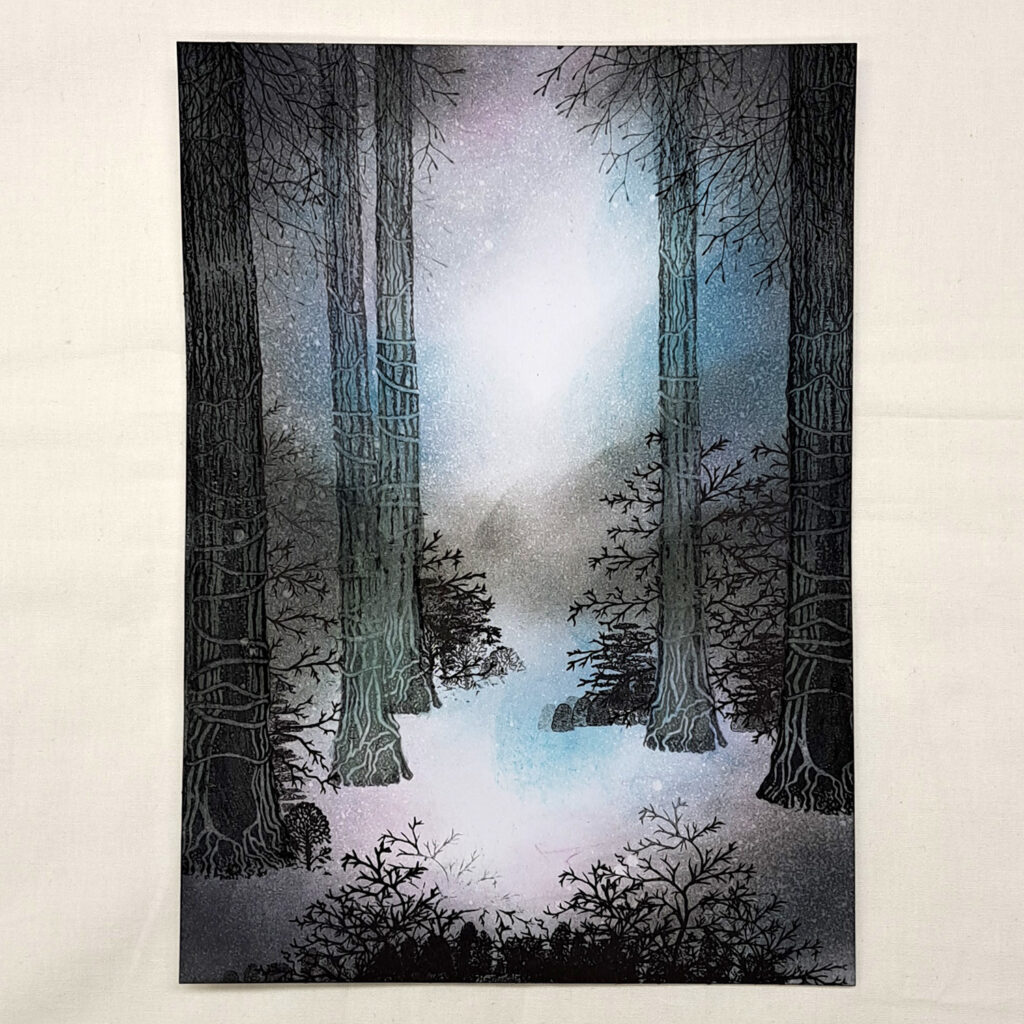
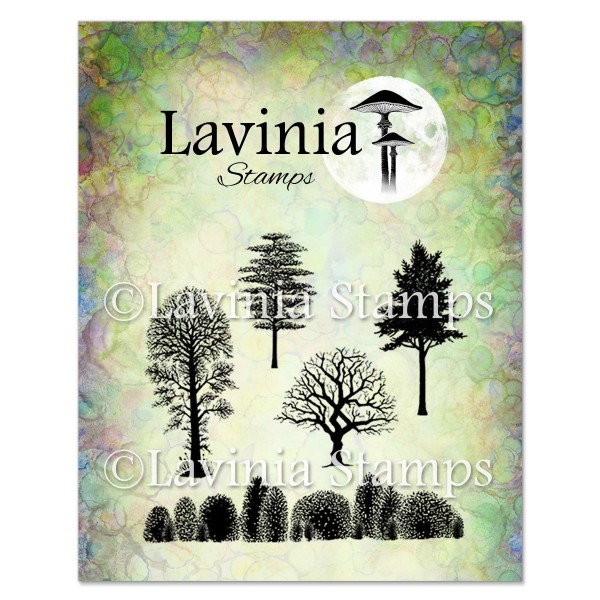
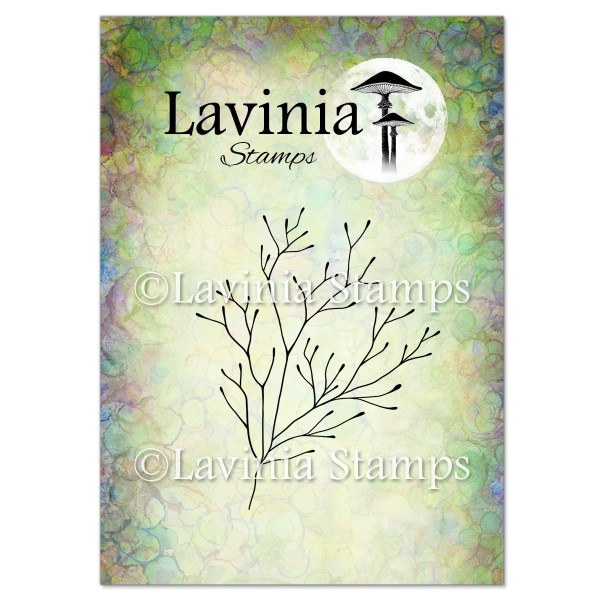
Some more tiny bushes are needed and the tiny trees from the Tree Scene stamp LAV219 is ideal! Stamp up in Versafine Clair Nocturne. The trees also needs some branches and this time we will use Small Branch LAV703 stamped with Versafine Clair Nocturne.
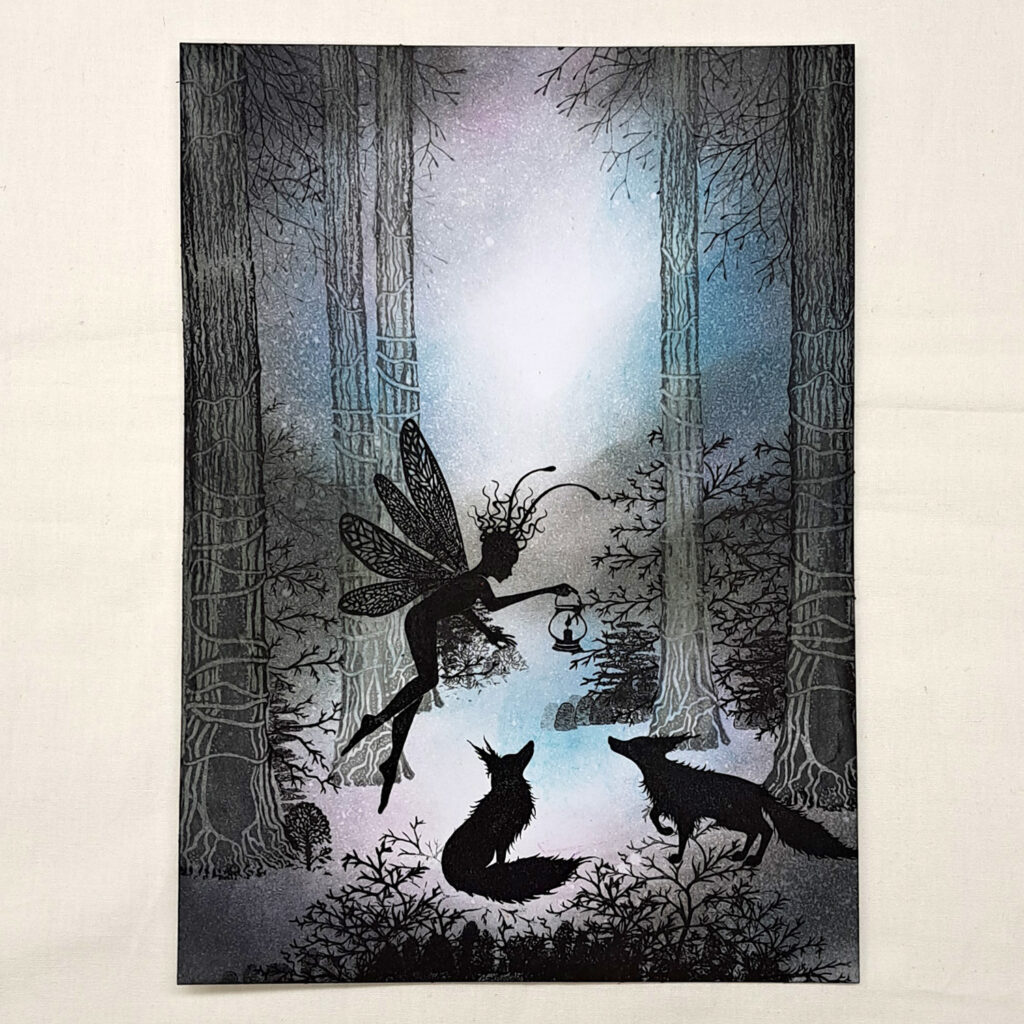
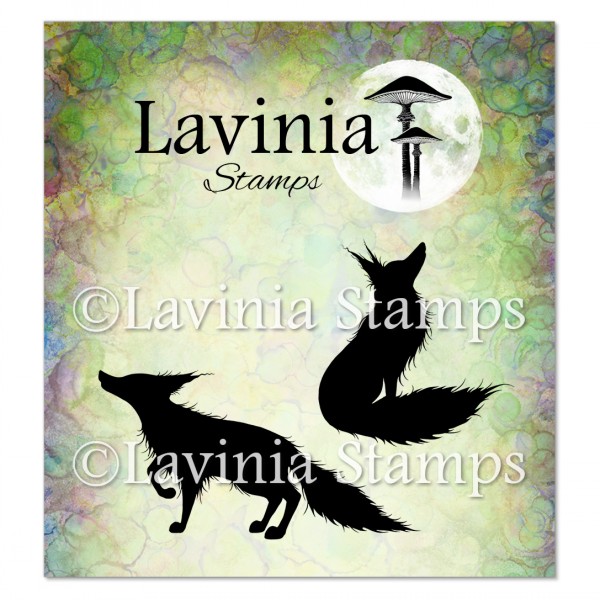
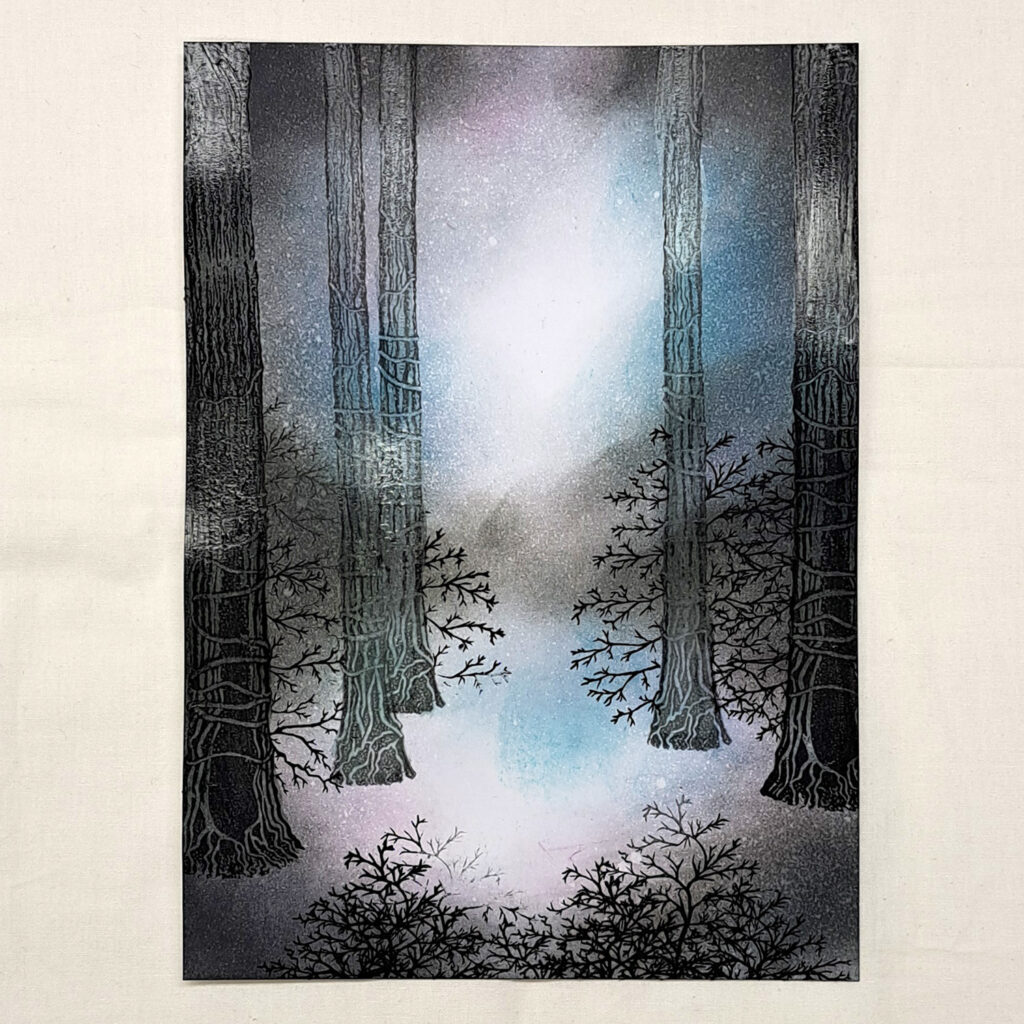
The beautiful Foxes from the Fox Set 1 LAV635 and Dragonfly Keepers LAV 461 will be the ones who get to observe this Aurora Borealis. Ink up all of them with Versafine Clair Nocturne. Look at the picture for placement.
My wonderful Mondeluz watercolour pencils from Koh I Noor are perfect for colouring. Use a dark grey and some black to create some shadows around the trees, in the bushes. Make sure the foxes have a ground to stand on. Colour the foxes and the fairies with black but colour more softly where you want to have some highlights. Use a medium cold brown pencil to colour all the trees. Colour very softly because we want many layers of colour on them.
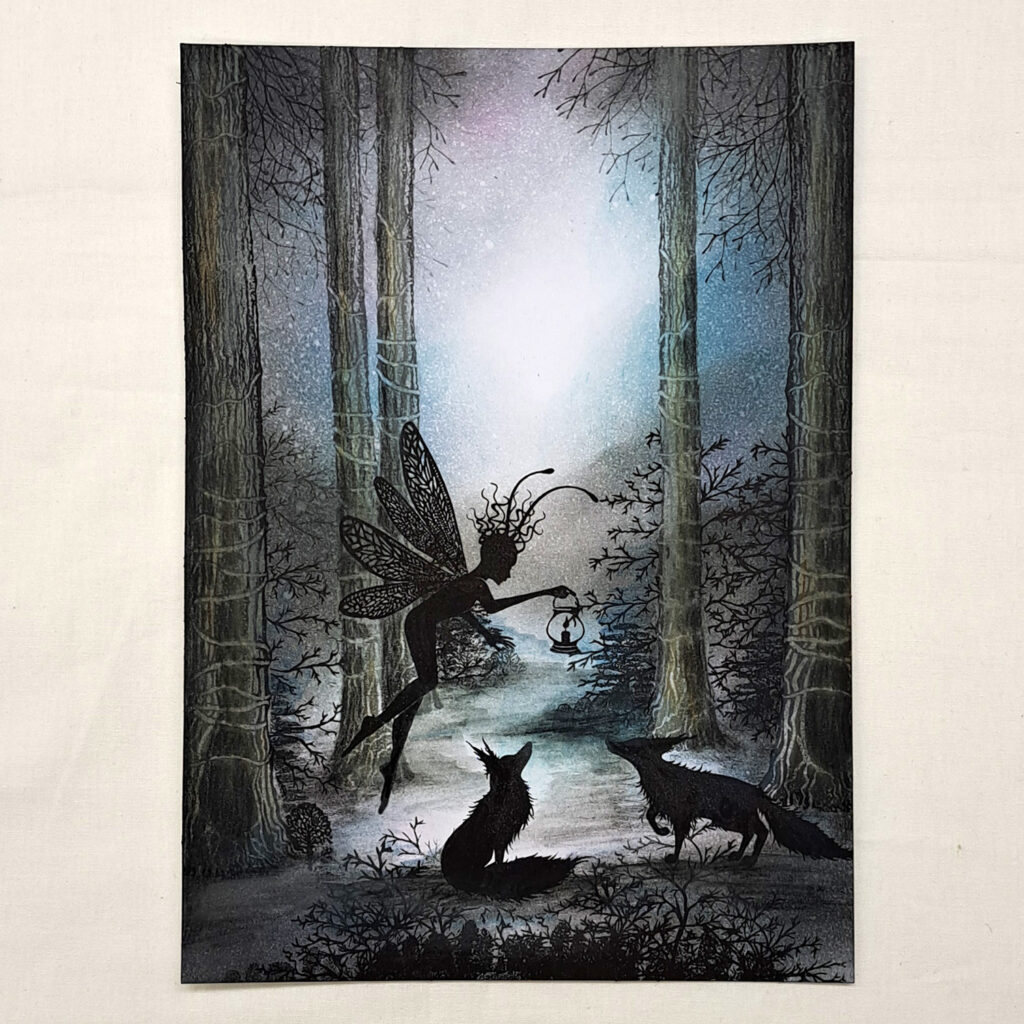
Let us continue to colour our trees. Use a black pencil to colour on the shadow side of the trees and on the side of the trees where the light catches them use our white colour pencil. The foxes and our fairy will also need some white colour on them so that it looks like there is light shining on them too.
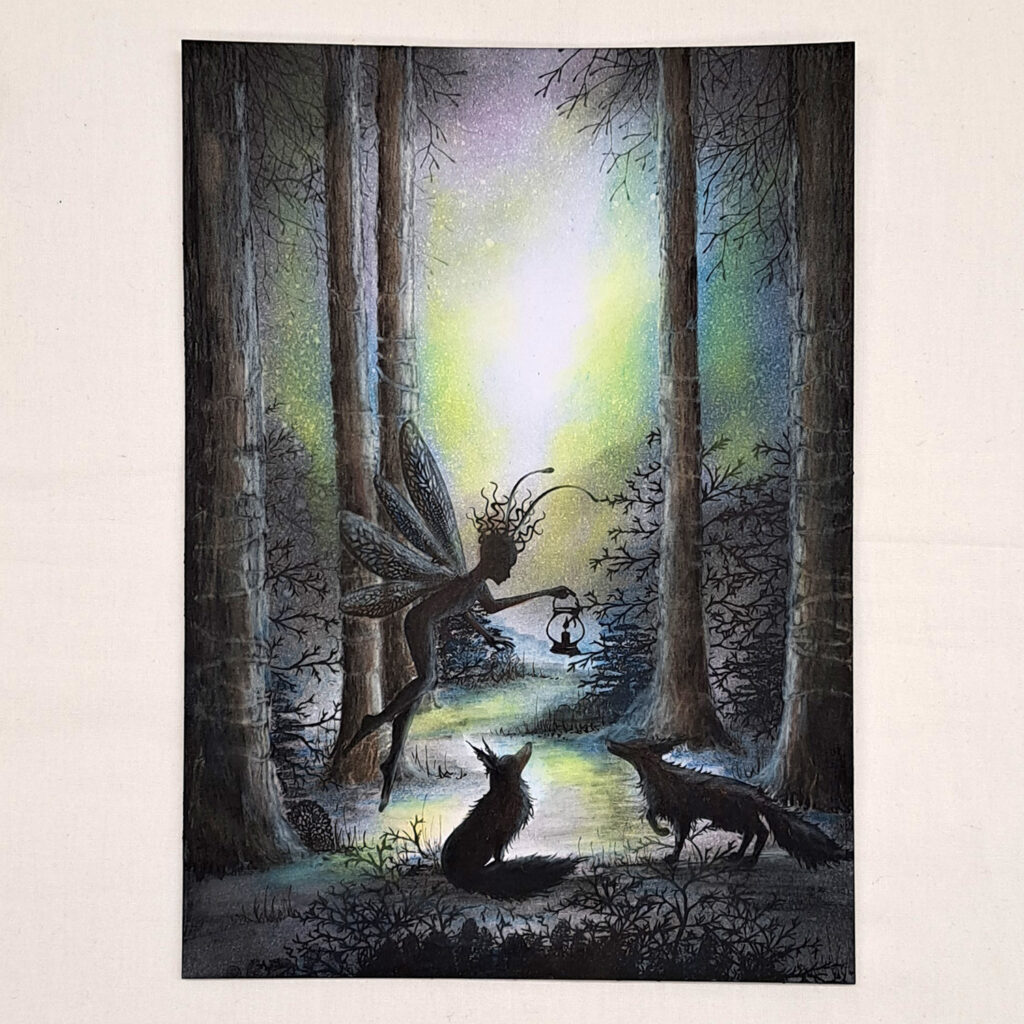
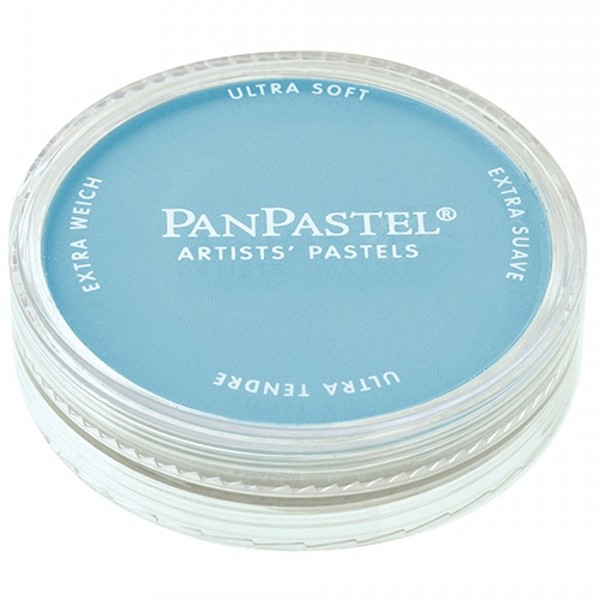
For the Northen lights I like to use Pan Pastels because they are very vibrant in colour, and you can erase the colour of if you are not happy with the colouring. This way you get the chance to try and to change it if you get it wrong. First colour is Hansa Yellow. Look at the picture for placement.
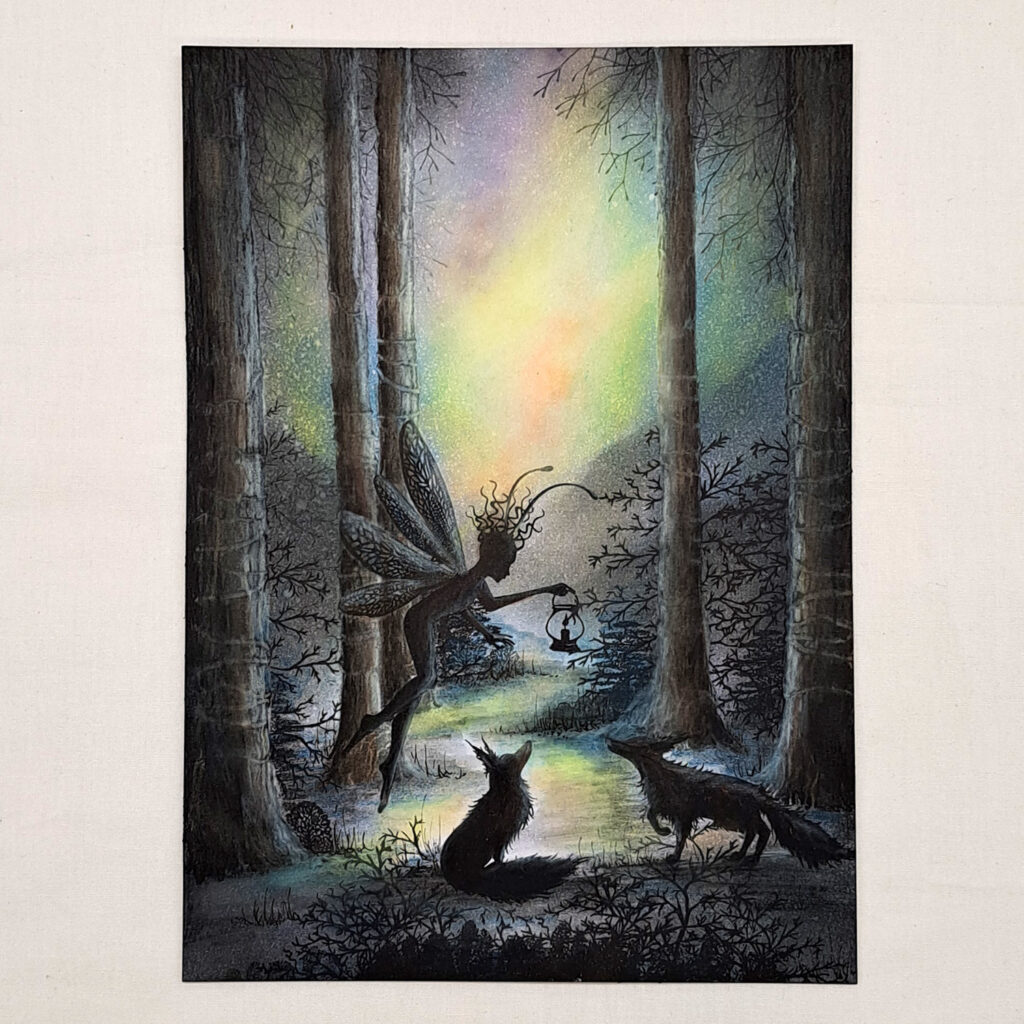
Now we use a beige colour pencil to do a little warmer colour in the middle. Colour very softly. Also colour a little bit on the ground as well.
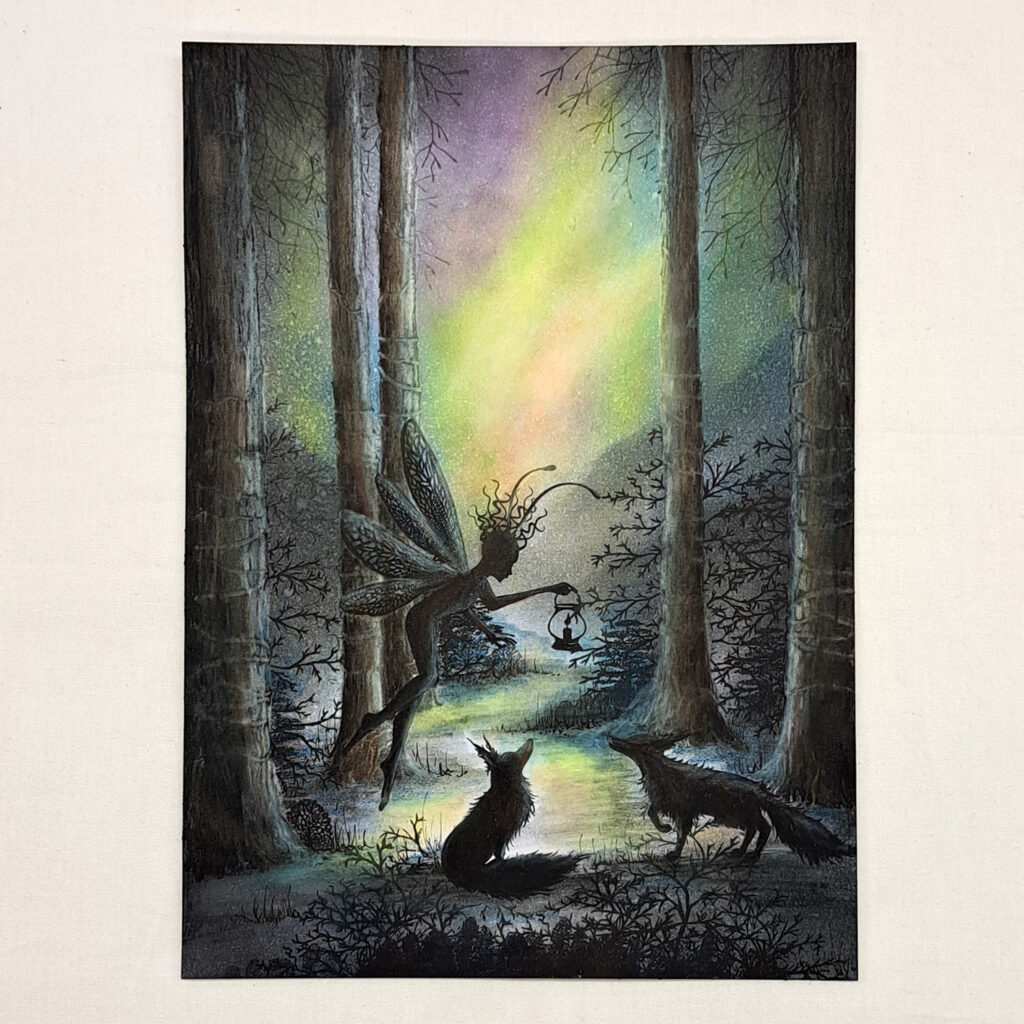
We can use some Pan Pastel Violet and some Turquoise to enhance the colours that are already in our sky. Making the colour brighter makes it look more like the northern lights.
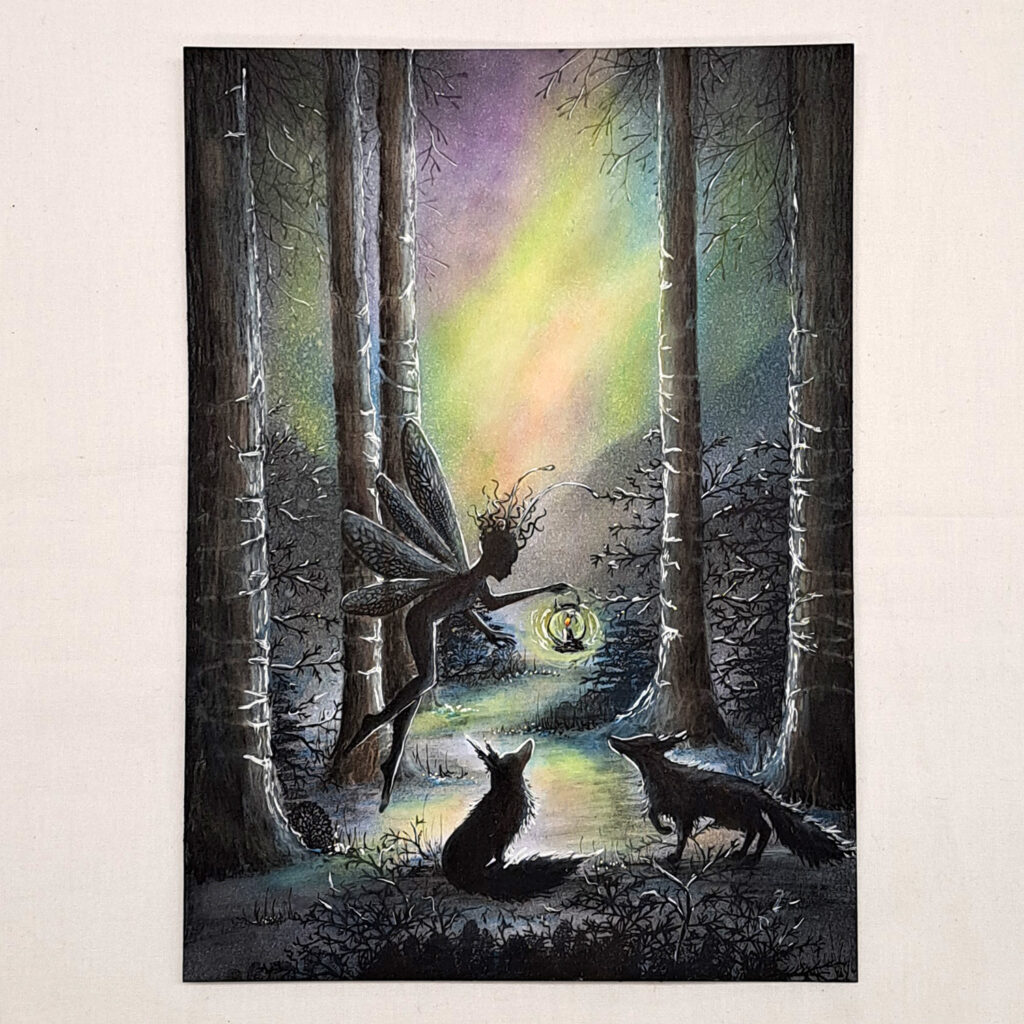
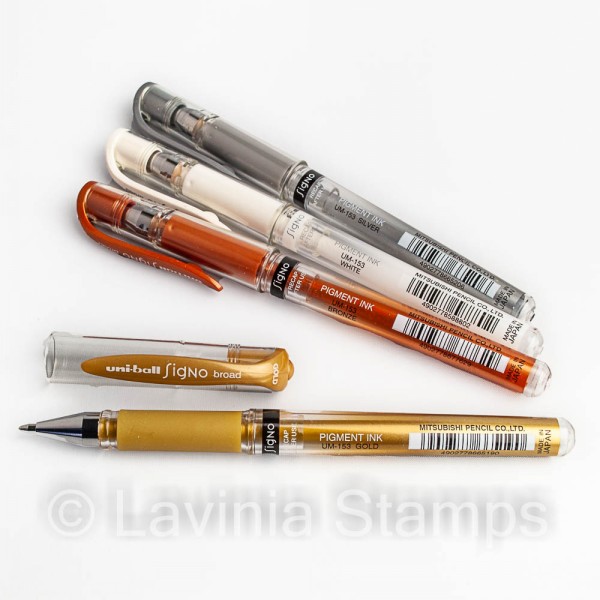
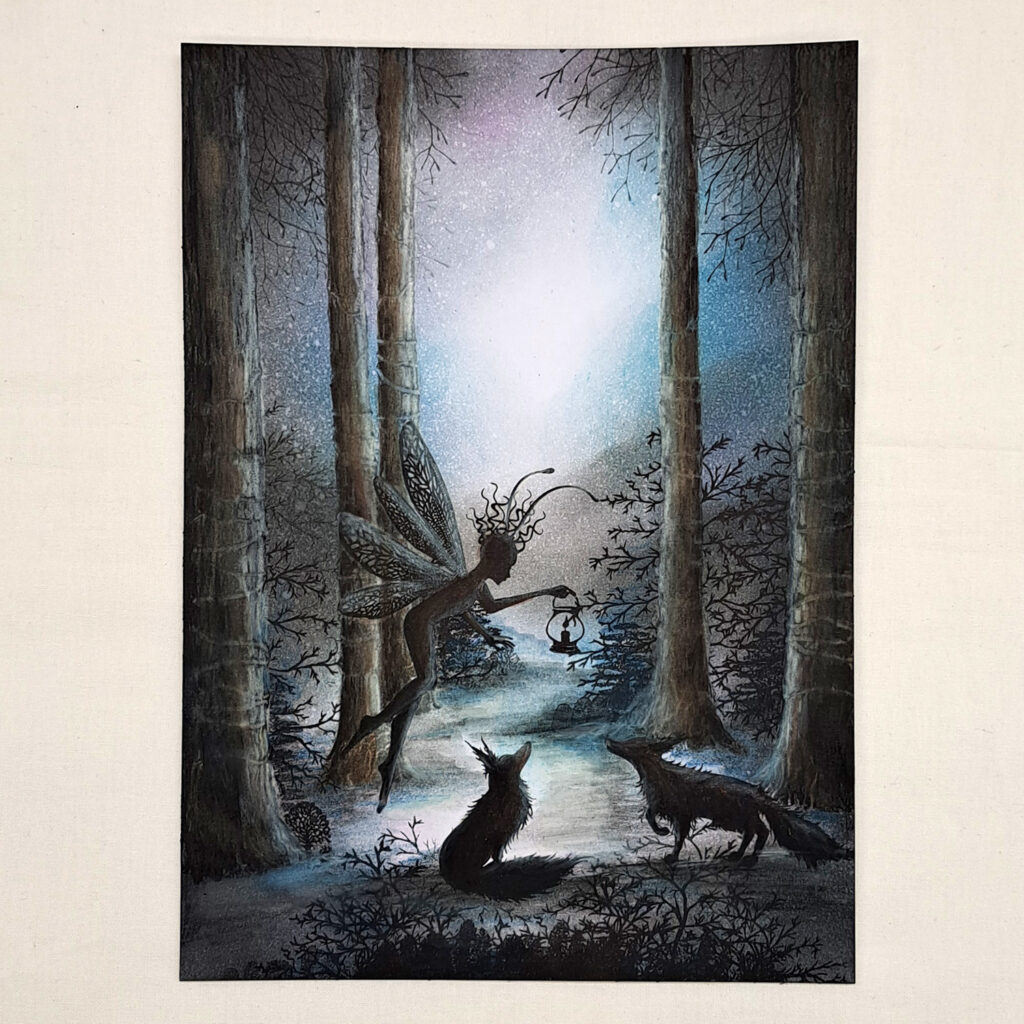
Now that our northern lights are done, we need to do highlights on everything so that it looks that the light is shining on everything. I love to use a white Uniball pen, but a white Posca pen is good too. Look at the picture for placement. Also, the lantern needs a bit of light. Use a bit of Hansa Yellow Pan Pastel in and around the lantern and then use the white pen to create some more light.
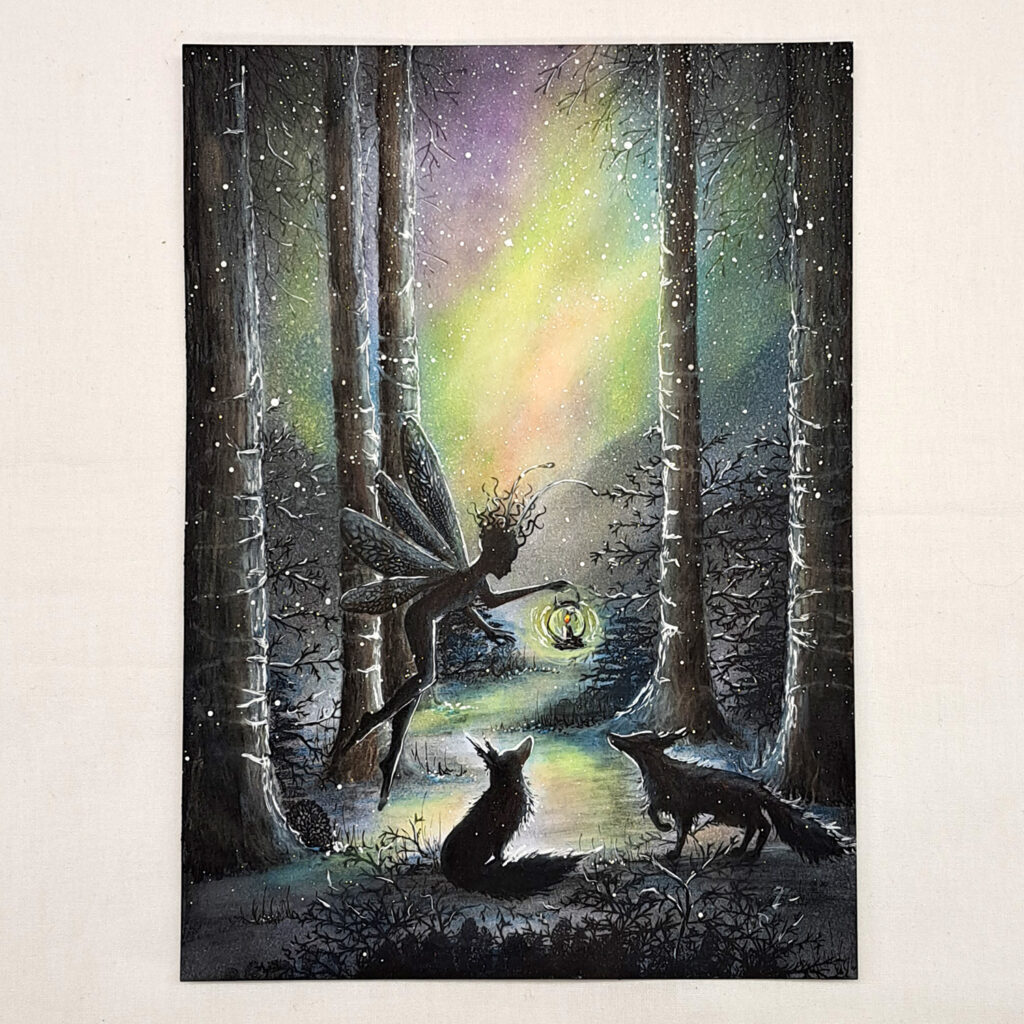
For our final touch we will do some white Posca pen splatter. Hold the Posca pen in your left hand and use something that is heavier than the Posca pen to hit the posca pen so that paint will leak out of the pen and fall on our picture. A Lavinia Stamps stencil brush series 9 works well. If you hit very hard on your Posca pen you will get tiny splatters but if you hit it not so hard you will get bigger “dots” on your picture.
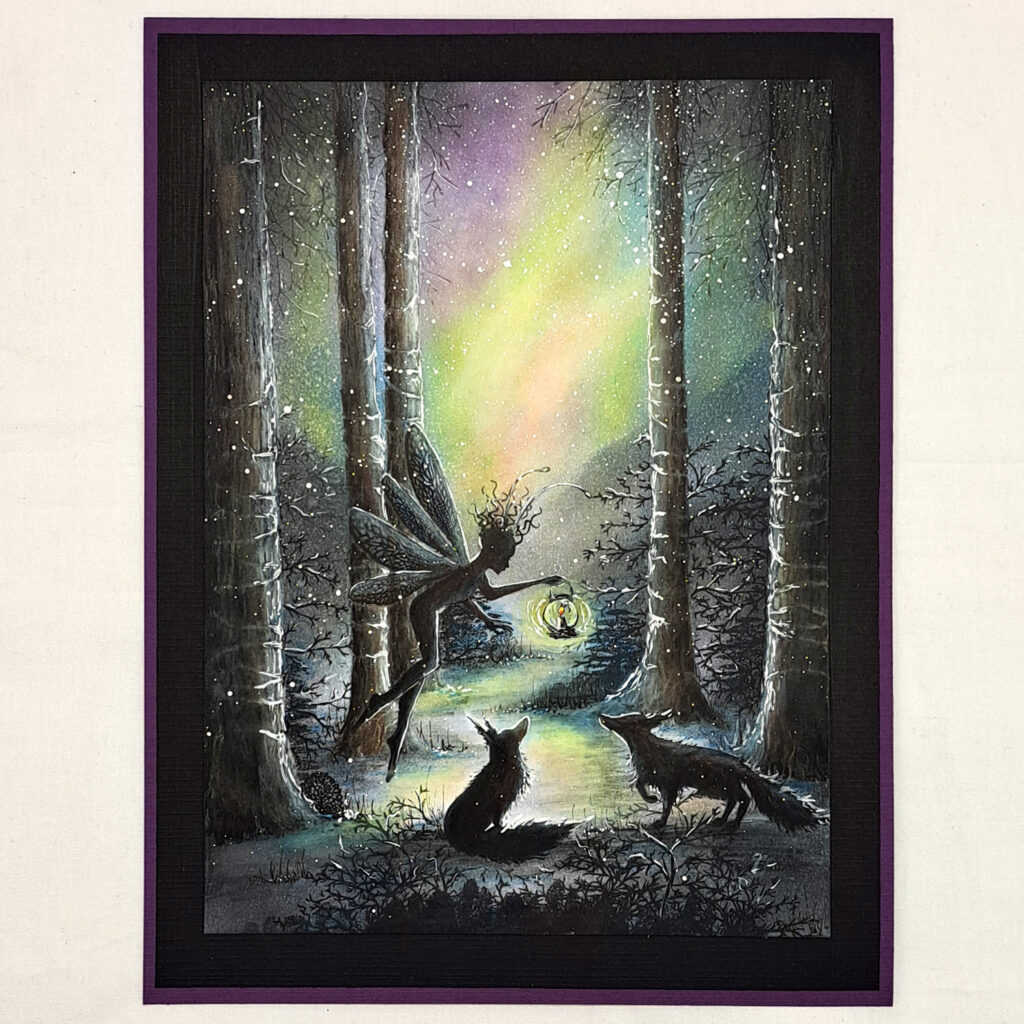
Our picture is finished, and I hope you enjoyed creating this card with me. If there is anything you want to know more about just ask me and I will respond as soon as I can.
Big hugs from Mona,
Happy Crafting!