Step by Step
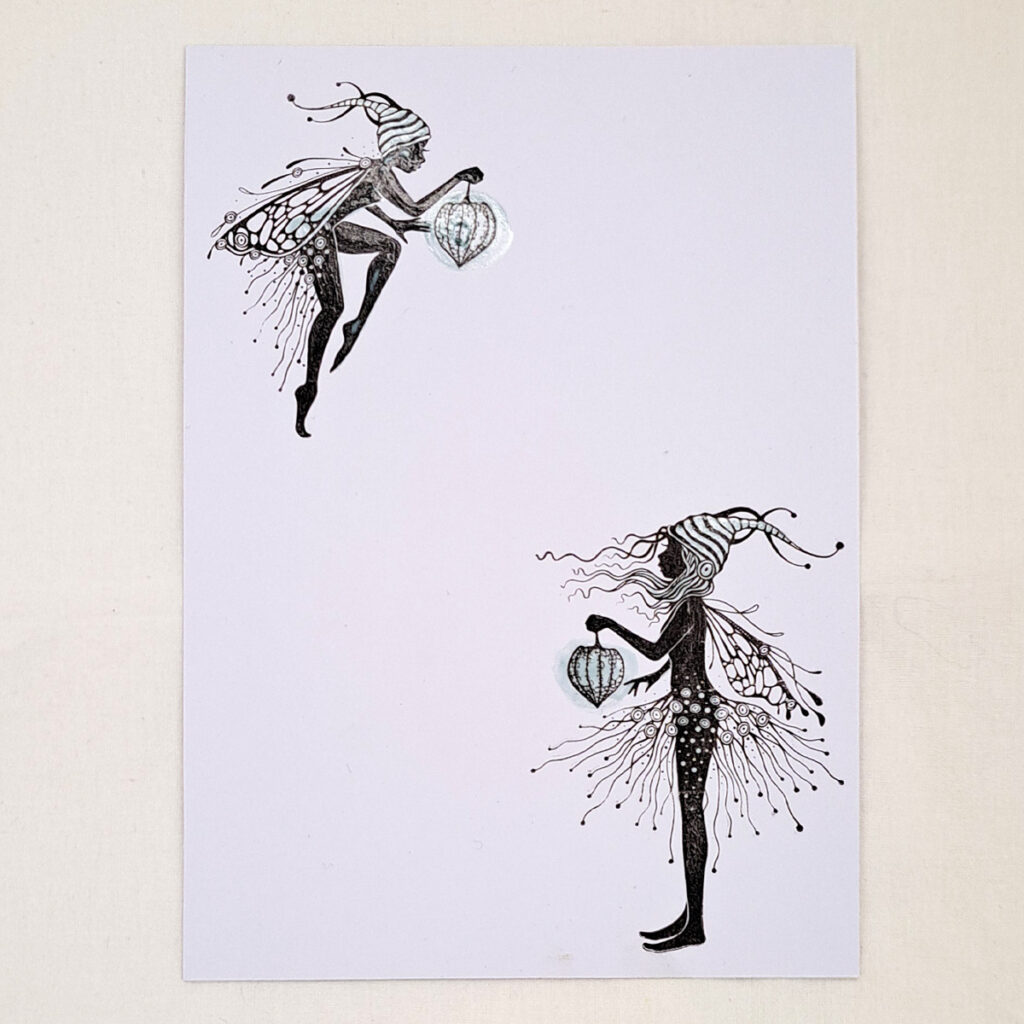
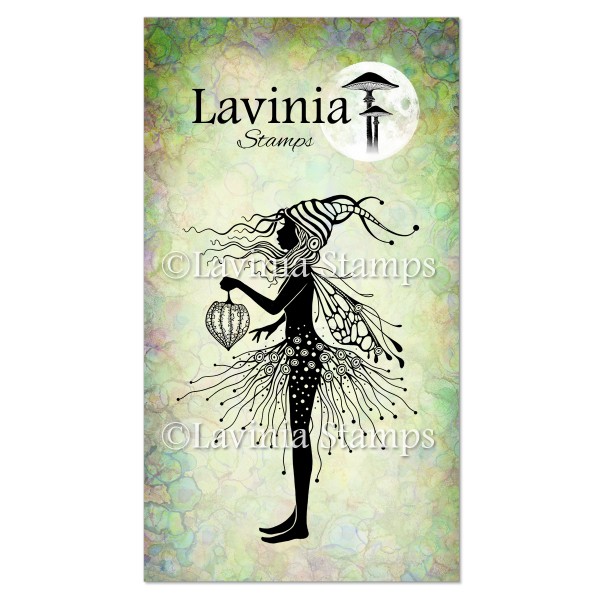
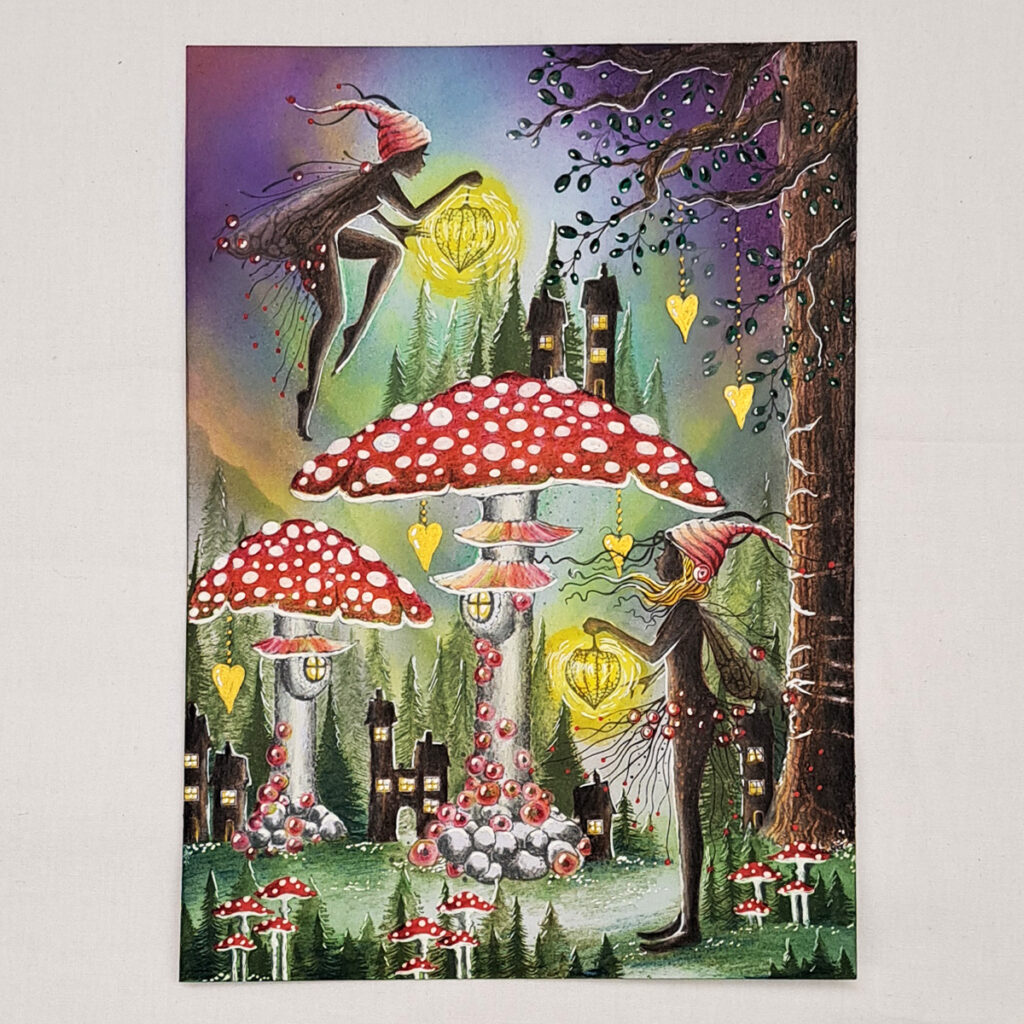
On some A5 white Multifarious card stamp the beautiful sisters Eve LAV833 and Starr LAV841 in Versafine Clair Fallen Leaves. Cover them in masking fluid but not their wings.
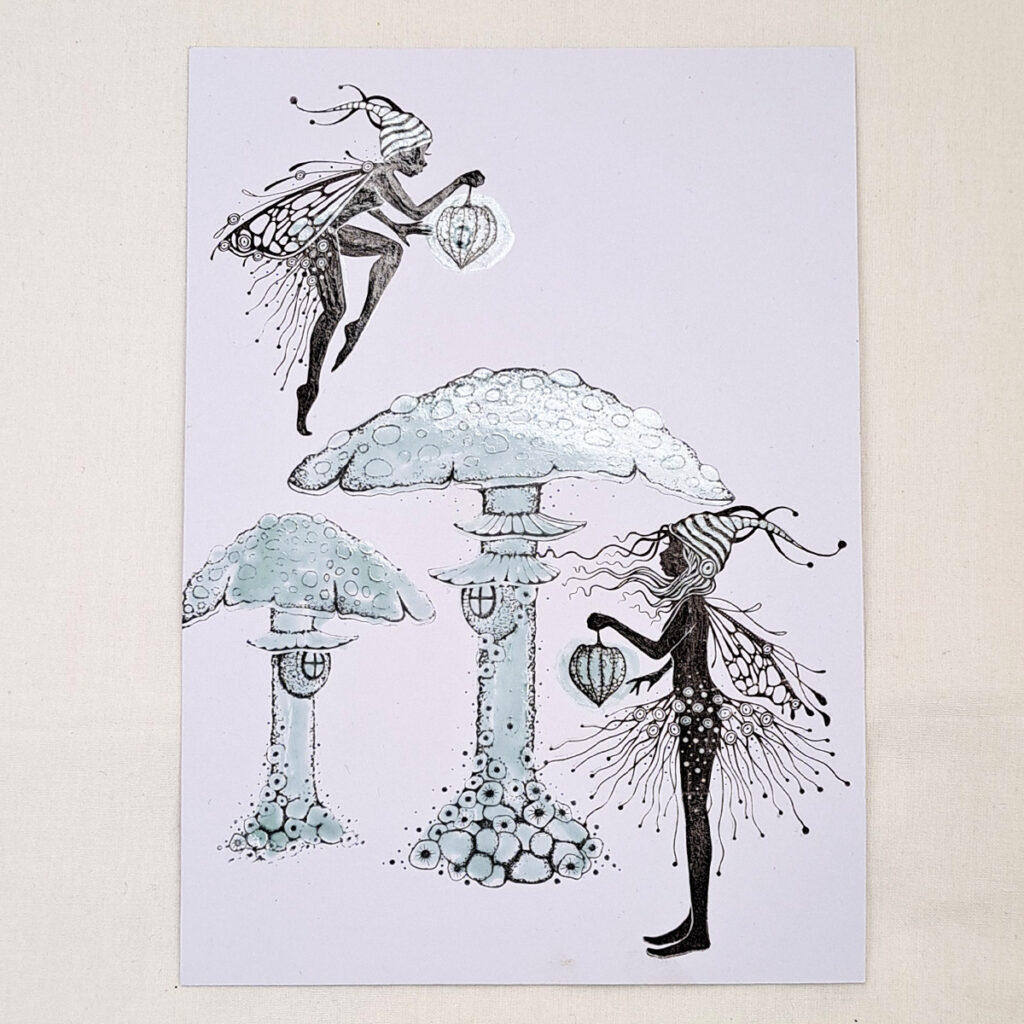
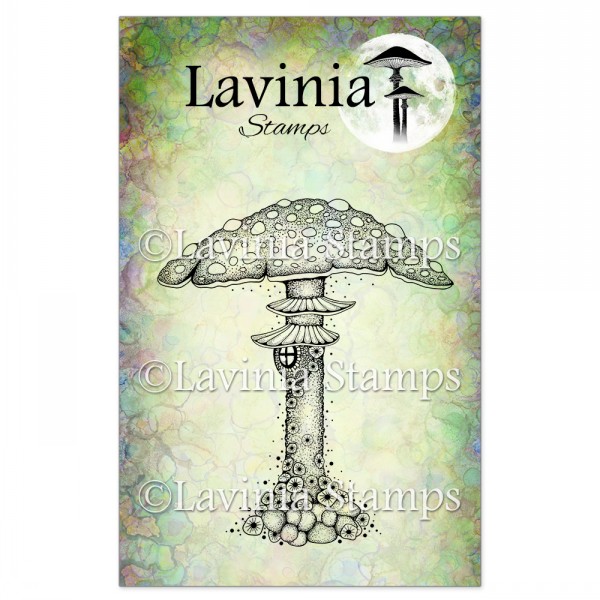
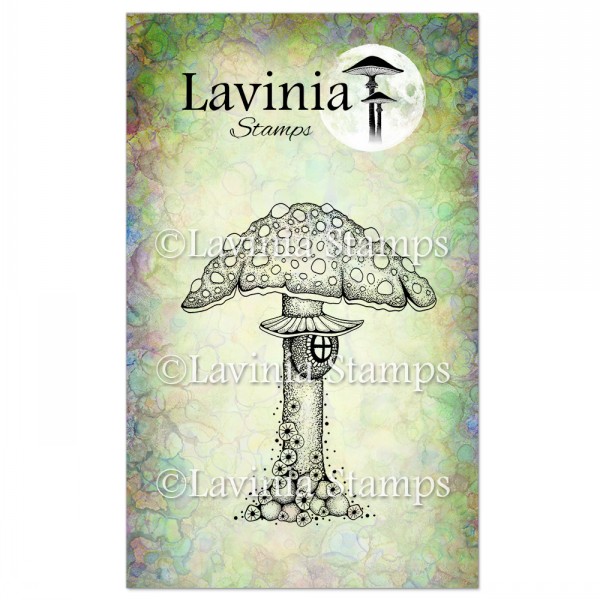
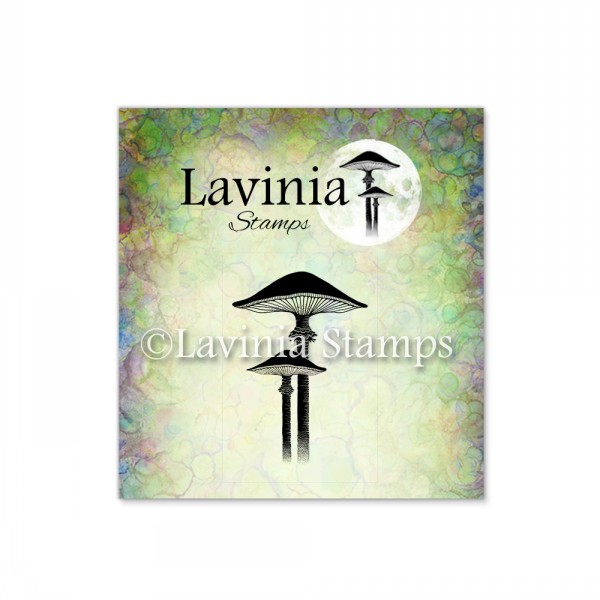
Now stamp the Forrest Cap Toadstool LAV736 and Forest Inn LAV735 in Versafine Clair Morning Mist. Cover the images completely with masking fluid.
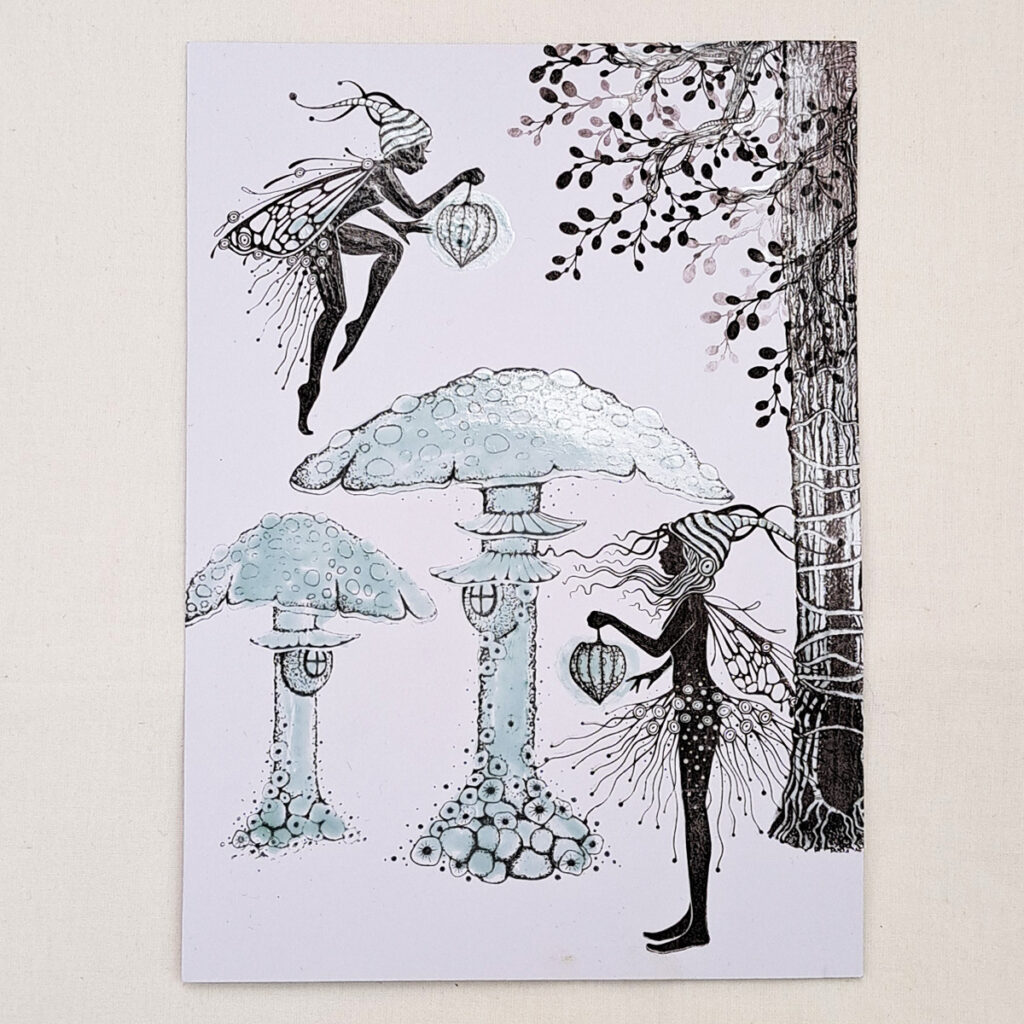
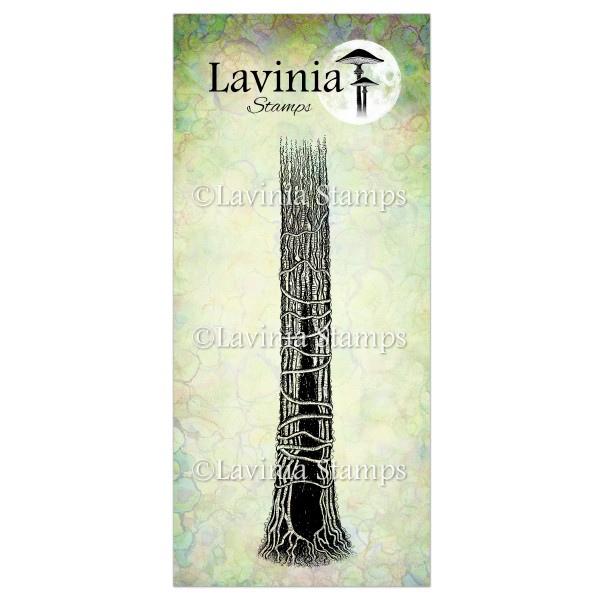
Stamp the Tree Den LAV642 in Versafine Clair Pinecone. The Tree Den will be too short so turn the Tree Den stamp upside down, ink up and make the top overlap on the already stamped Tree Den. Then you will have a tree that is longer than the card. We want some branches on our tree so use the Vine Branch Stamp LAV811 and stamp it with Versafine Clair Pinecone. Do two first generation stamping and two second generation stamping. Put masking fluid on the tree.
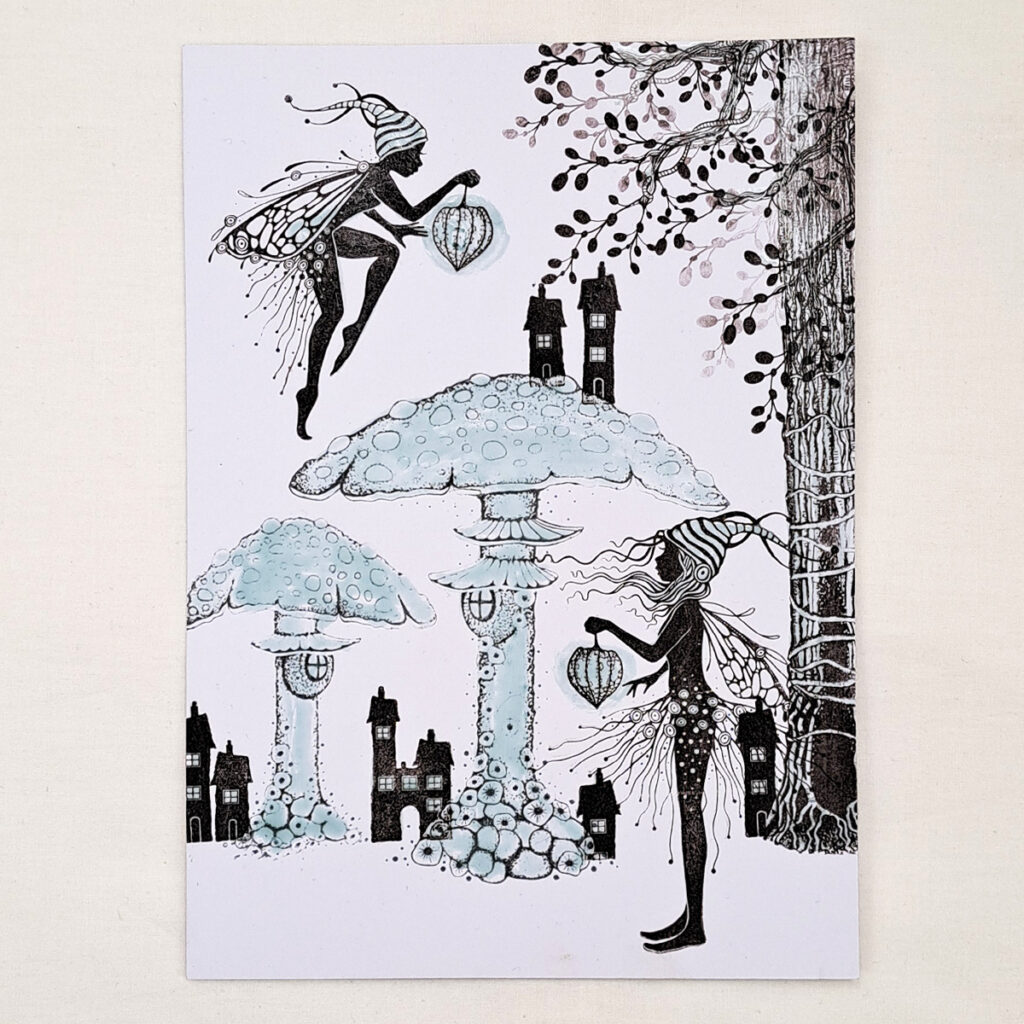
Small Dwellings LAV640 are amongst my favourite stamps because you can put them everywhere and they look magical every time. Ink up with Versafine Clair Fallen Leaves and stamp them like you see in the picture. Then put masking fluid on them all.
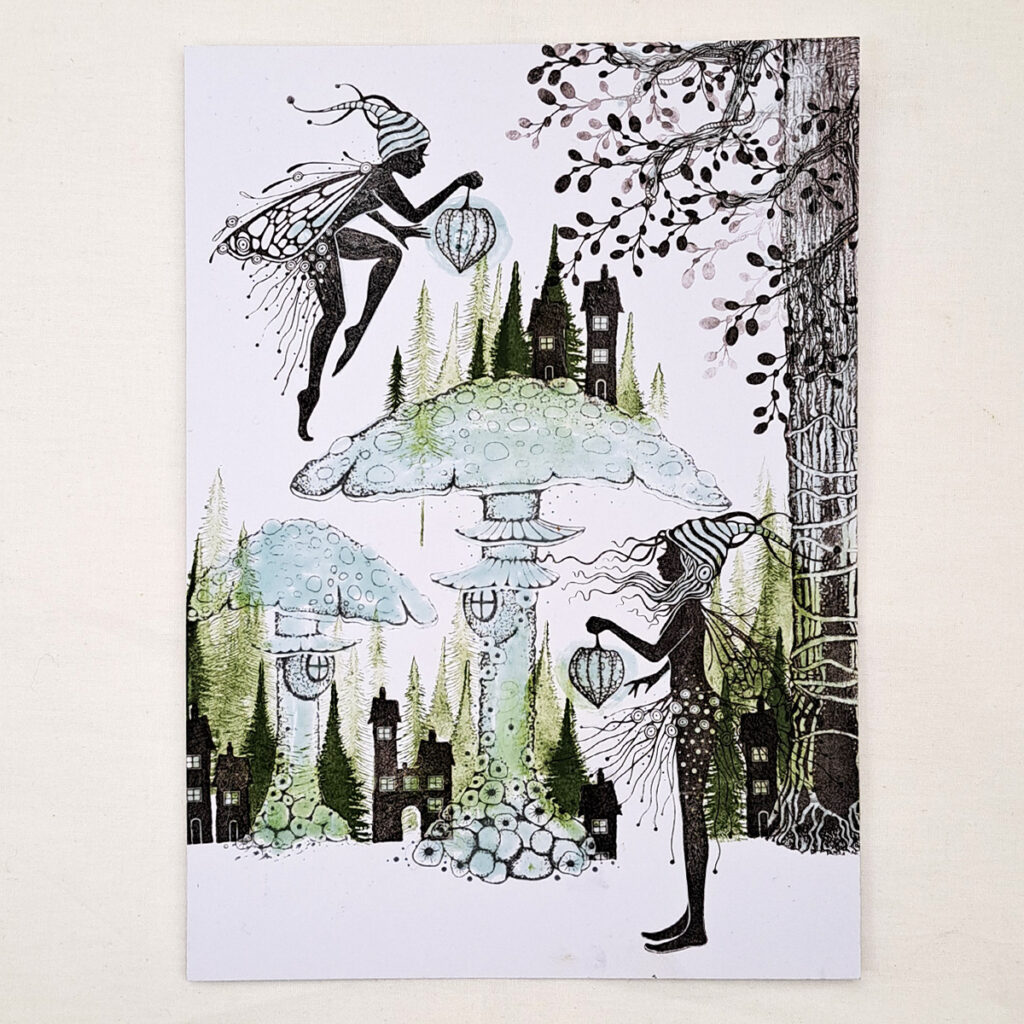
We need some trees and the new Small Pine Trees LAV836 are perfect. Ink up with Versafine Clair Shady Lane and stamp a few trees that will be in the front in first generation stamping and then stamp more trees with second generation stamping. Use a couple of different trees from the stamp set. Look at the picture for placement.
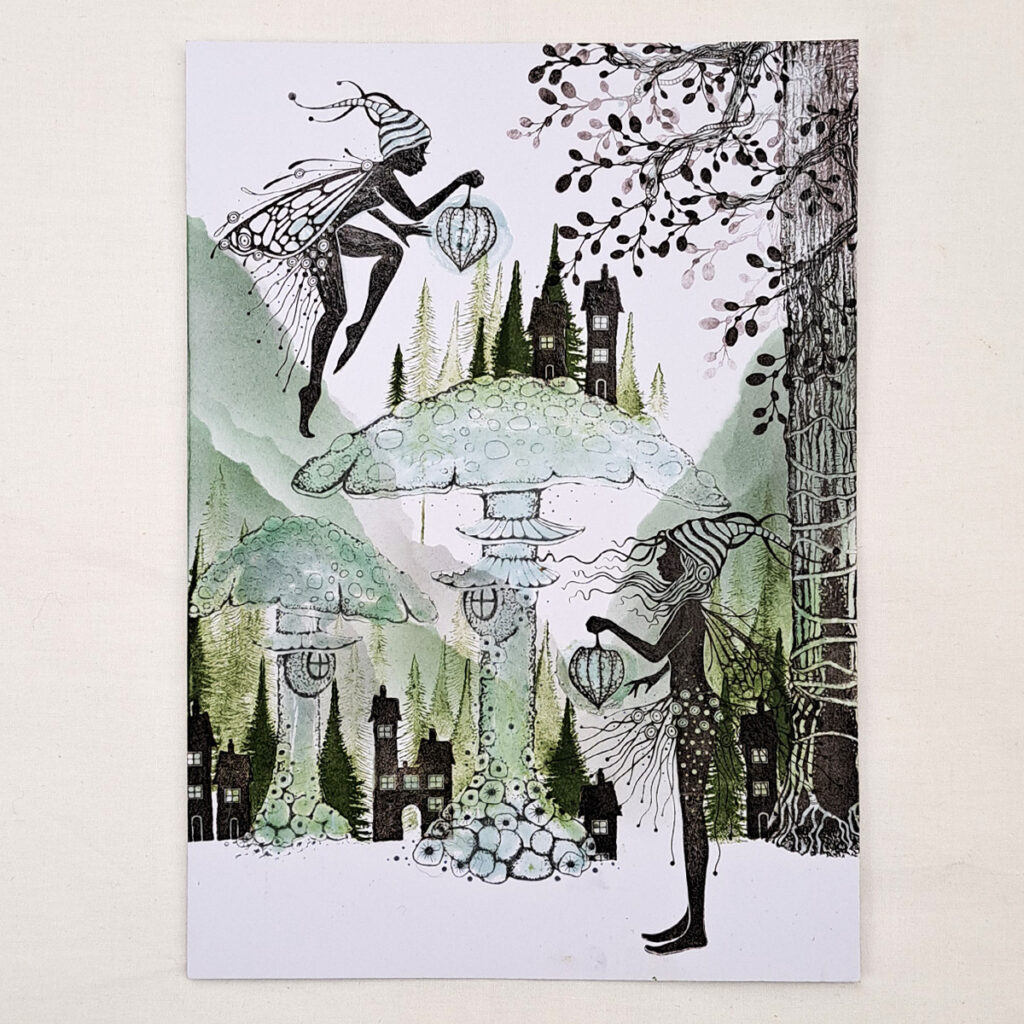
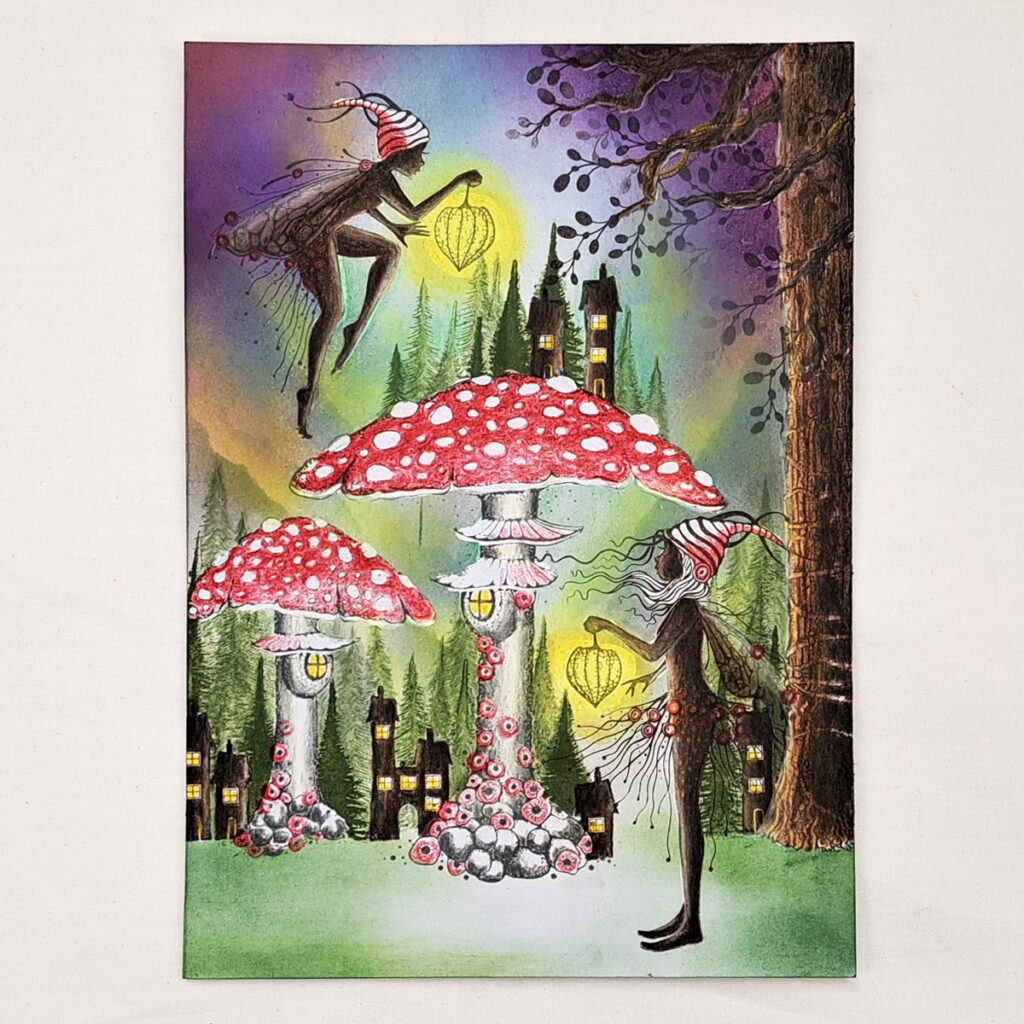
Get a Hill mask and use a Stencil brush series 3, with very little colour on it. I use a brush that has “left over colour” from Elements Midnight Blue and another brush with “left over colour” from Olive. Then I put the colours on top of each other so that my hills are grey-blue-greenish. Sounds crazy but try it and you will see how nice the hills look.
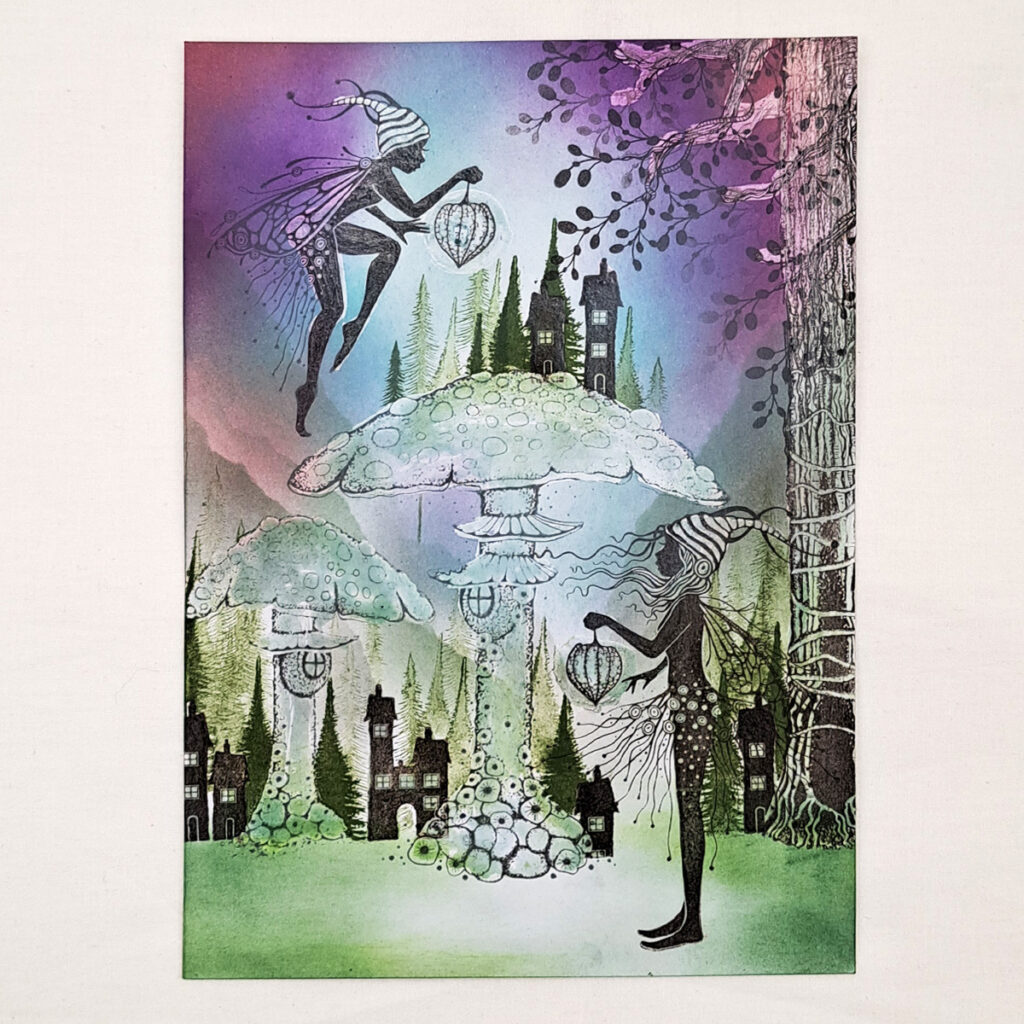
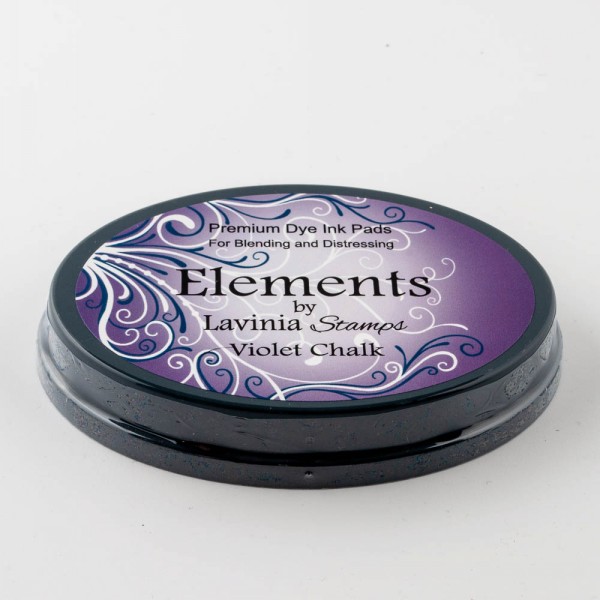
We want strong and beautiful colours on our sky. Use Elements ink Blue Atoll, Elements ink Violet Chalk and Distress Oxides Persimmon. Look at the picture for placement. Be sure to leave the middle very light, almost with no colour. Then on the ground blend some Elements ink Olive.
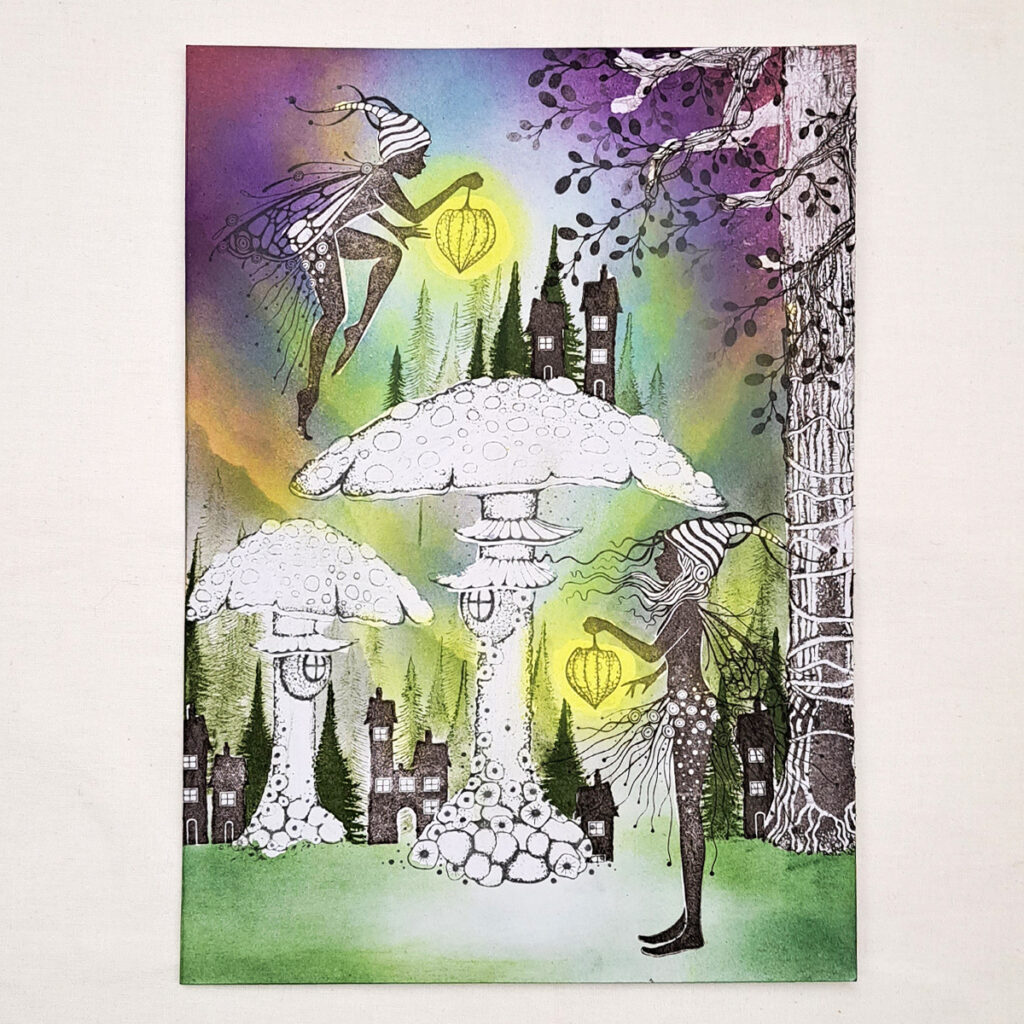
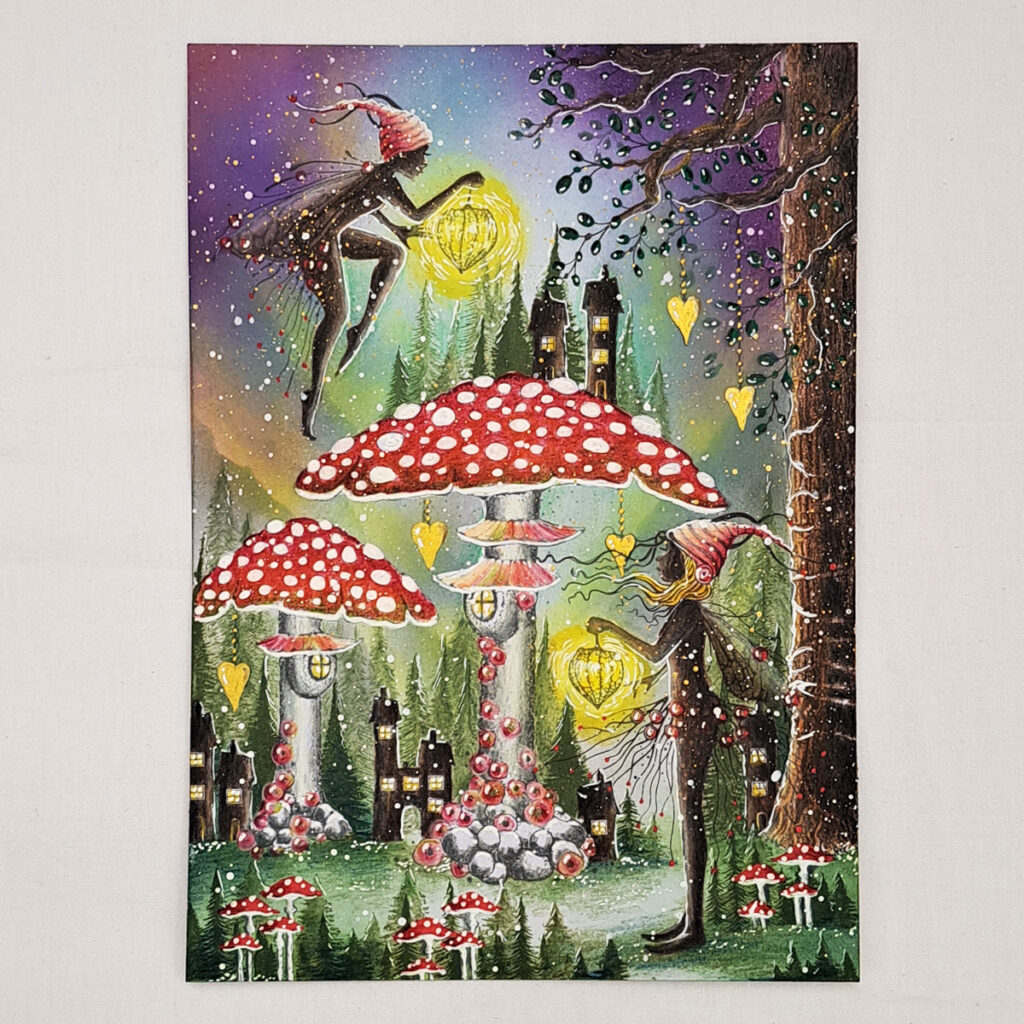
Finally, time to remove all the masking. Be sure that your card is totally dry. If the card is a little bit damp it can tear when you remove the masking. We want to have some lights in our lanterns and some magical light in the sky, so I love to use the Hansa Yellow Pan Pastel. Apply this with a Lavinia Stamps stencil brush series 3.
Look at the picture for placement of the Pan Pastel.
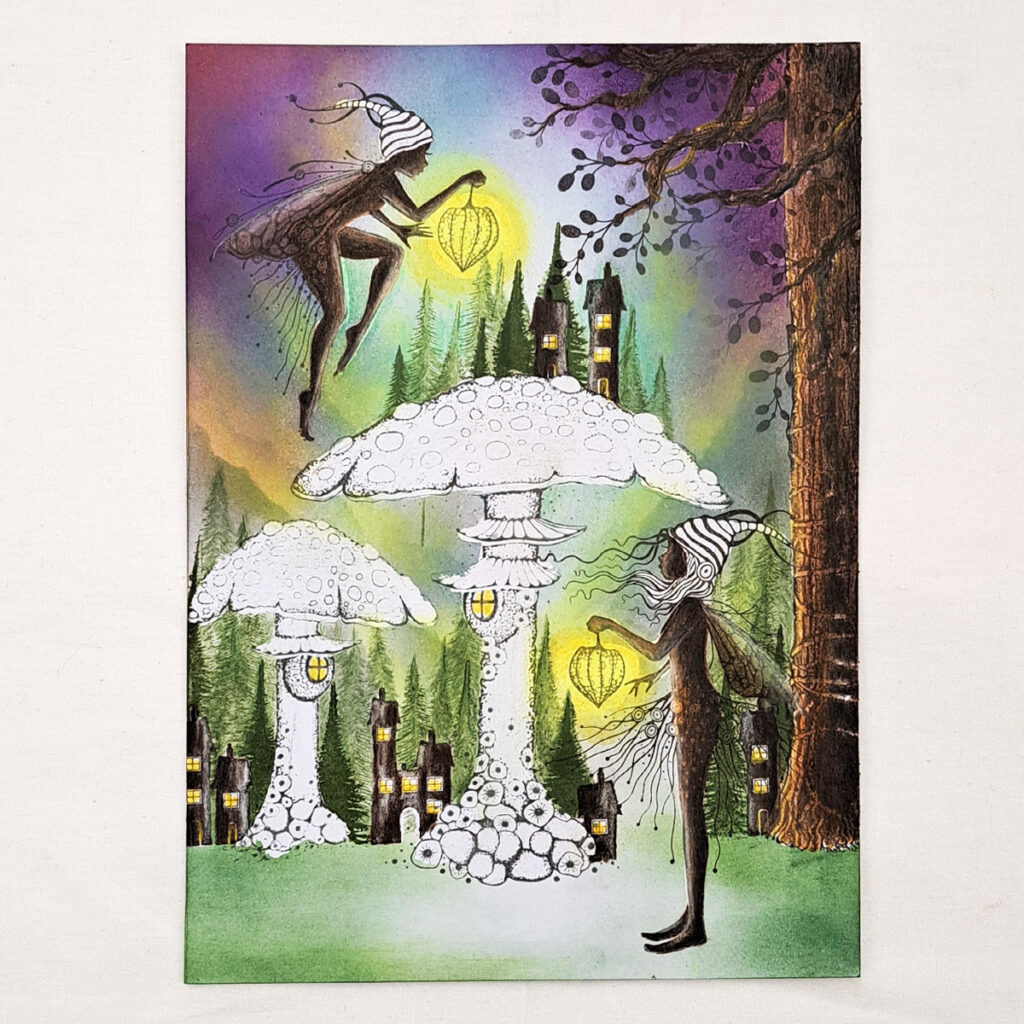
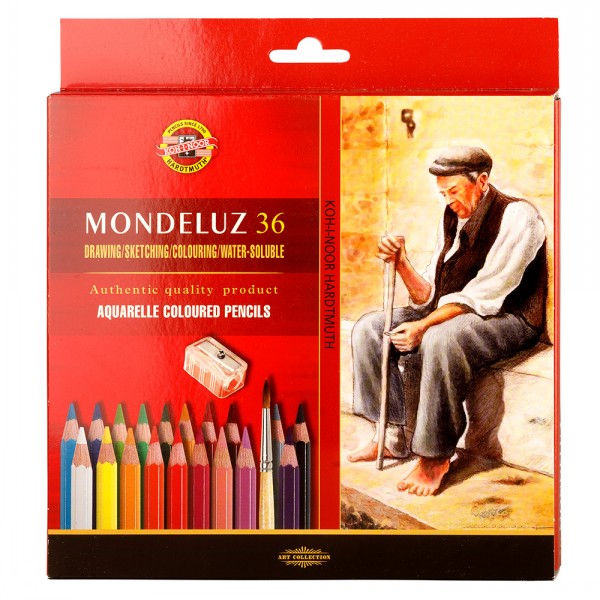
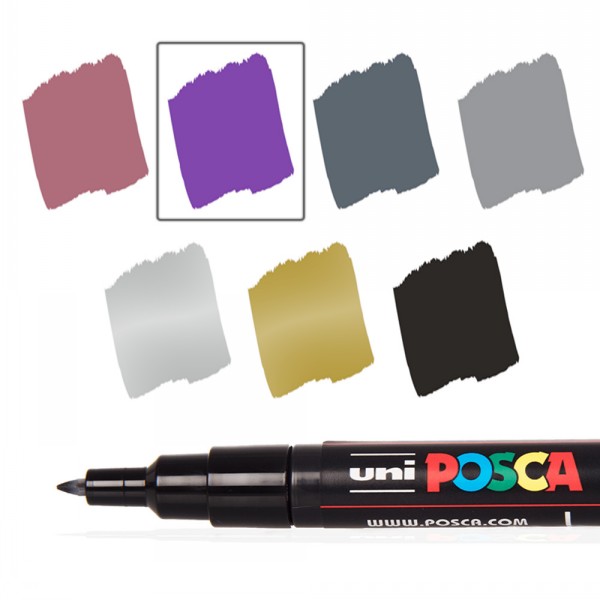
To turn on the lights in all the homes start with a white Posca pen to make all the windows completely white. Then add a yellow Posca pen to add warmth. Next colour all the stamped images using my favourite Mondeluz watercolour pencils.
Start with the tree and use Dark brown, light brown, reddish brown, and ochre pencils. I always use three or more different colours on each subject to give more dimension.
Remove the masking fluid and colour in the fairies too. I use a dark brown and a little black for the rear of the fairies and then some lighter brown for their middle and some beige colour on their fronts. We want them to have a lighter front so it looks like the light is shining on them.
We need to colour the Small Dwelling as well because some colour came off them as well when we removed the masking fluid. Do the same colour combo as we did on the fairies.
Next the toadstools. Use different shades of grey on their stems and stones. Start with the darkest colour and go lighter towards the middle and then use a white pencil in the centre of the stems.
Next use the brightest Christmas red pencil and colour in the top of both toadstools the darkest. Then as you colour down the Toadstool you want to colour more softly. We will want to blend in more colours later. Look at the picture for where to put more of the red colour.
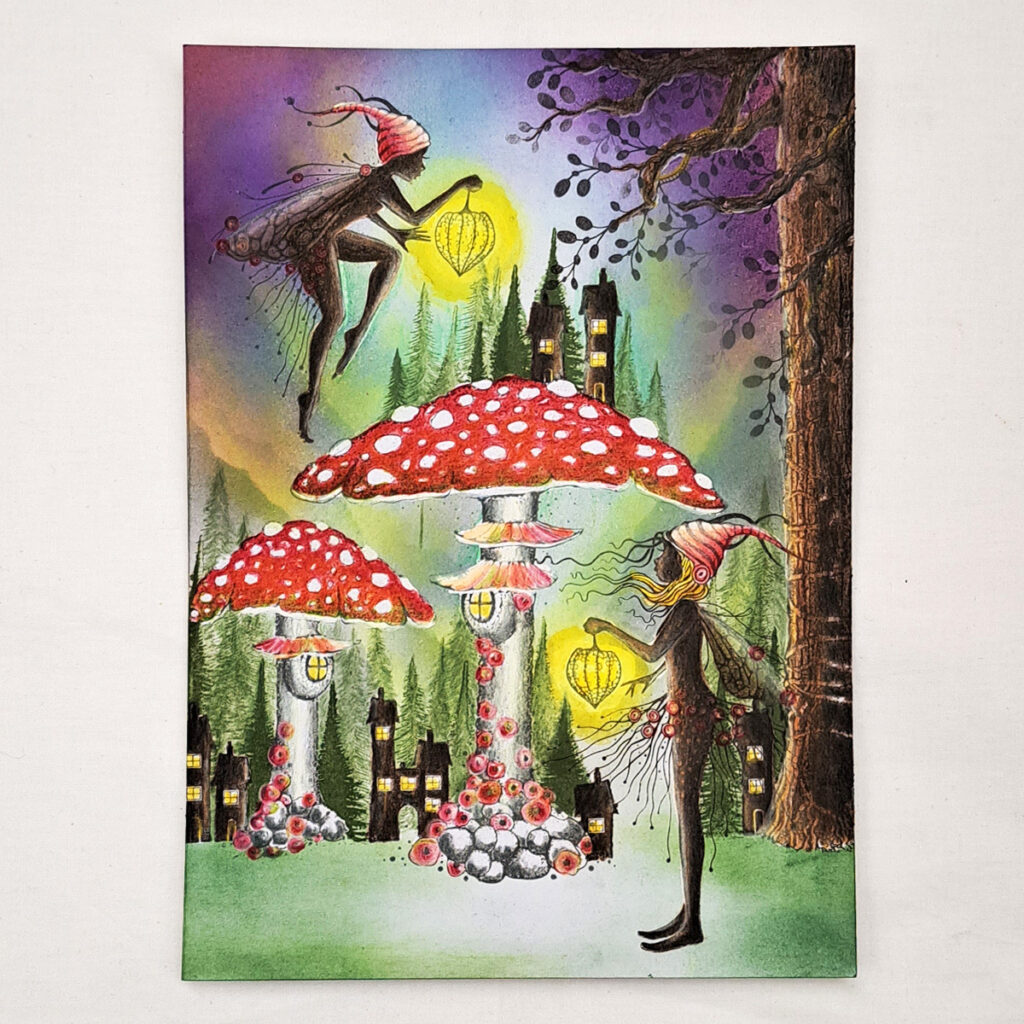
Next use a more orange red pencil to colour. Colour in from the middle of the toadstool caps and colour downwards. We want to blend some of the orange red together with the Christmas red in our picture. Use some yellow and ochre colour on Starr’s hair.
Next choose a very bright light green to make it look like it has some moss on it and colour some on the bottom part of the toadstool caps. Look at the picture for placement of the colours.
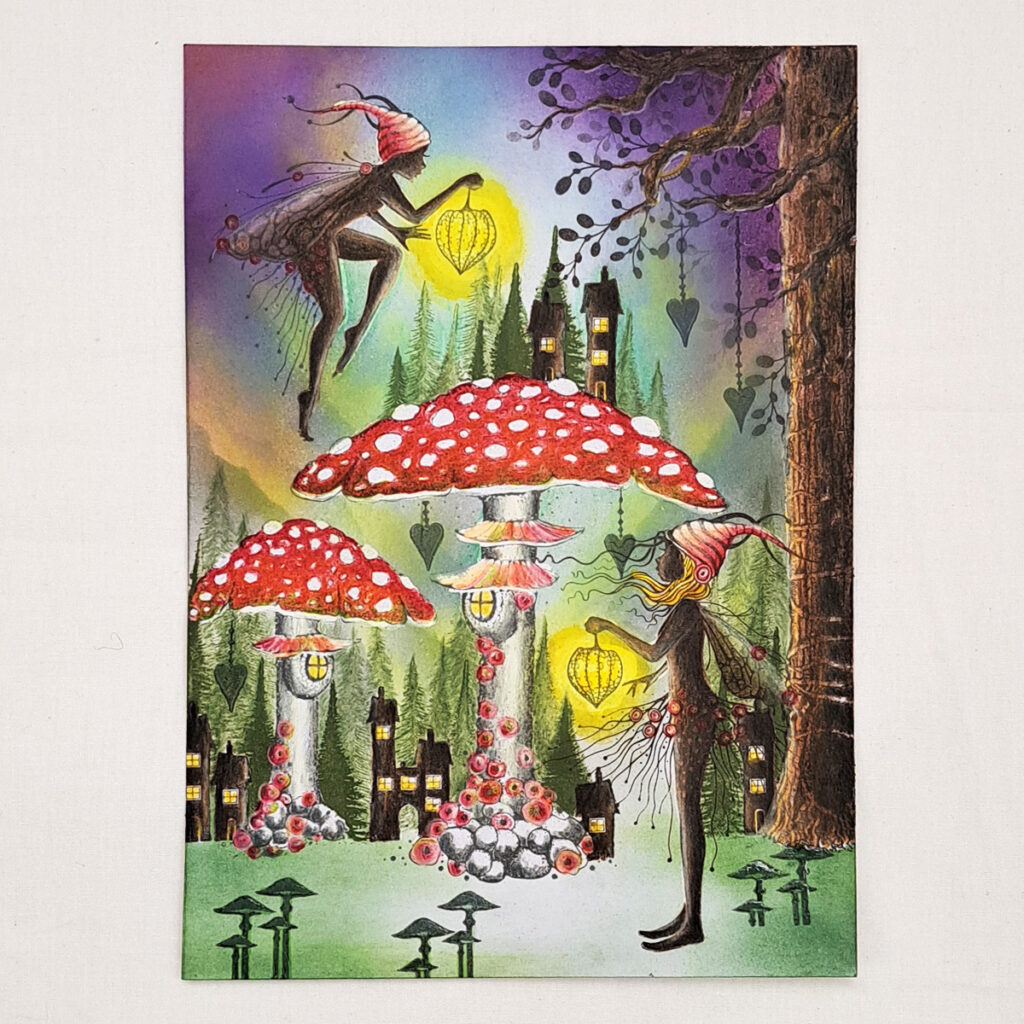
Add some decorations to our Toadstool City using the heart from the Fairy Charms Stamp LAV688 inked up with Versafine Clair Morning Mist. Add more mushrooms to the city with the Mini Meadow Mushroom LAV561 inked up with Versafine Clair Morning Mist. Stamp them as you see in the picture, then cover them with masking fluid.
There needs to be more small trees on the ground and the Small Pine Trees LAV836 are perfect. Ink up with Versafine Clair Shady Lane and stamp some trees like you see in the picture. Stamp some first generation and some second generation stamping. This creates some depth in our picture.

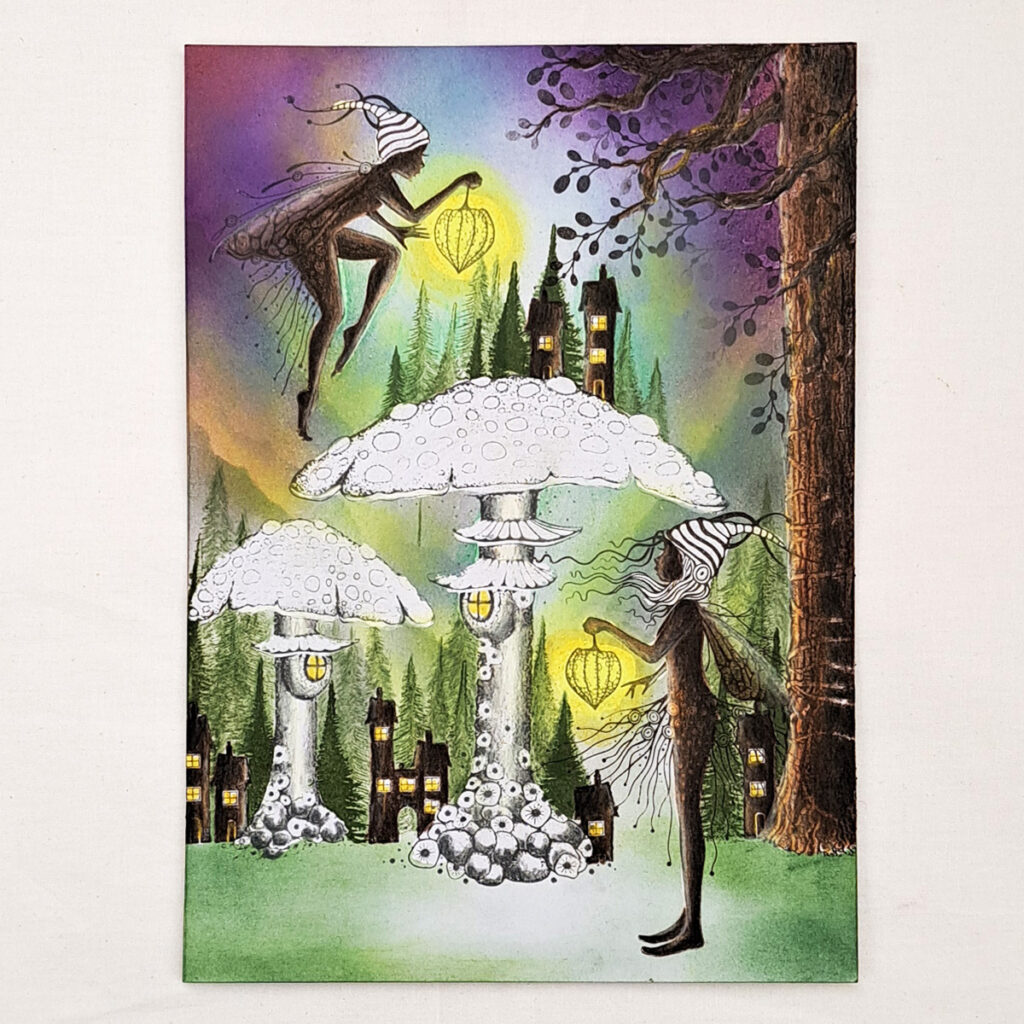
Remove the masking from the small mushrooms and colour all the mushroom caps with a red Posca pen. Let the paint dry before you use a white Posca pen to draw on dots and colour their stems. Use a gold Posca pen or any gold pen to colour the heart ornaments. Use a green posca pen to colour the leaves on the tree that are first generation stamped. On the leaves that are second generation colour with a green colour pencil. This gives a illusion of depth in our picture. Use some green colour pencils to create texture on the ground. Also give Starr a shadow around/under her feet so she will stand firmly on the ground.
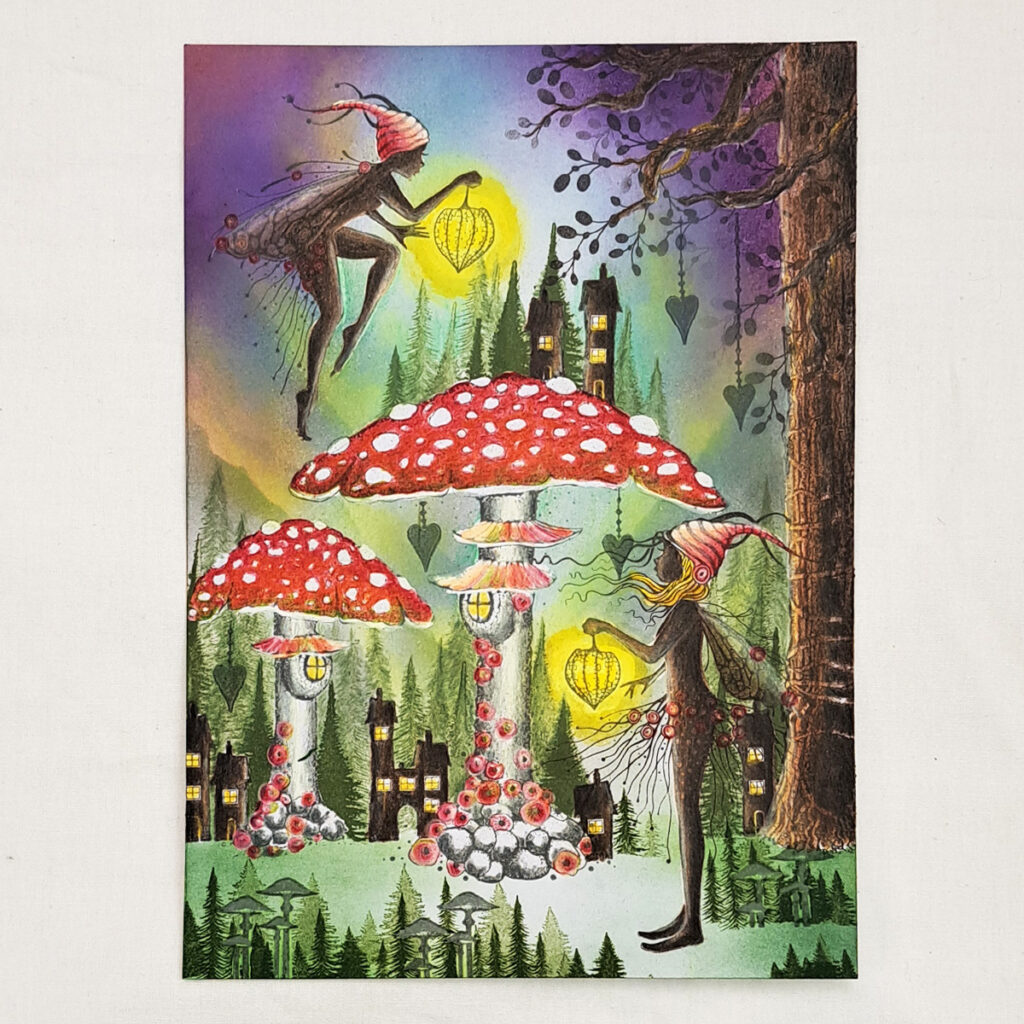
Now give everything a highlight with a white Uniball pen or a white Posca pen.
We also want to colour all the white spots on our Toadstools. Add more light to the Fairy Lanterns and some white dots on the ground to give it more life.
And the final step in making this card we will do some white Posca pen splatters.
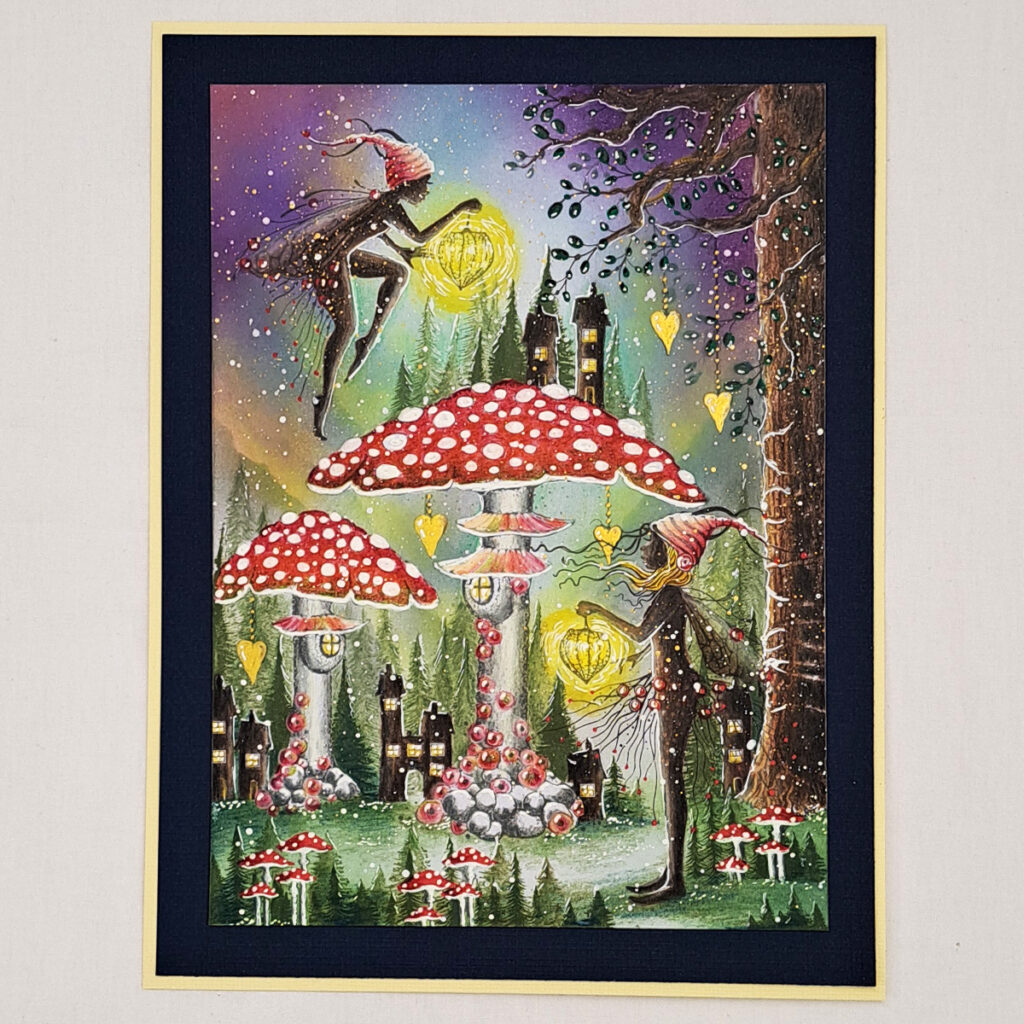
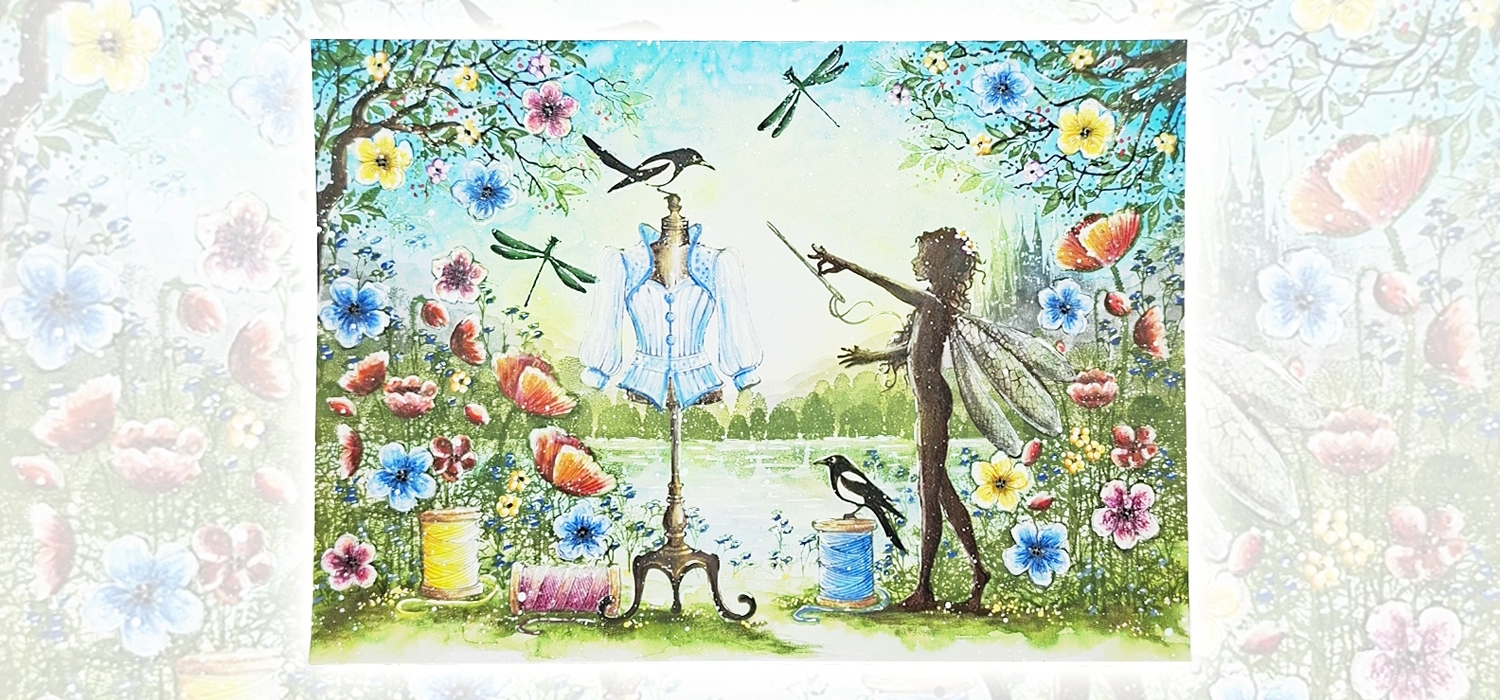
Now we have our finished picture and hope you have enjoyed it.
Thank you for following my tutorial and if you have any questions do not hesitate to ask.
Hugs from Mona