

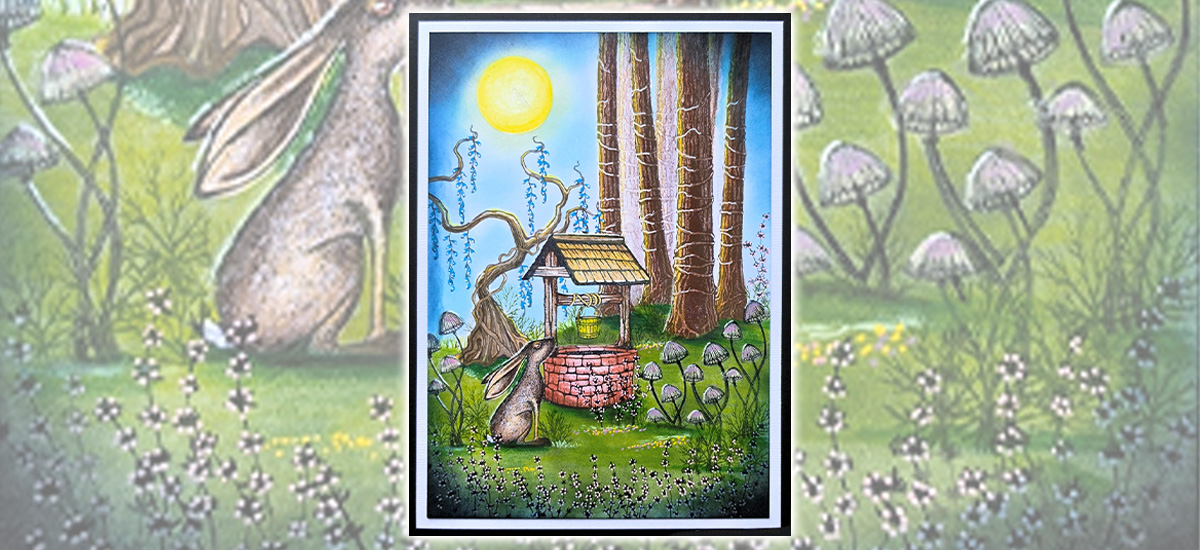
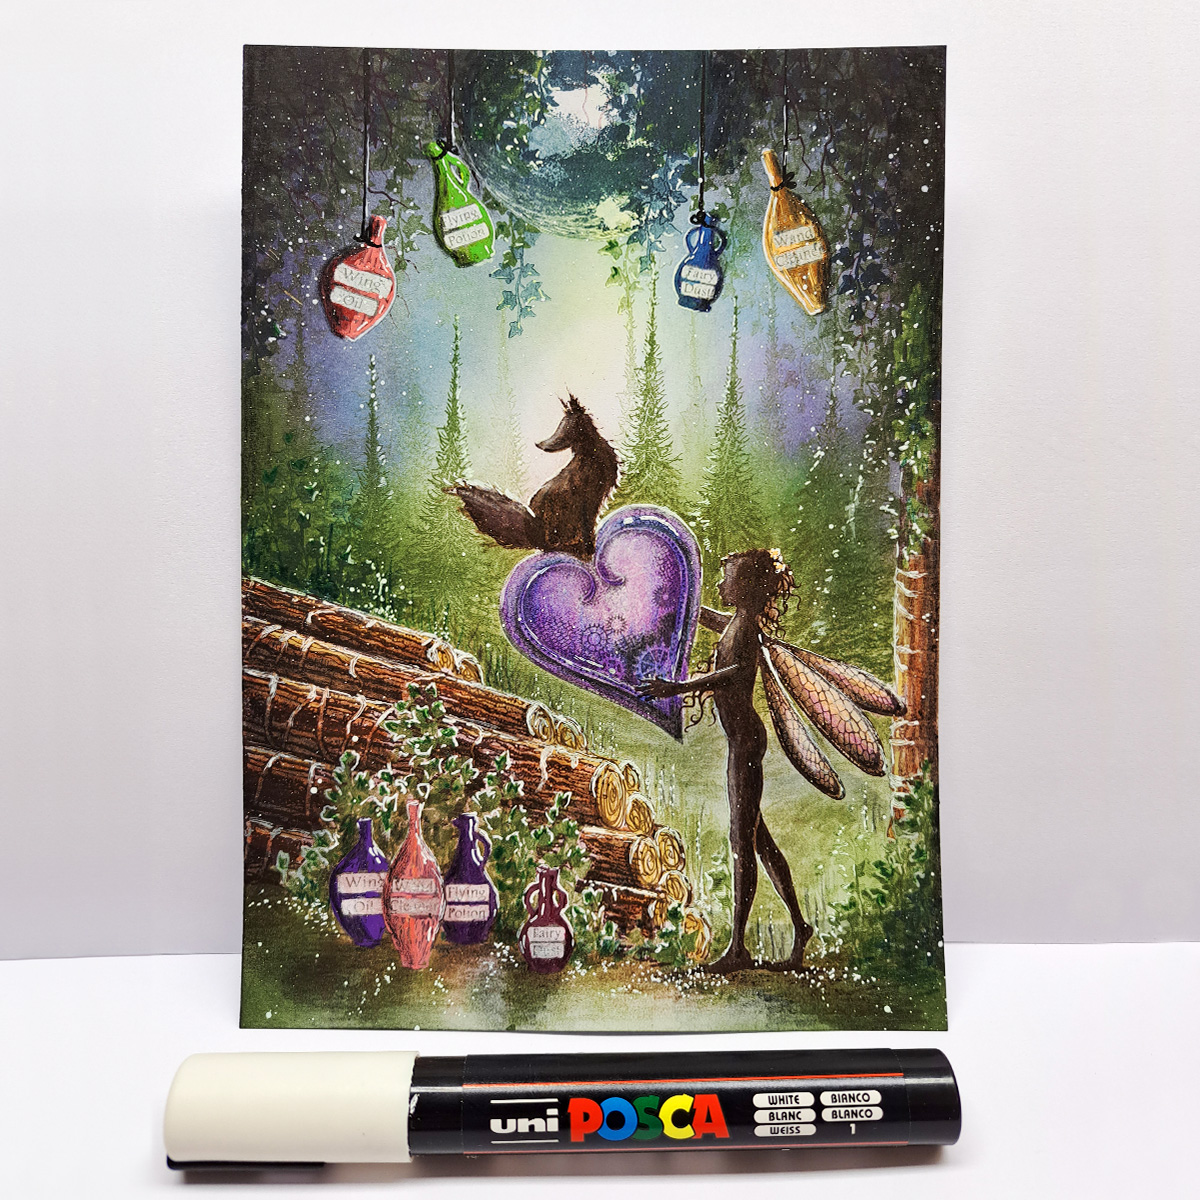
This month’s Creative Challenge is called “Magic at Midnight”, so with this in mind I have created this picture called “Night Watch”.
Also, someone had asked how I created my stack of logs, so this tutorial will show you how it’s done.
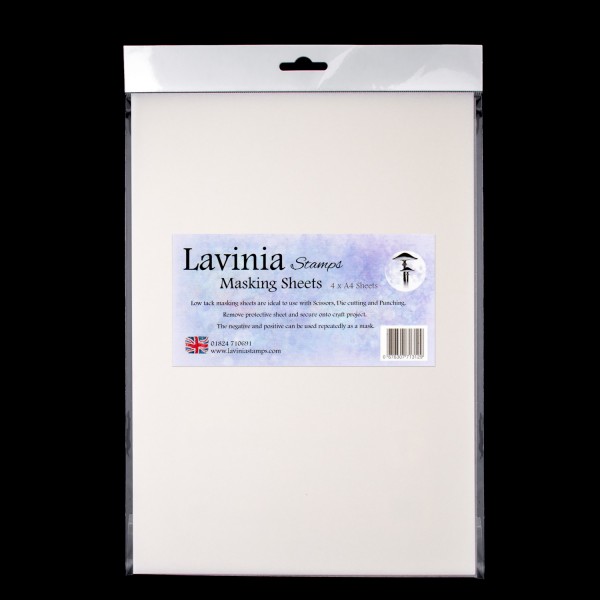
We will be using masking sheets and masking fluid. If you use both the liquid and paper sheets together, you must be sure that the paper sheet doesn’t go on top of the liquid mask, otherwise it will be very hard to remove.
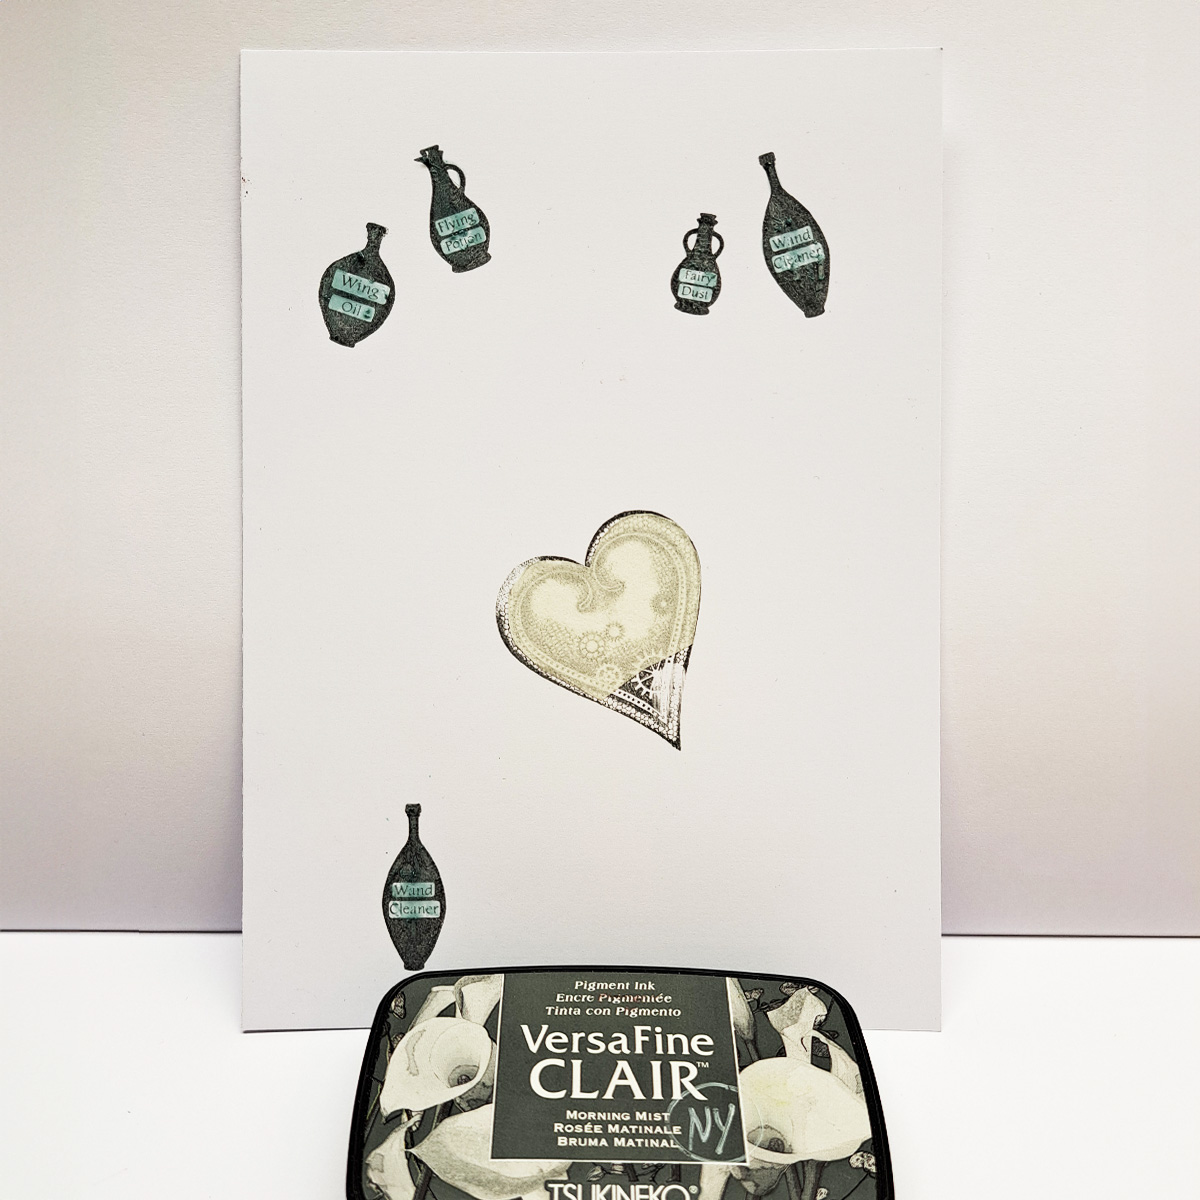
For stamping, I will be using Versafine Clair Morning Mist, Twilight, and Pinecone.
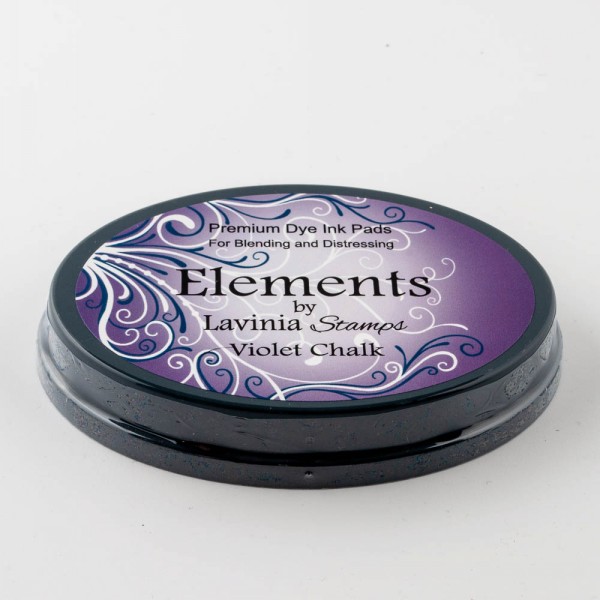
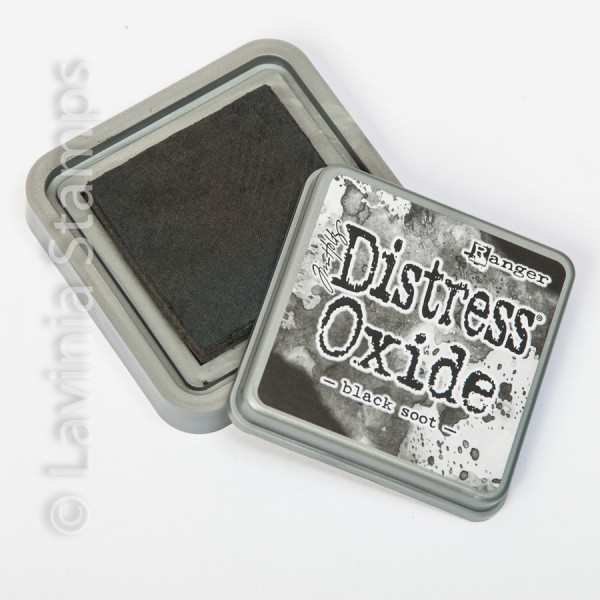
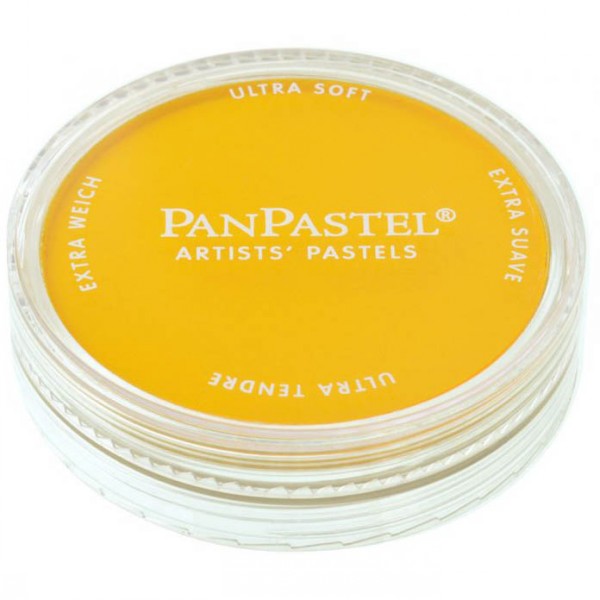
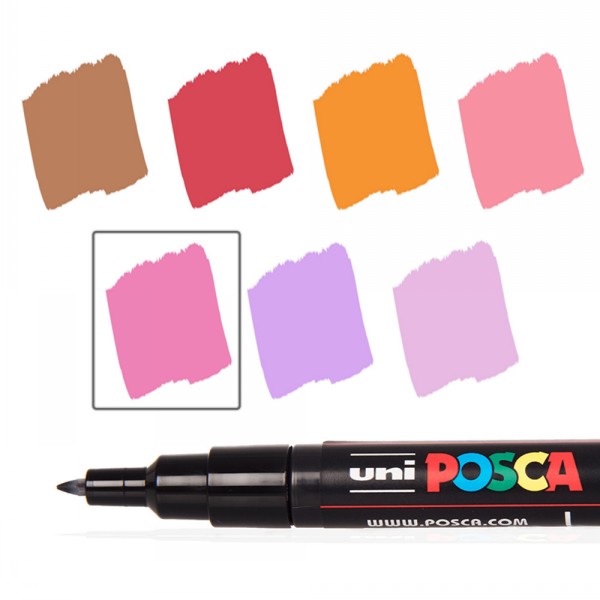
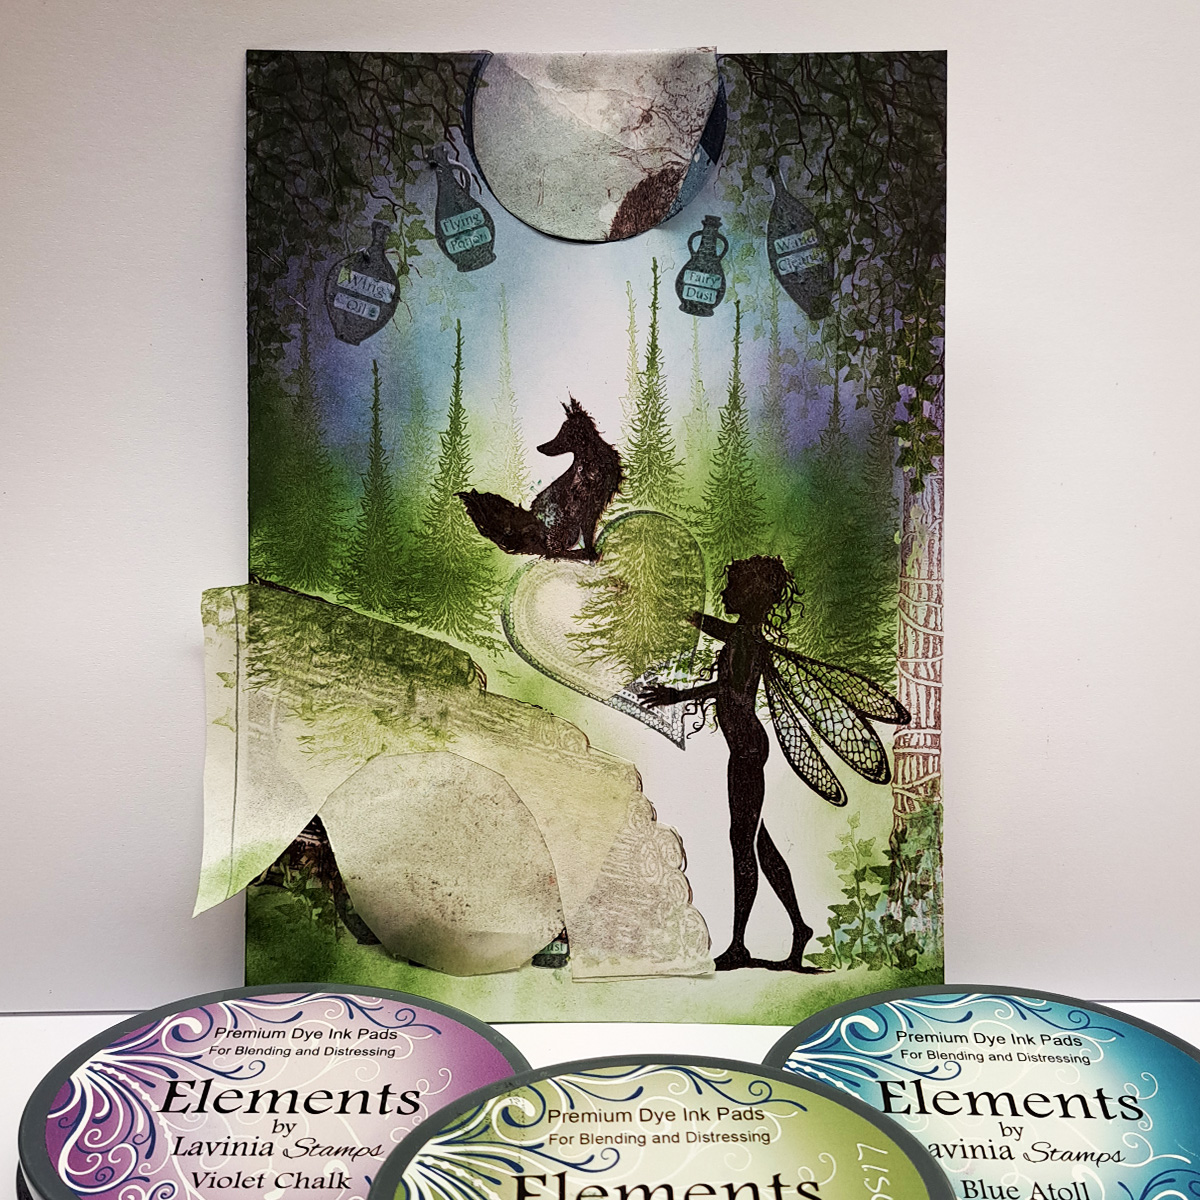
For colour, I will be using Elements ink in Olive, Blue Atoll, Violet Chalk, Dark Denim, and Midnight Blue. Also, some Posca Pen, Pan Pastels, and some Distress Oxide.
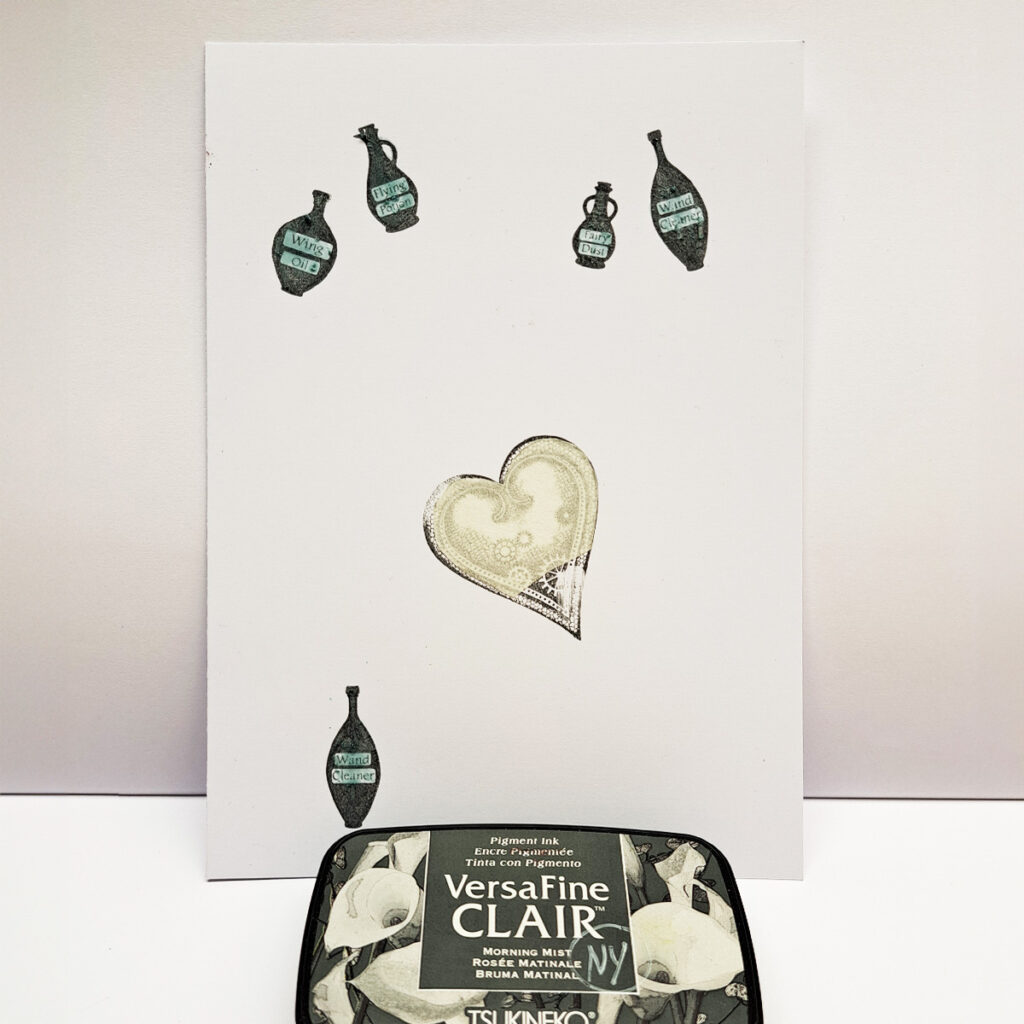
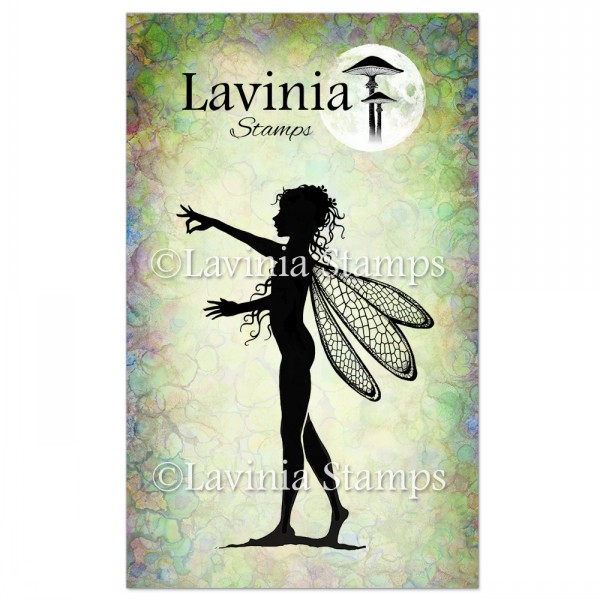
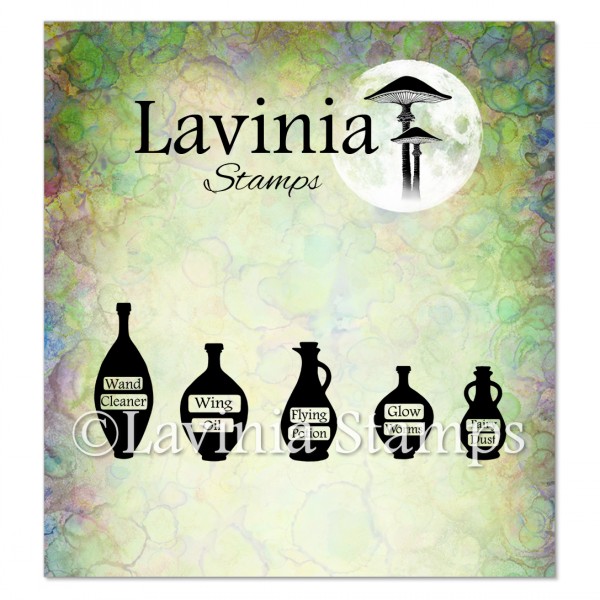
1: Stamp the Small Heart and the Potions in the Versafine Clair Morning Mist. Then put masking sheet over part of the heart and masking fluid over the labels on the bottles. There should be a part of the heart without any mask where Freya’s arm will be stamped over it.
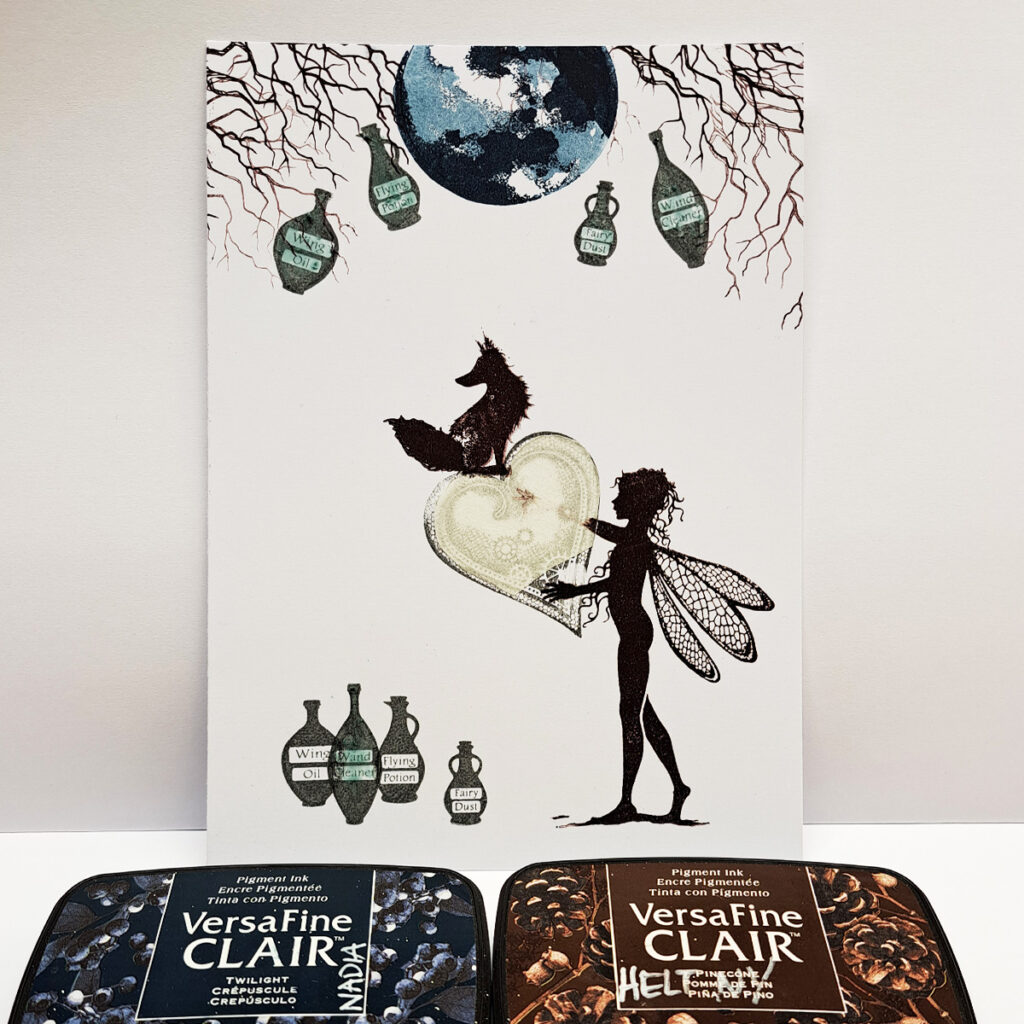
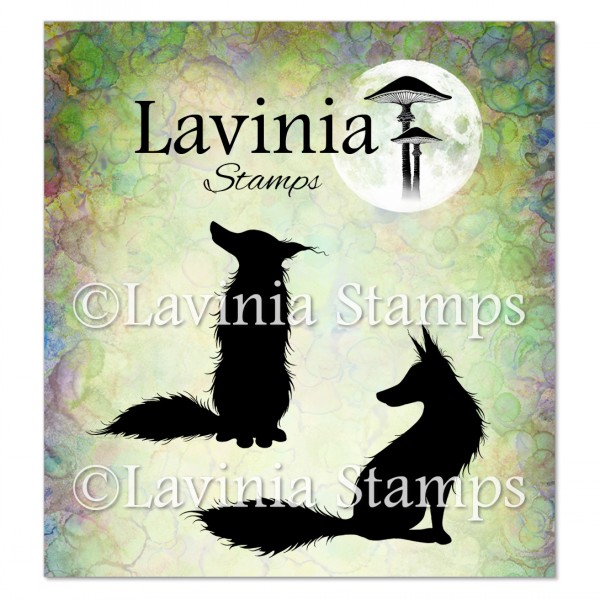
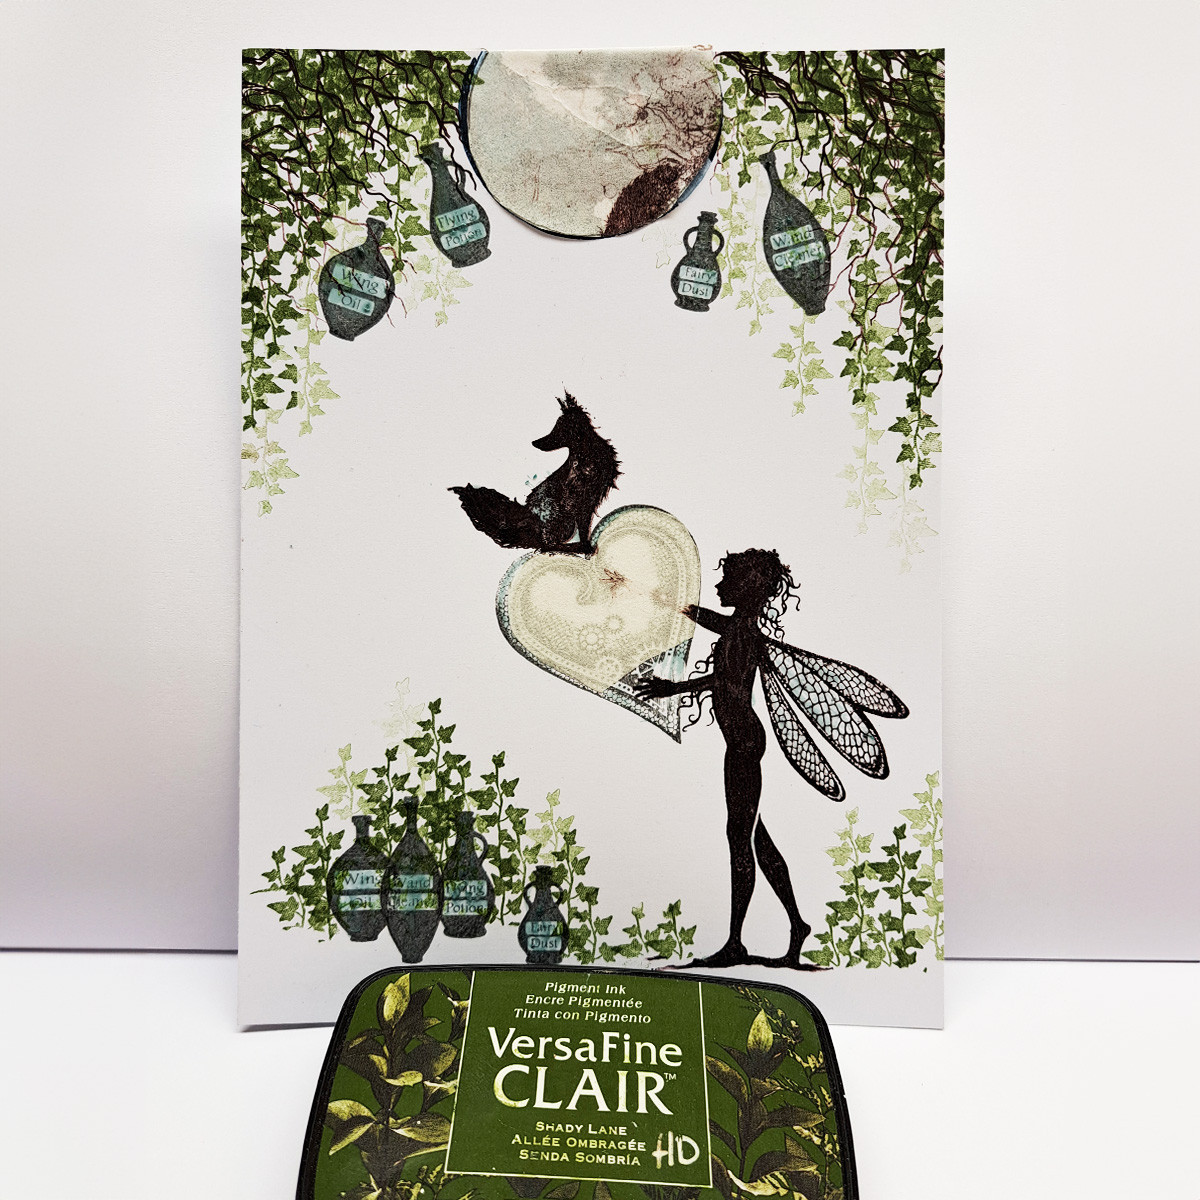
2: Next, stamp the Moon using the Twilight ink. Stamp once, then turn the stamp clockwise just a little, and stamp again without adding any more ink. This will create a “shadow” inside the Moon.
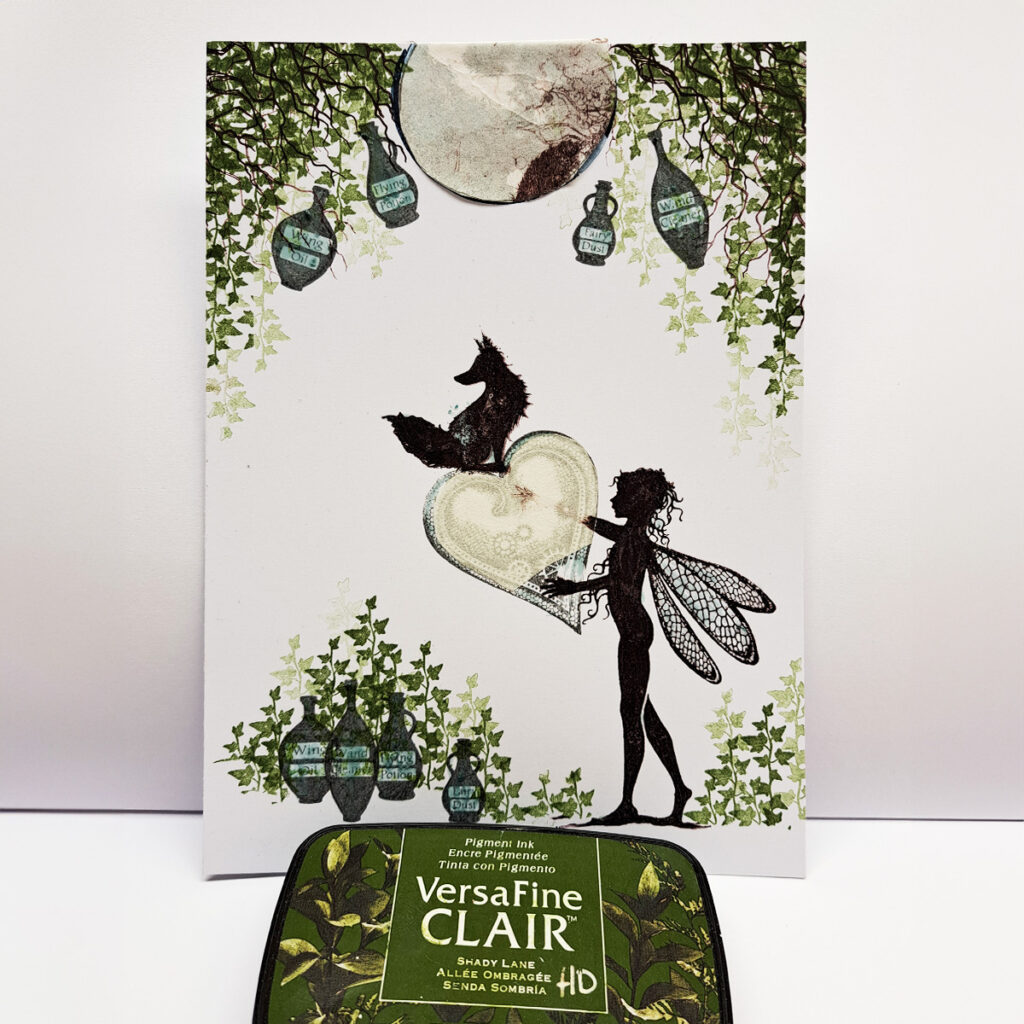
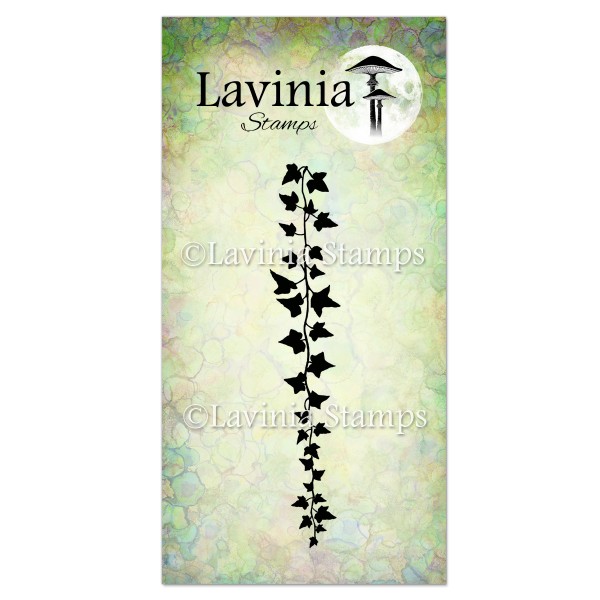
3: Put masking on everything but the branches. Stamp Falling Ivy in the Shady Lane. Stamp most of them with first-time stamping and some without re-inking. This second generation stamping creates depth and a feeling of light on the leaves.
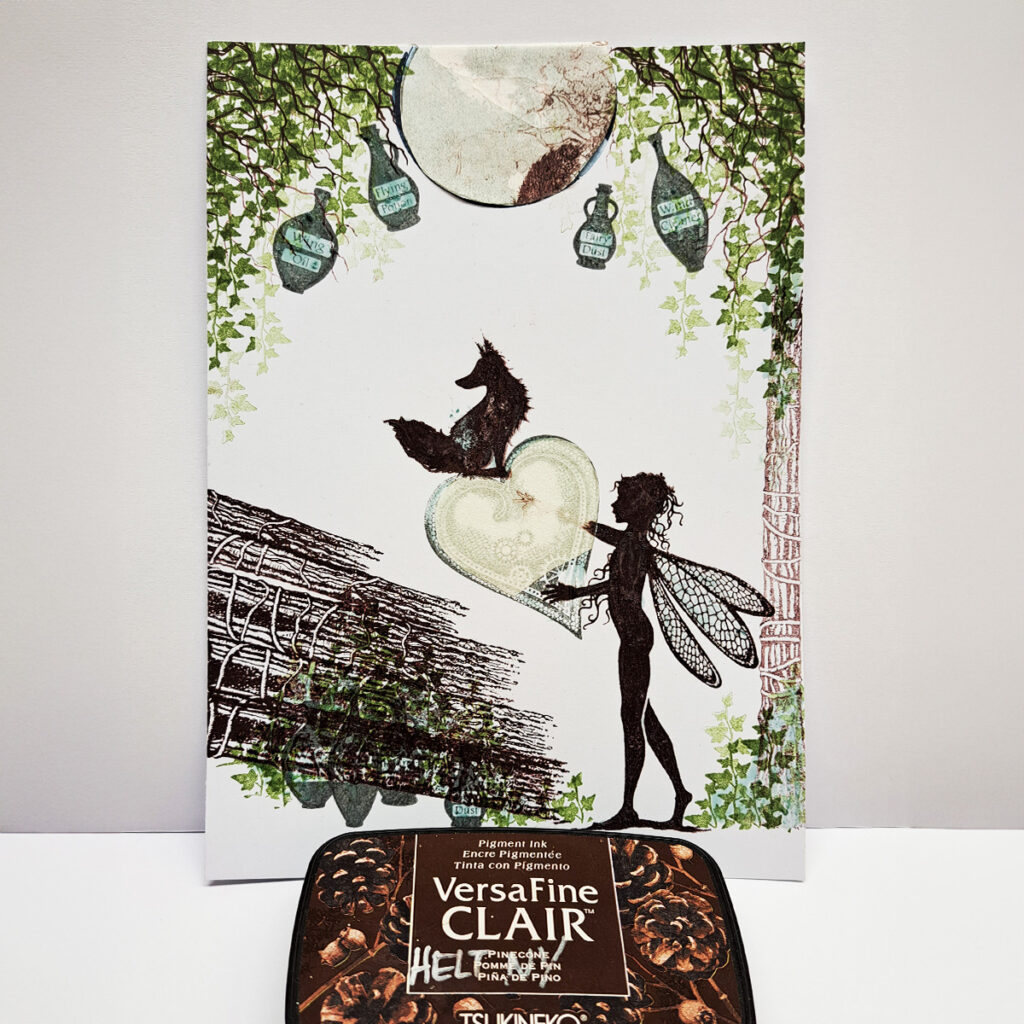
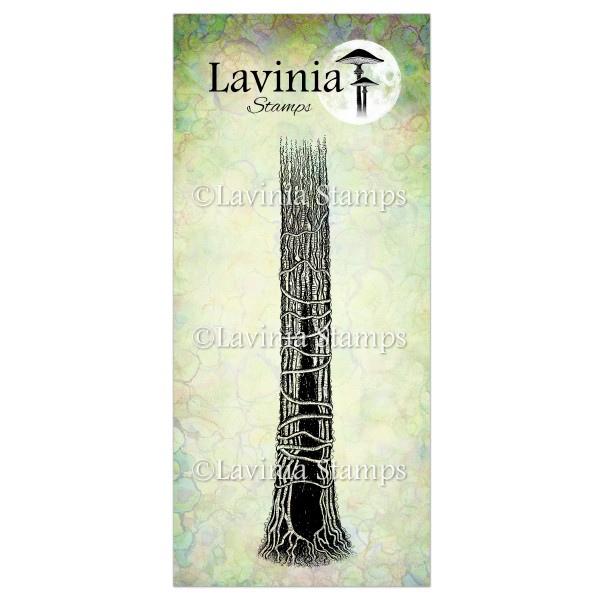
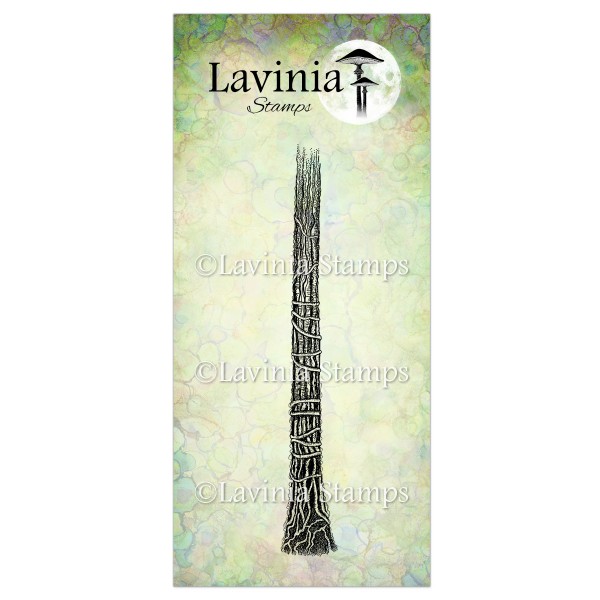
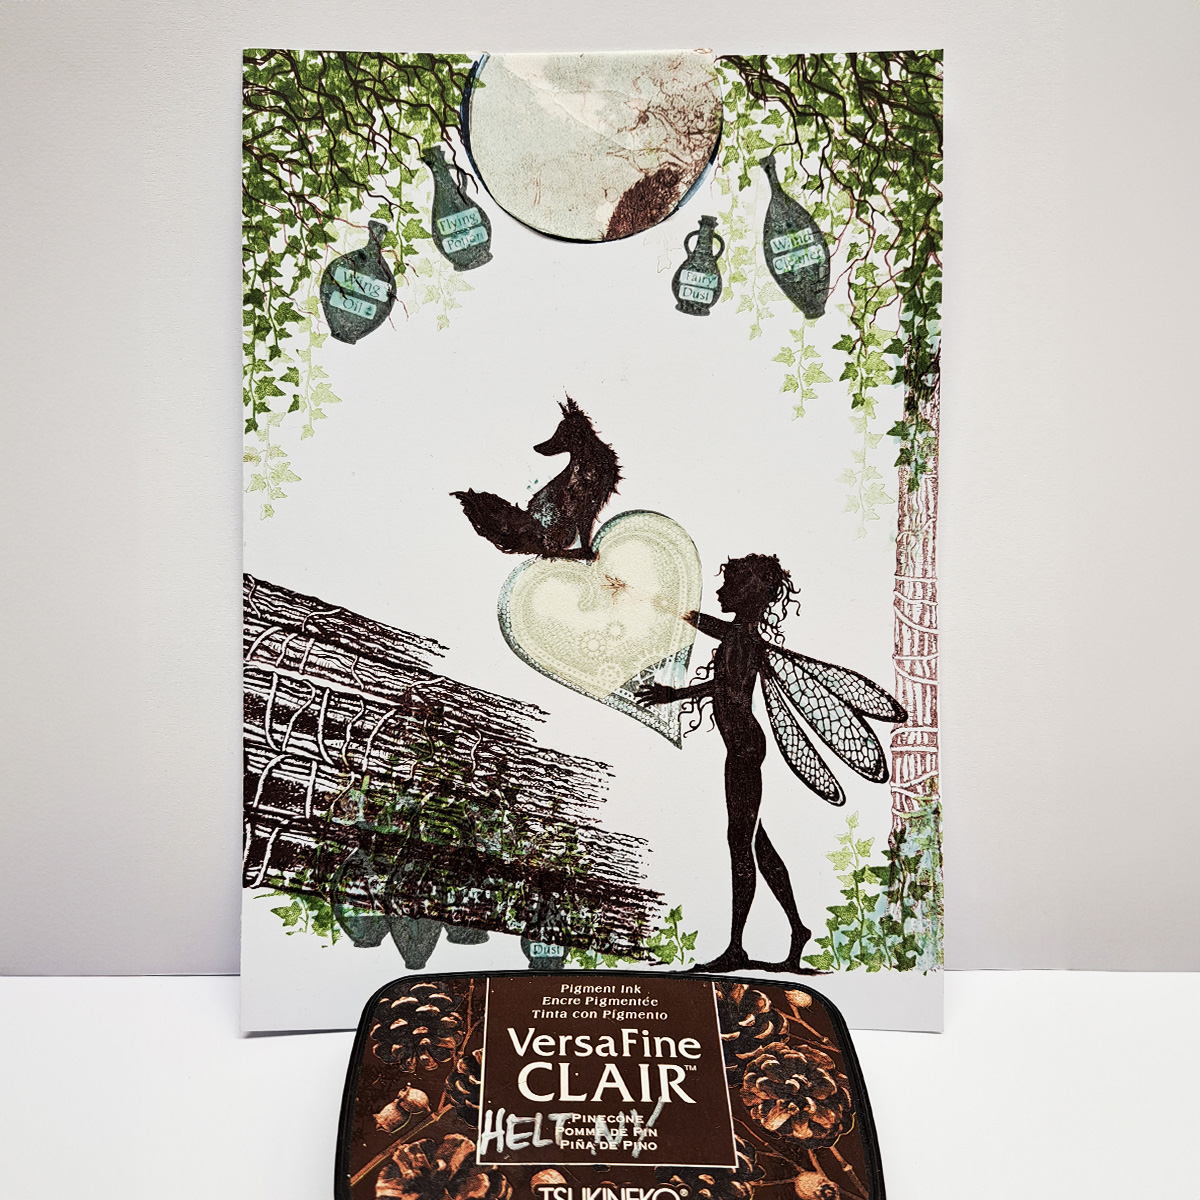
4: Put masking fluid over the Ivy that is on the ground. Stamp the Tree Den on the left, then stamp it a further three times, as shown, then use the Tree Stem for the top two layers. Be sure to keep them at a slight angle.
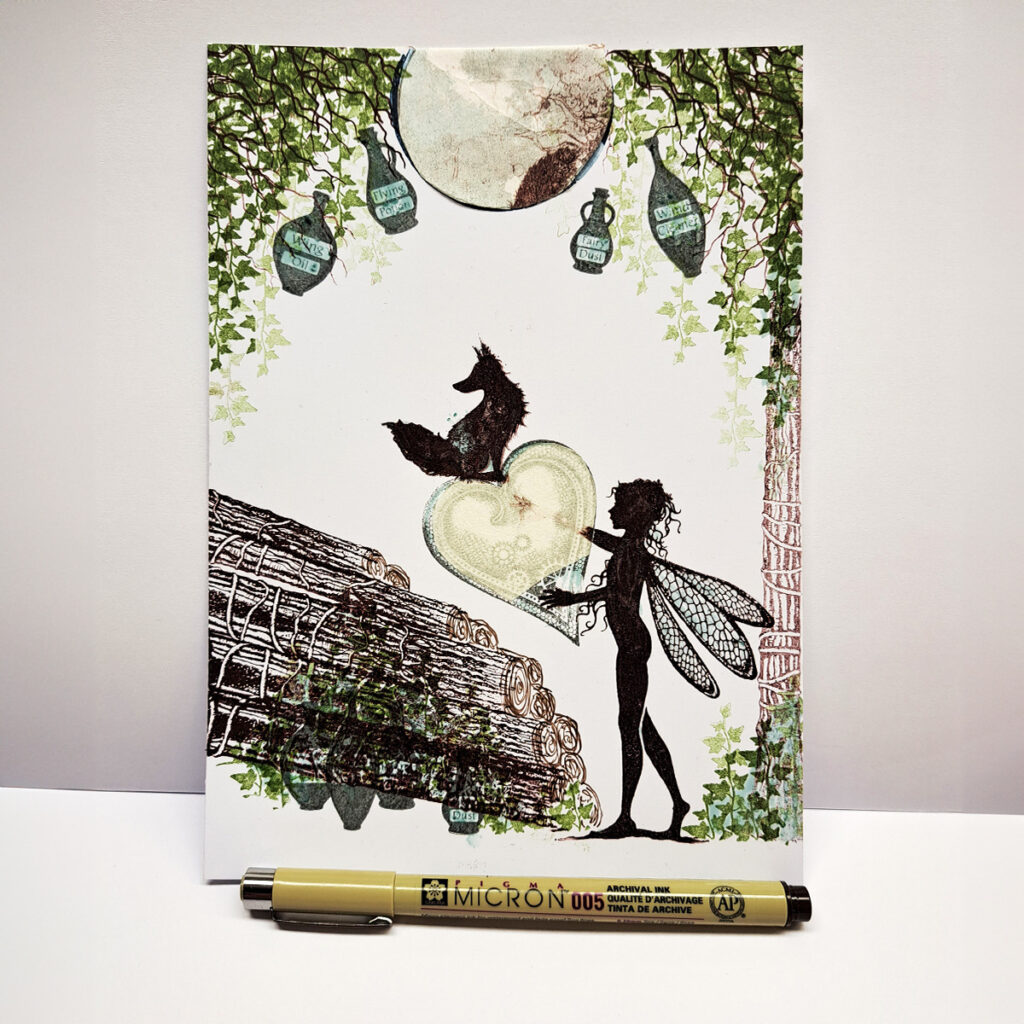
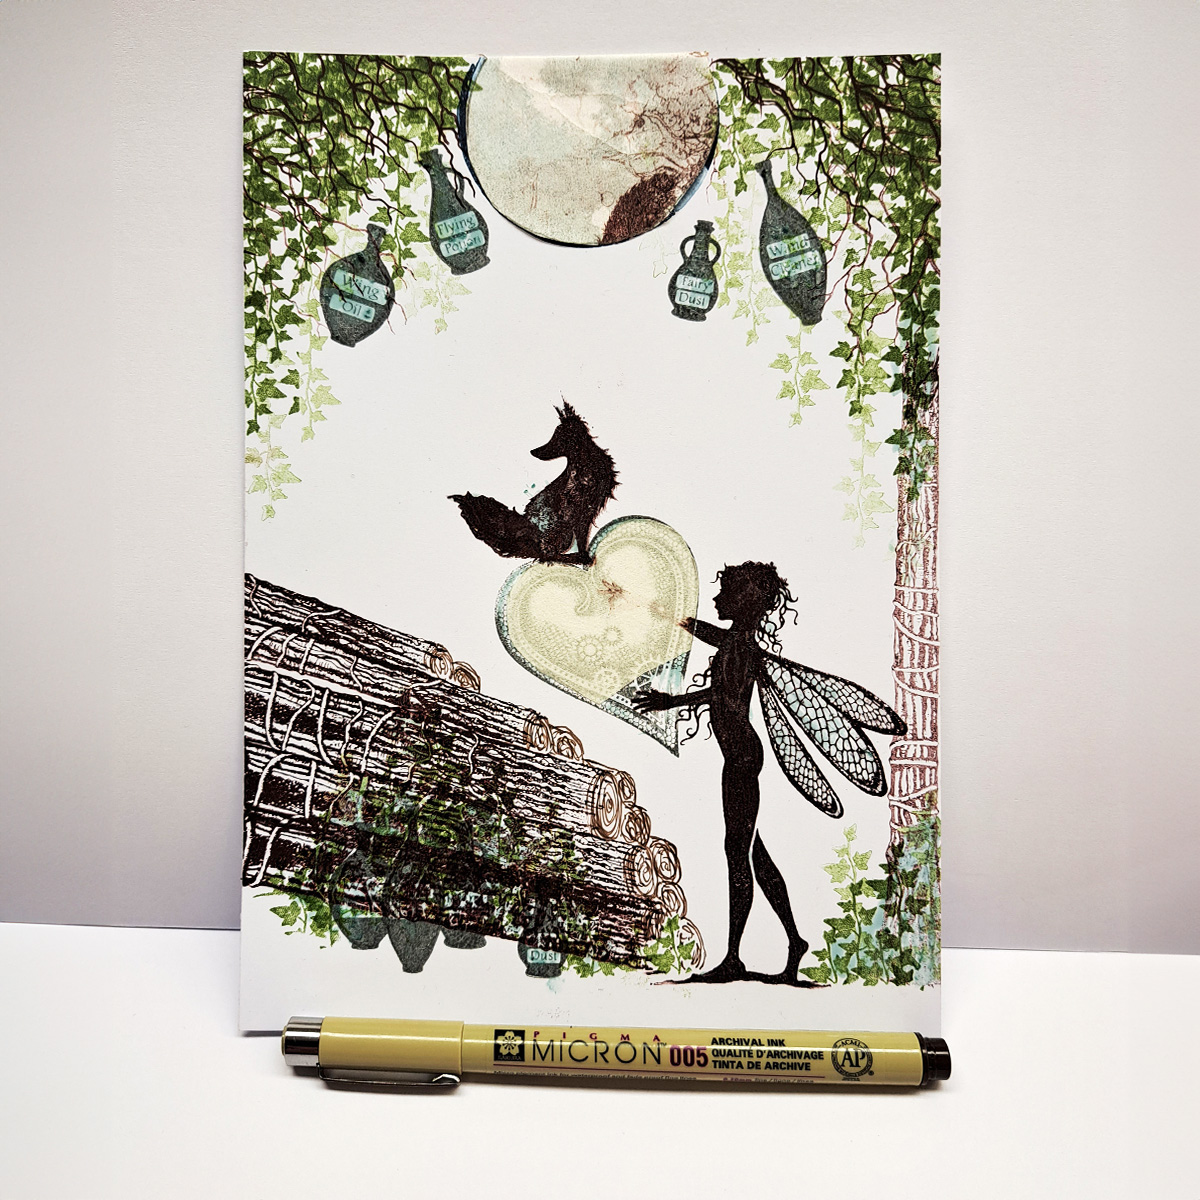
5: Now use a waterproof Micron 005 pen to draw a slightly squashed cinnamon swirl bun effect on each, to create the log ends. Then draw the ends of a second layer of logs, because a single layer would be a very unstable stack and would look unnatural.
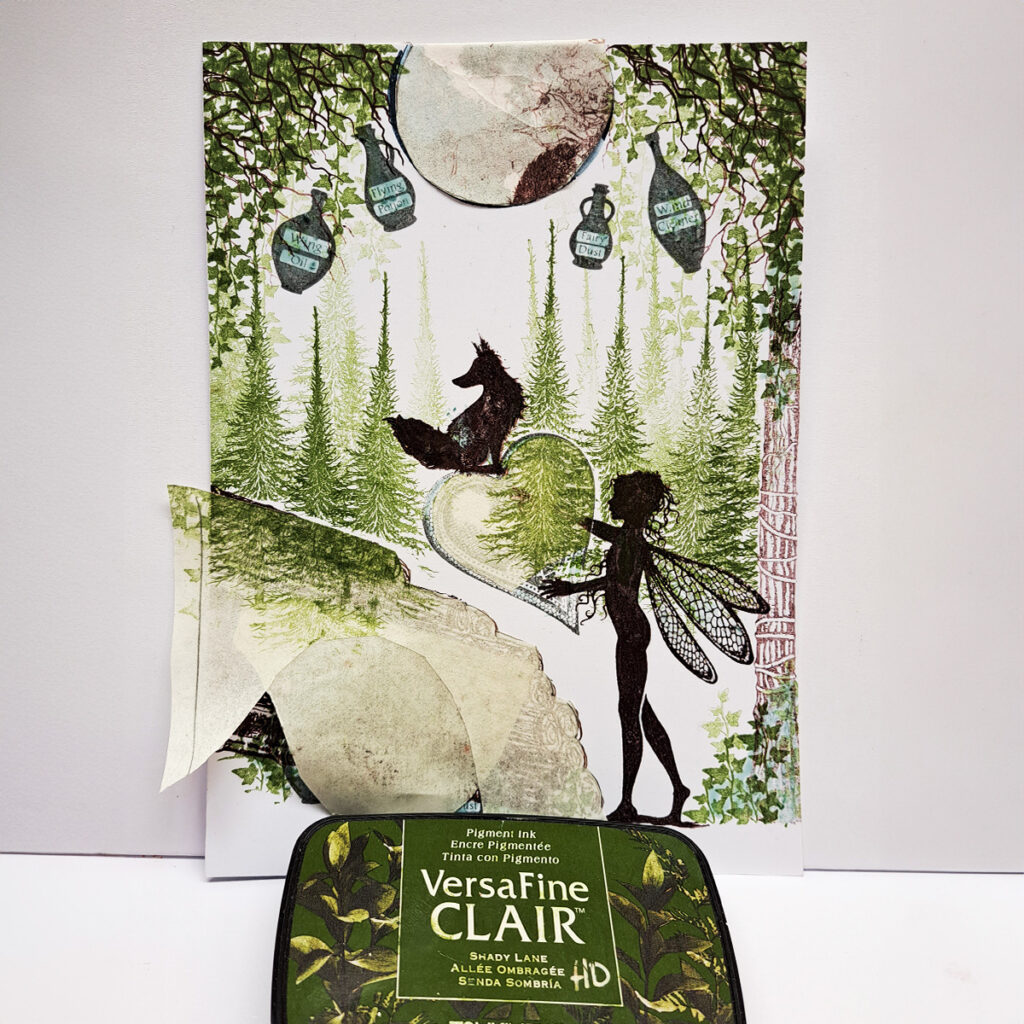
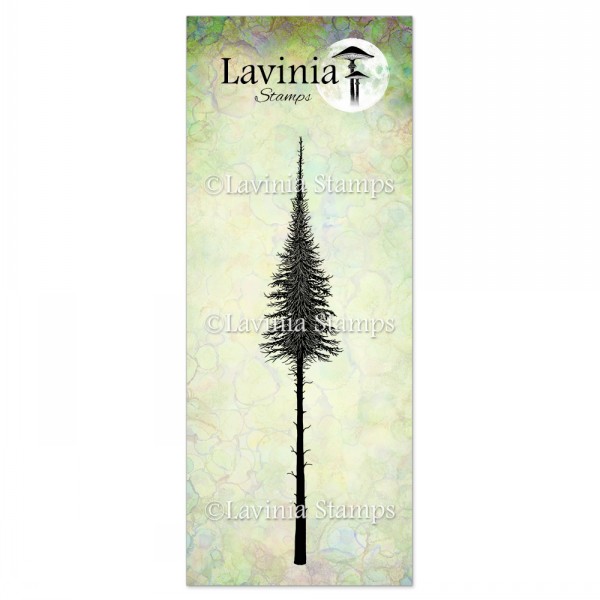
6: More masking now. Remember, if you use both liquid and paper masking sheets you must be sure that the paper masking doesn’t go on top of the liquid masking, otherwise will be very hard to remove. Stamp the Fairy Fir Tree in the Versafine Shady Lane. Give the scene some depth with first- and second-generation stamping.
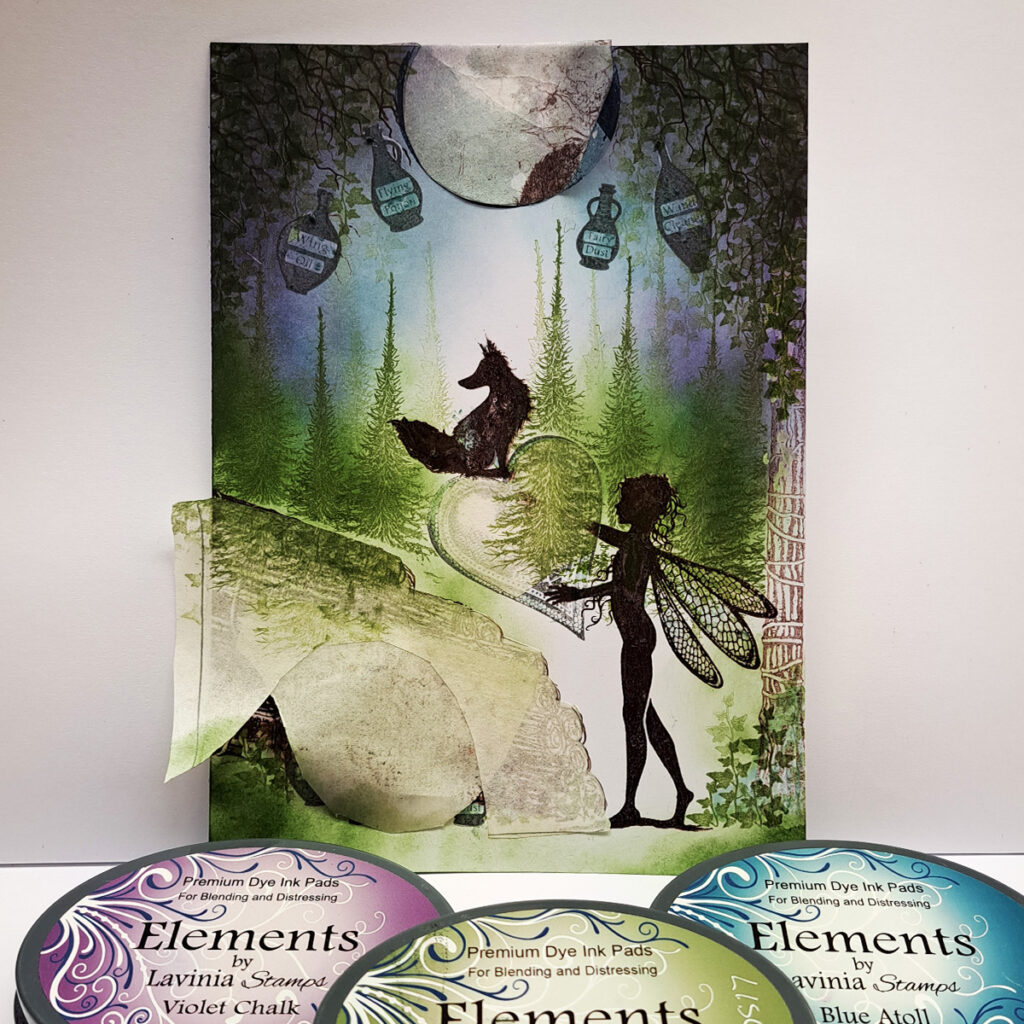
7: Using Elements inks in shades of Blue Atoll, Violet Chalk, Dark Denim, and Midnight Blue to create the sky.
8: Remove all the masking. This will make some of the colours disappear or fade, but we will fix this in the next step. A valuable tip is to make sure you wipe off any excess ink that is on top of the masking liquid, to avoid smudging.
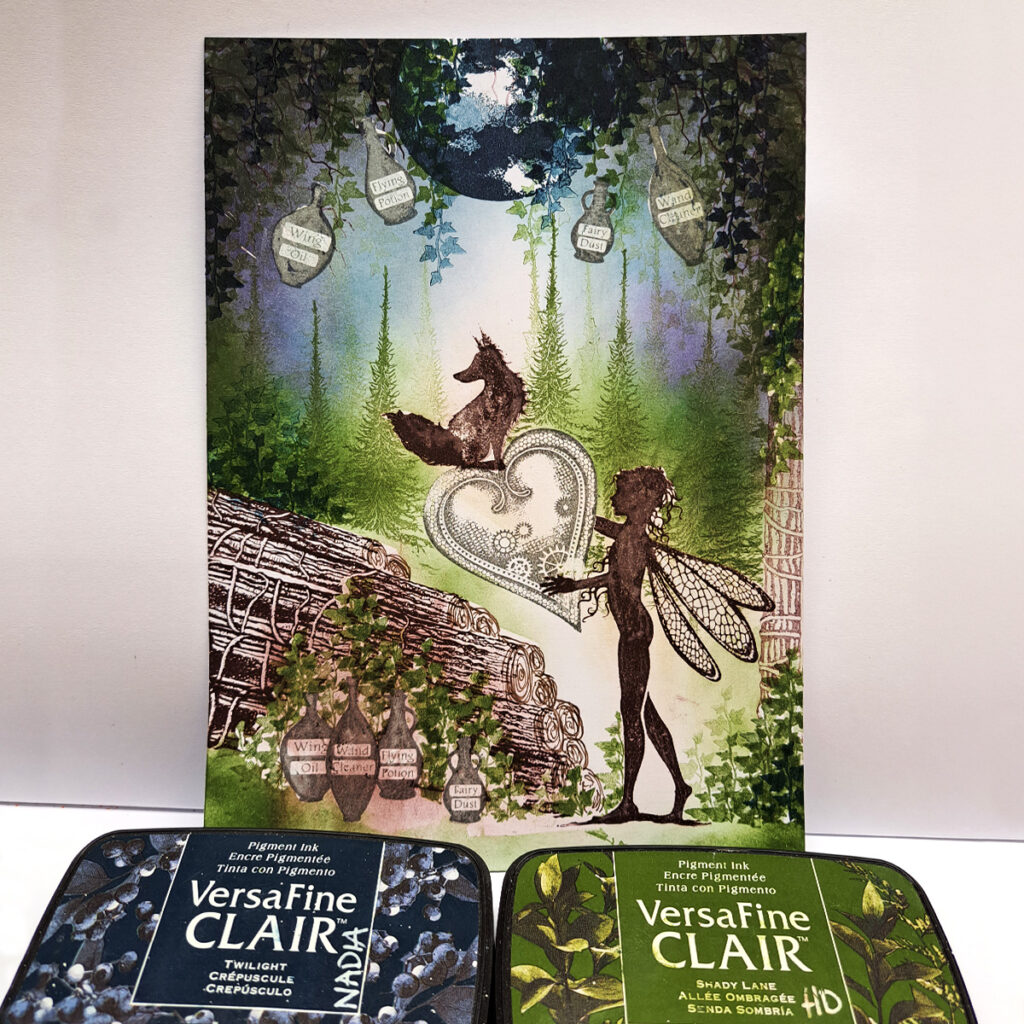
9: You will need to restamp those places where the colour has faded. Use the Shady Lane as before, and stamp some in the Twilight to create a contrast. I added some Ivy behind the logs, using a small piece of paper for masking.

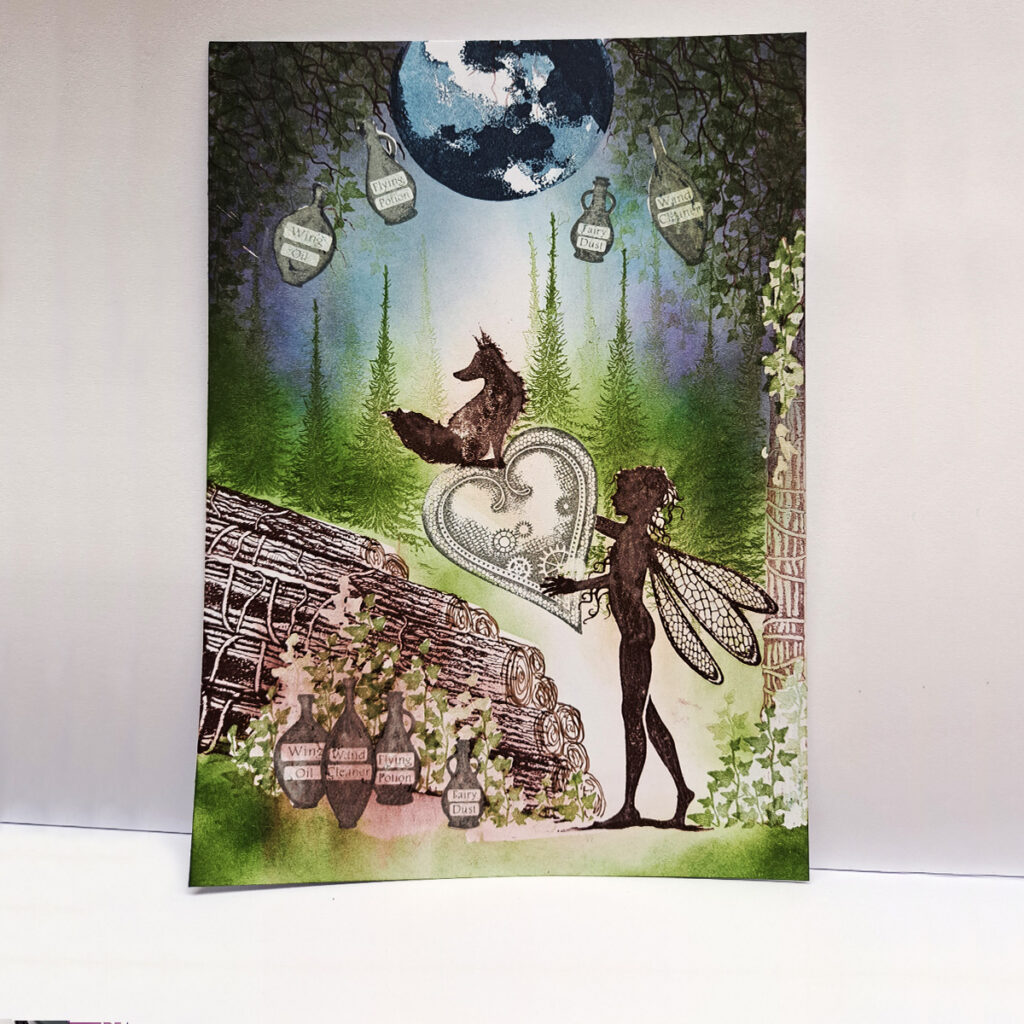
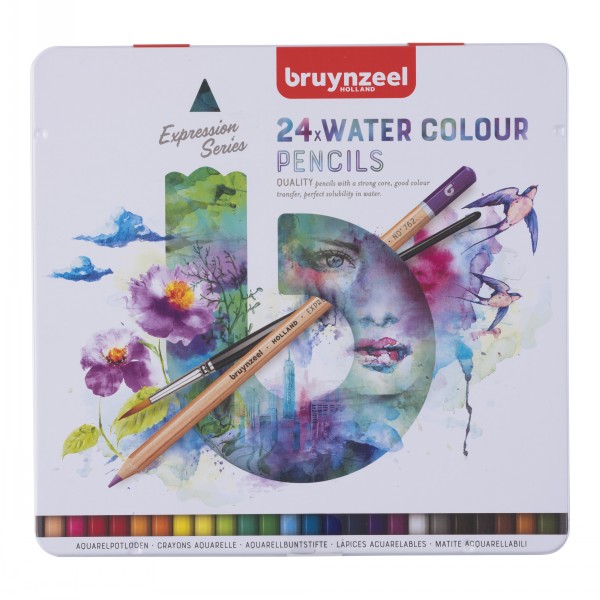
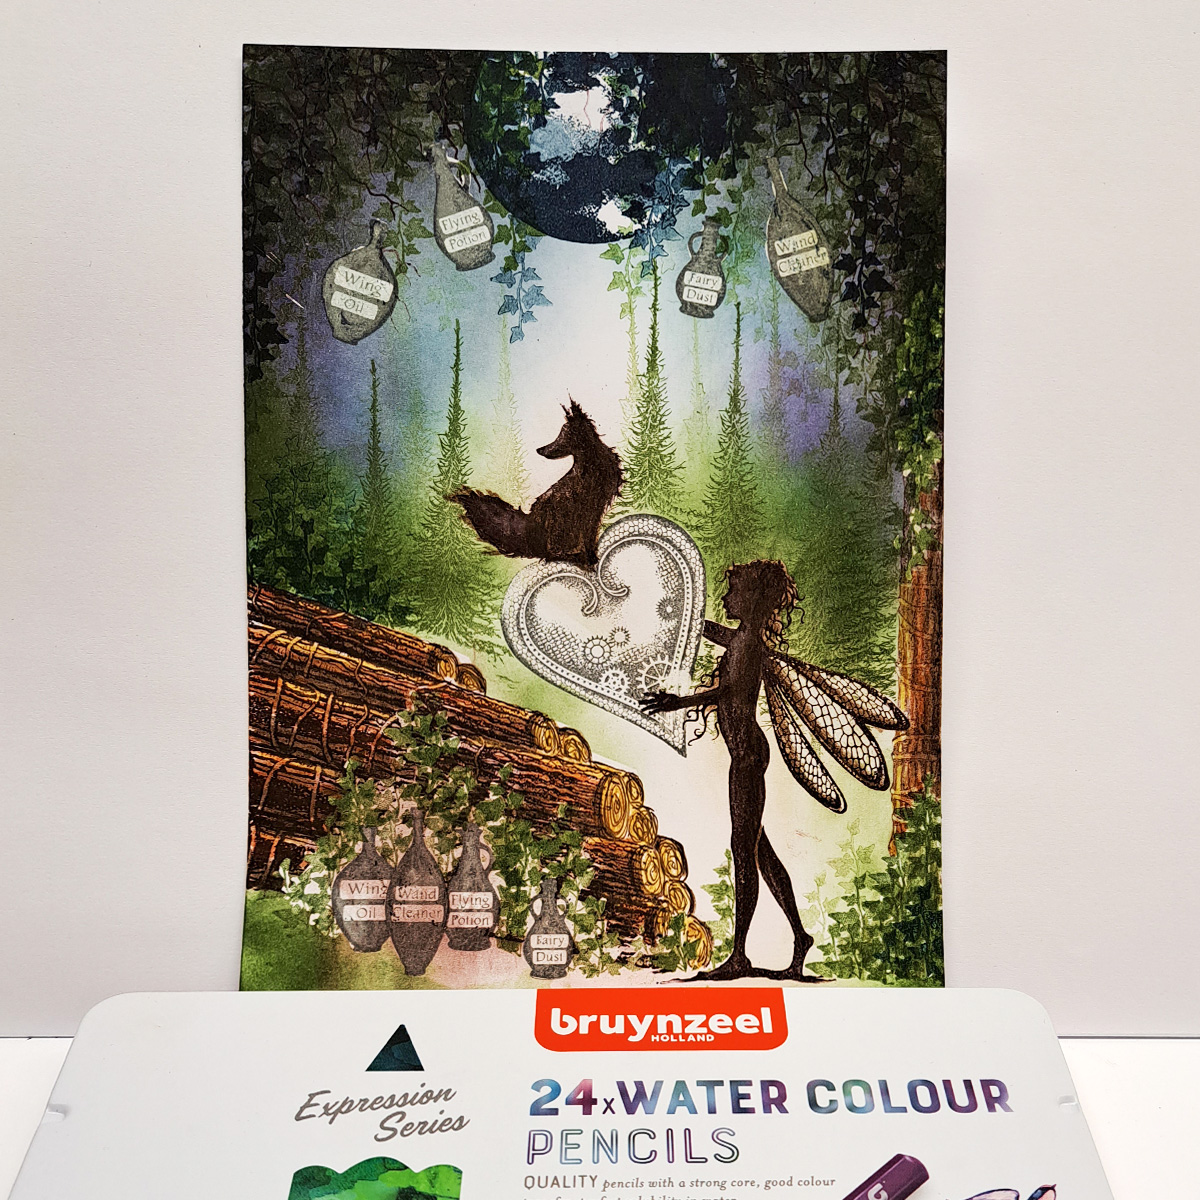
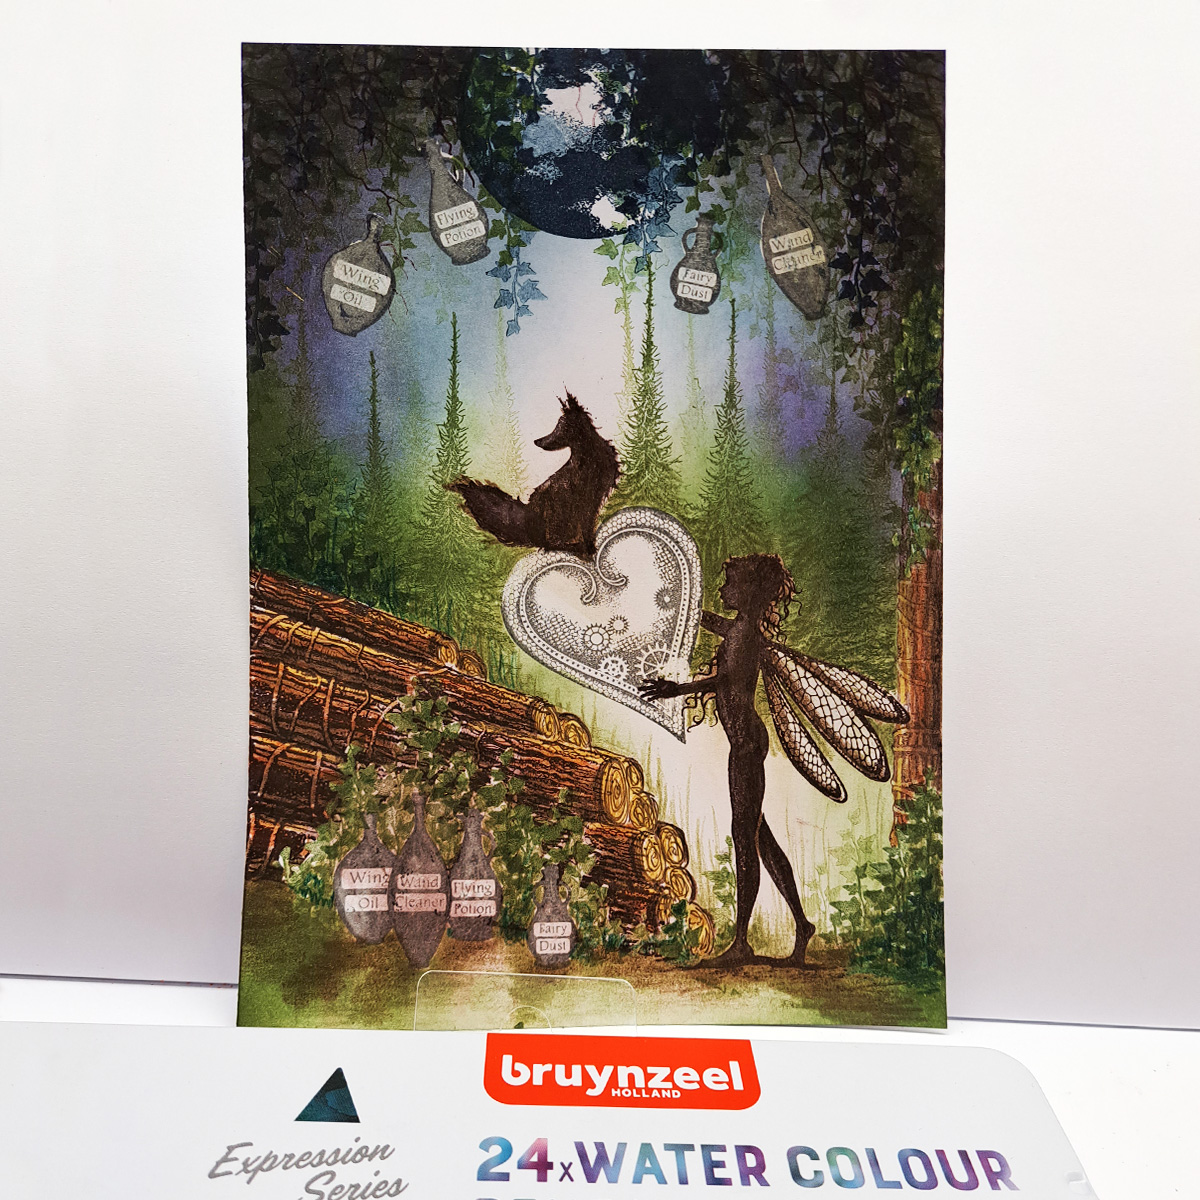
10: Next, get out your Aquarelle pencils and start to colour. The trees need four different colours: dark brown for shadows, medium brown, and reddish brown to add life to the tree. Then use an ochre on the log ends and where the light hits.

11: Take a green pencil to add further details. Choose a similar shade to the Versafine Clair Shady Lane. Use a brown pencil to create shadows on the ground.

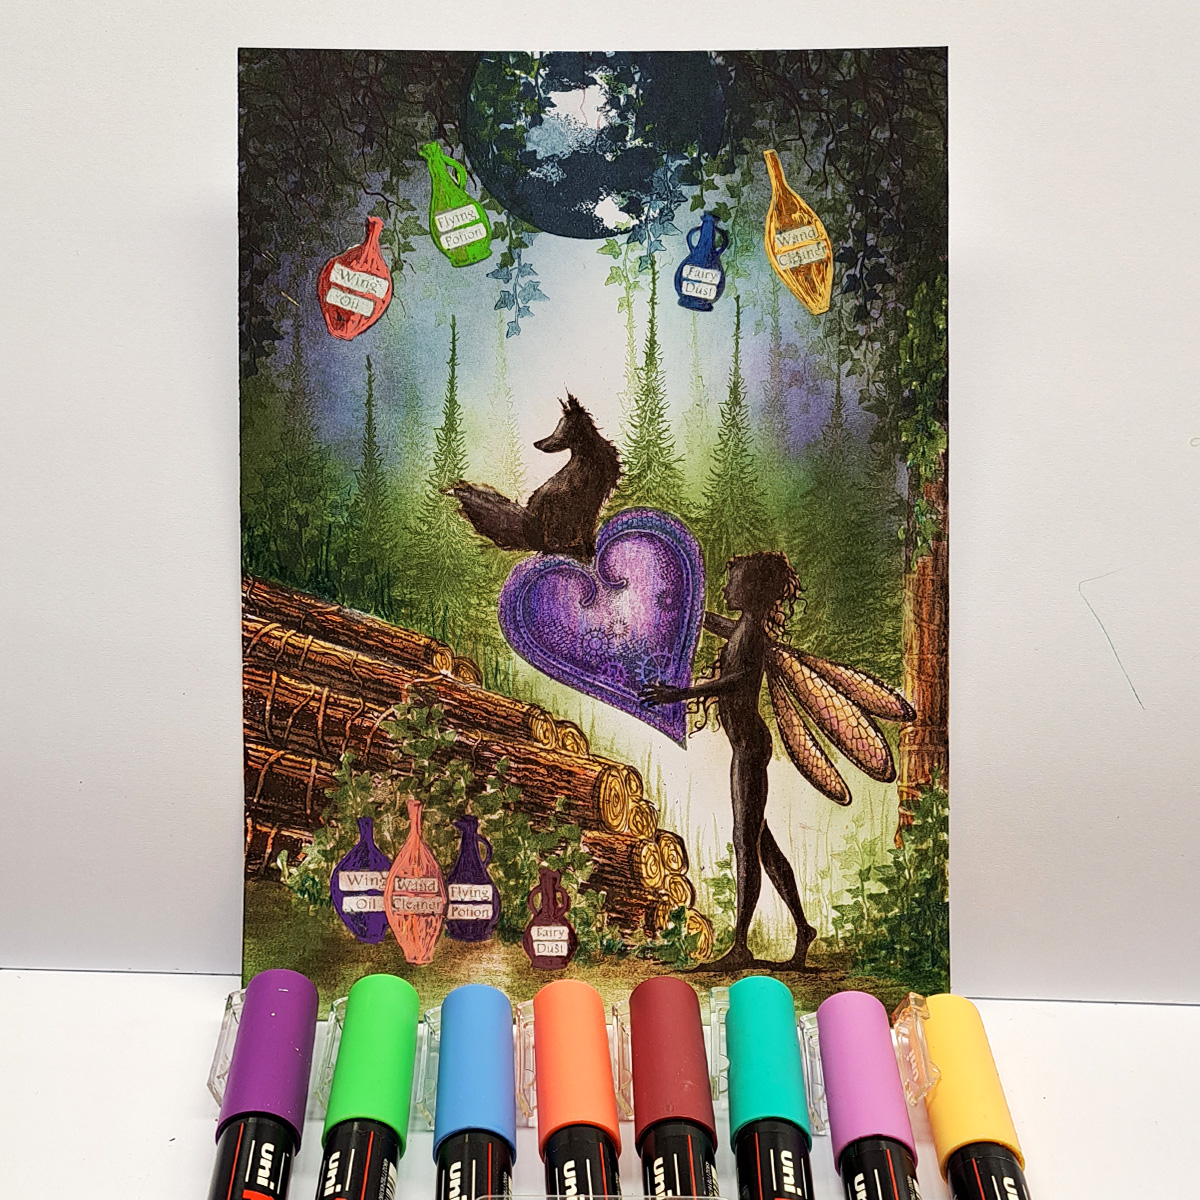
12: Choose your colours for the potions, first with aquarelle pencils, and then in a similar shade of Posca Pen. Do not cover it all with Posca colour.
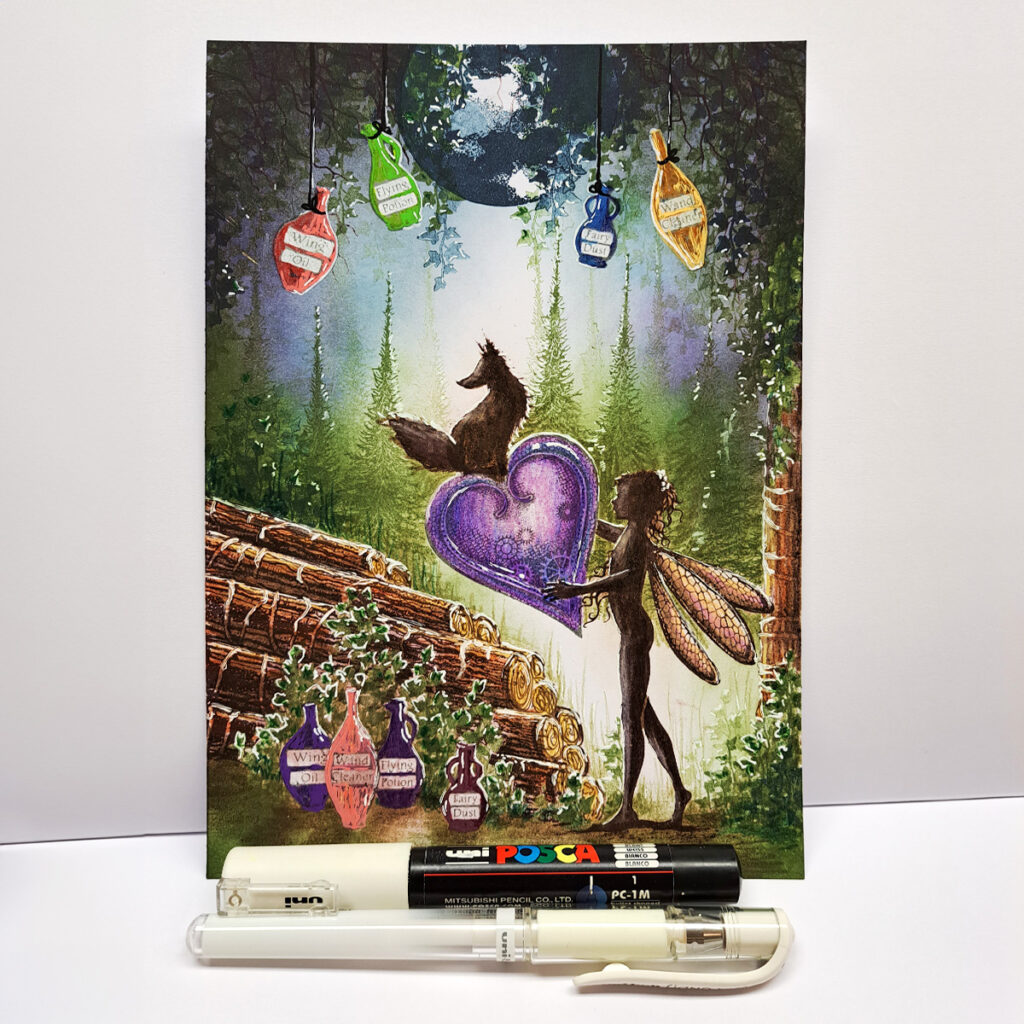
13: Now it is time for the highlights. Use a white Posca pen and/or a white Uniball pen. The white will give the illusion of light in the picture, creating depth and life. Freya also has some flowers in her hair, so colour them too.
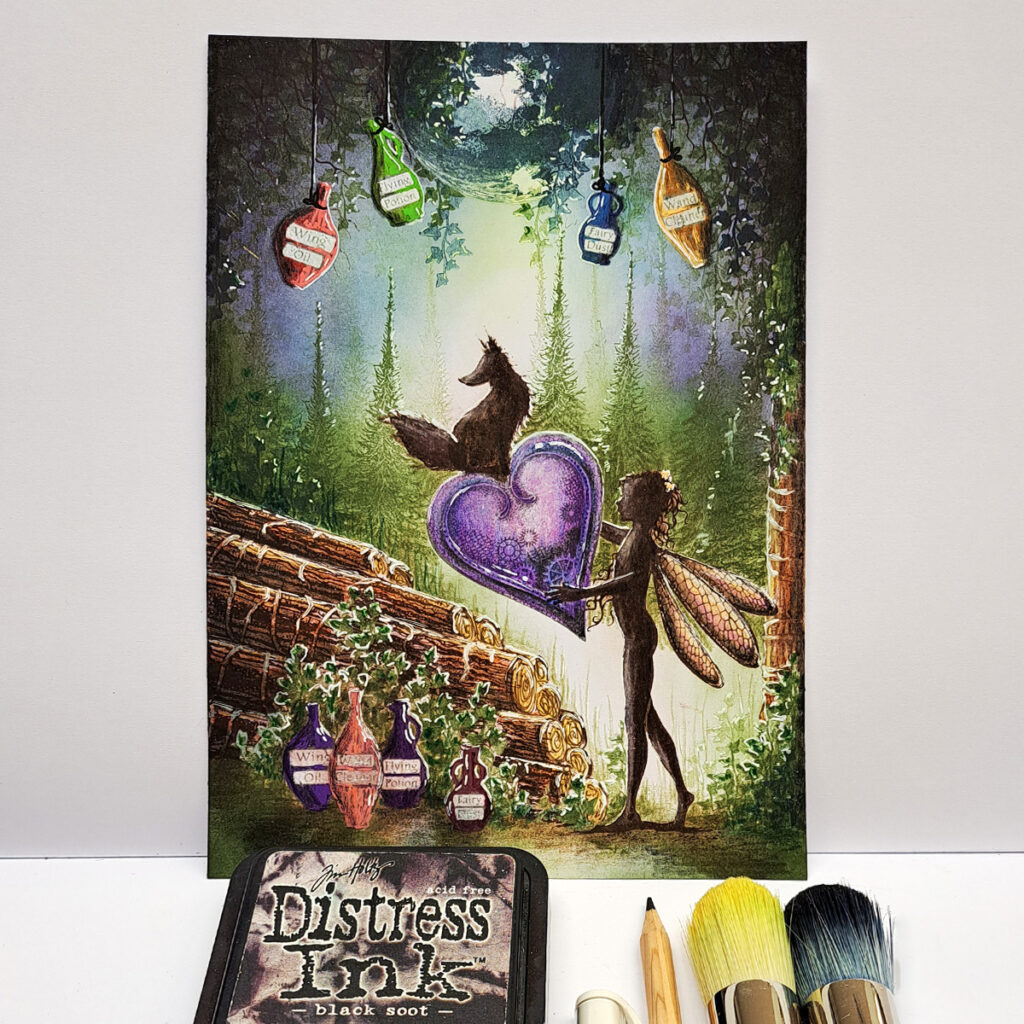
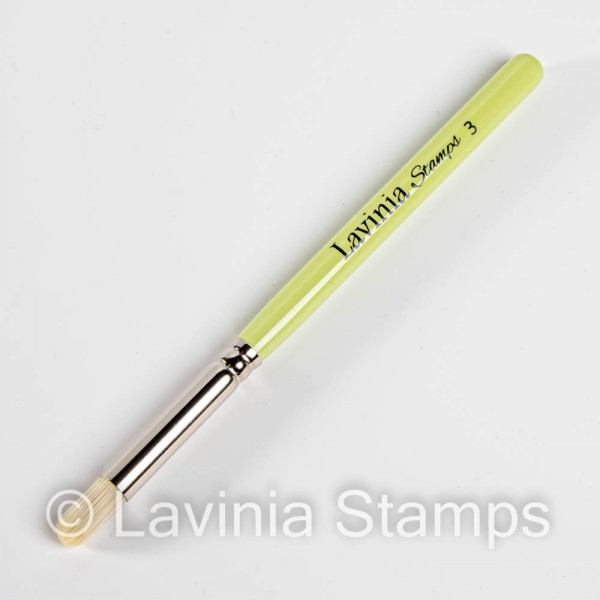
14: For the corners use some dark Distress ink; the Black Soot will be perfect for this, and leave just a little white space in the centre to create depth. I love using some yellow Pan Pastel or Extra Soft Pastel to add some glow. I use a Lavinia Stencil brush (size 9) to gently apply a little colour around the white space. Now use a black Aquarelle pencil to draw some shadowing on the Potions and enhance the shadows on the ground.
15: I coloured the grass/field in the background, then using what was left of the Black Soot on my brush, I gently went over the grass to give it that “nighttime” look. Then I needed to touch up some of the white highlights.

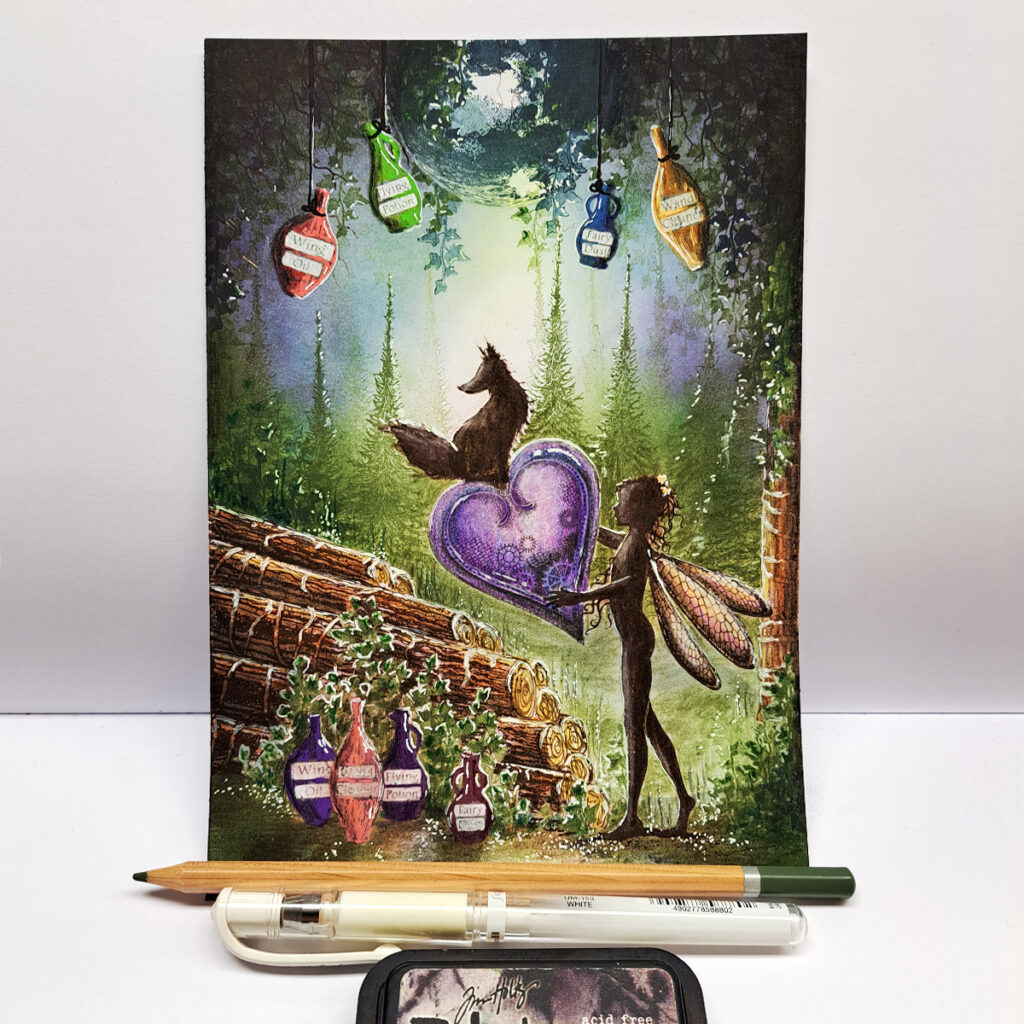
16: Now for the finishing touches. Use the white Posca Pen to add some dots to give life to the ground. Finally, make some white “splash dots” around the top corners. Not too much, it needs to look like flecks of light, not falling snow!
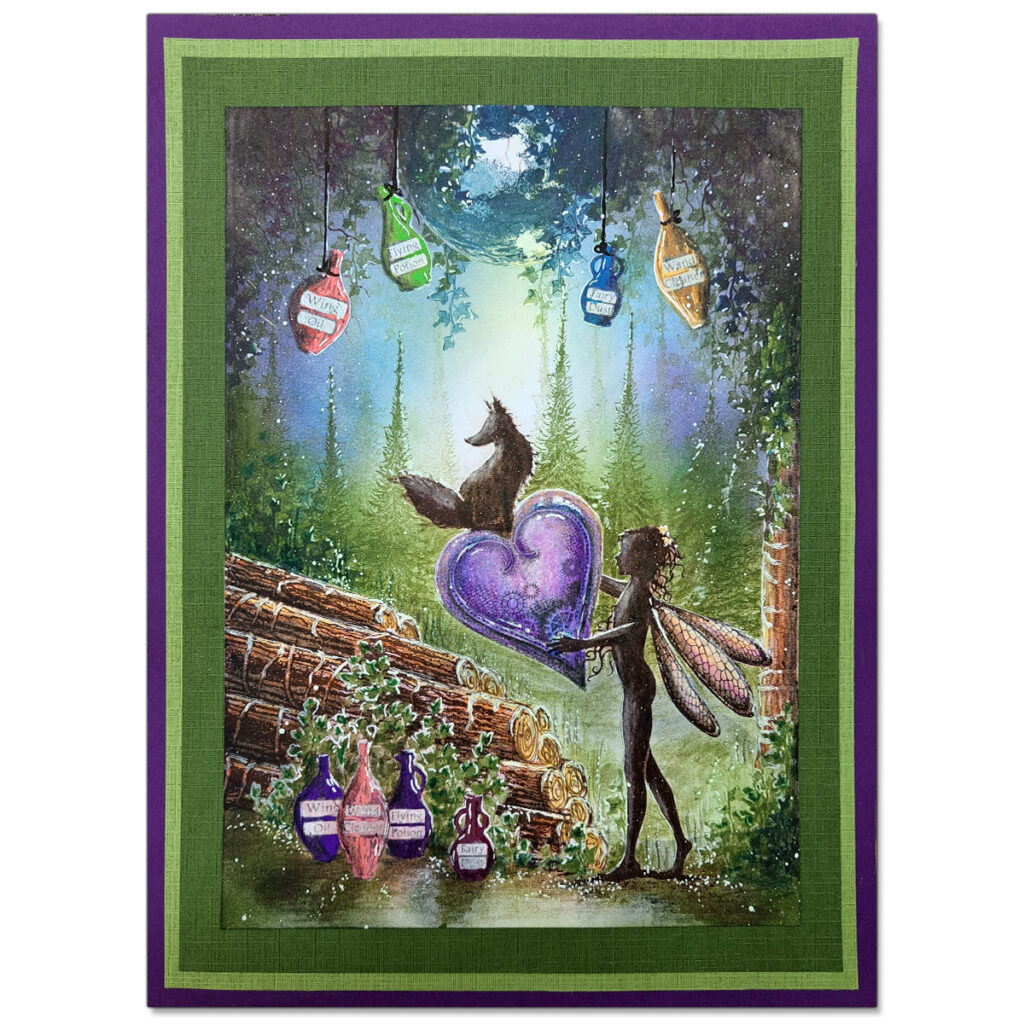
So now our picture is finished. I really hope you enjoyed this tutorial because I had a lot of fun making this picture. If there is anything you want to ask, just send me a message and I will answer as soon as I can.
Happy stamping everyone, Hugs from Mona 🧚♀️
Happy stamping everyone
Hugs from Mona!


