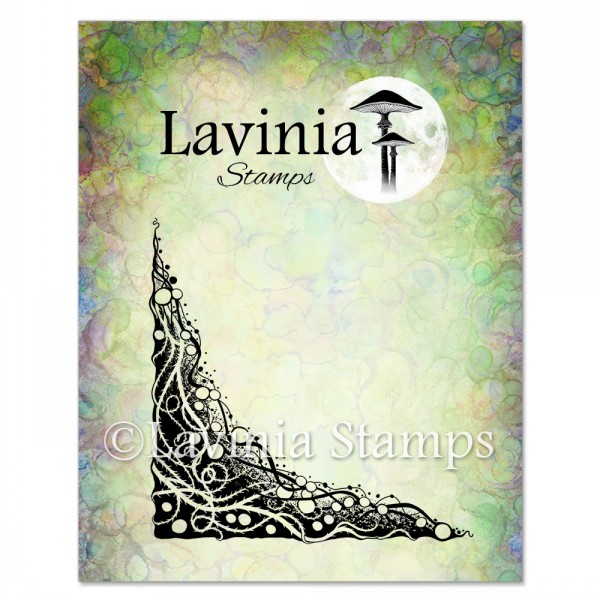
 River Root Corner Small Stamp
£5.50
Add to basket Bubbling Cauldron Stamp
£4.80
Add to basket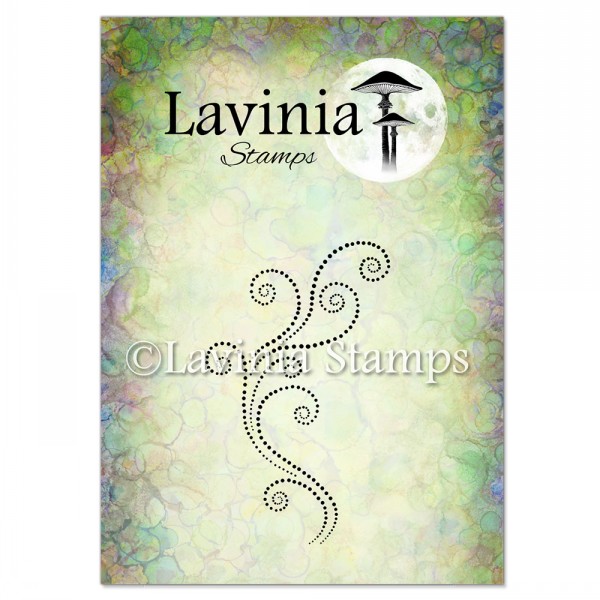 Magical Mist Stamp
£5.40
Add to basket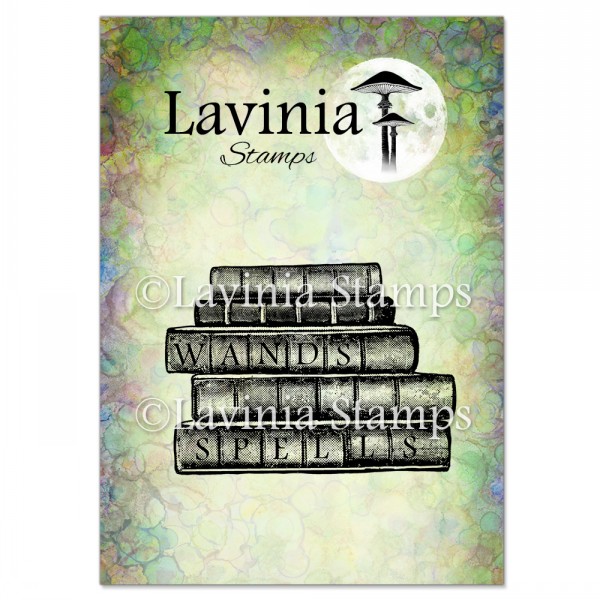 Wands & Spells Stamp
£5.60
Add to basket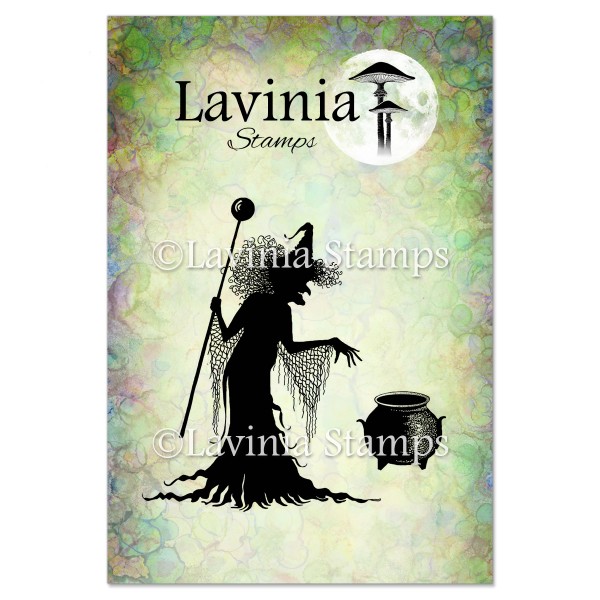 Willow the Witch Stamp
£7.80
Add to basket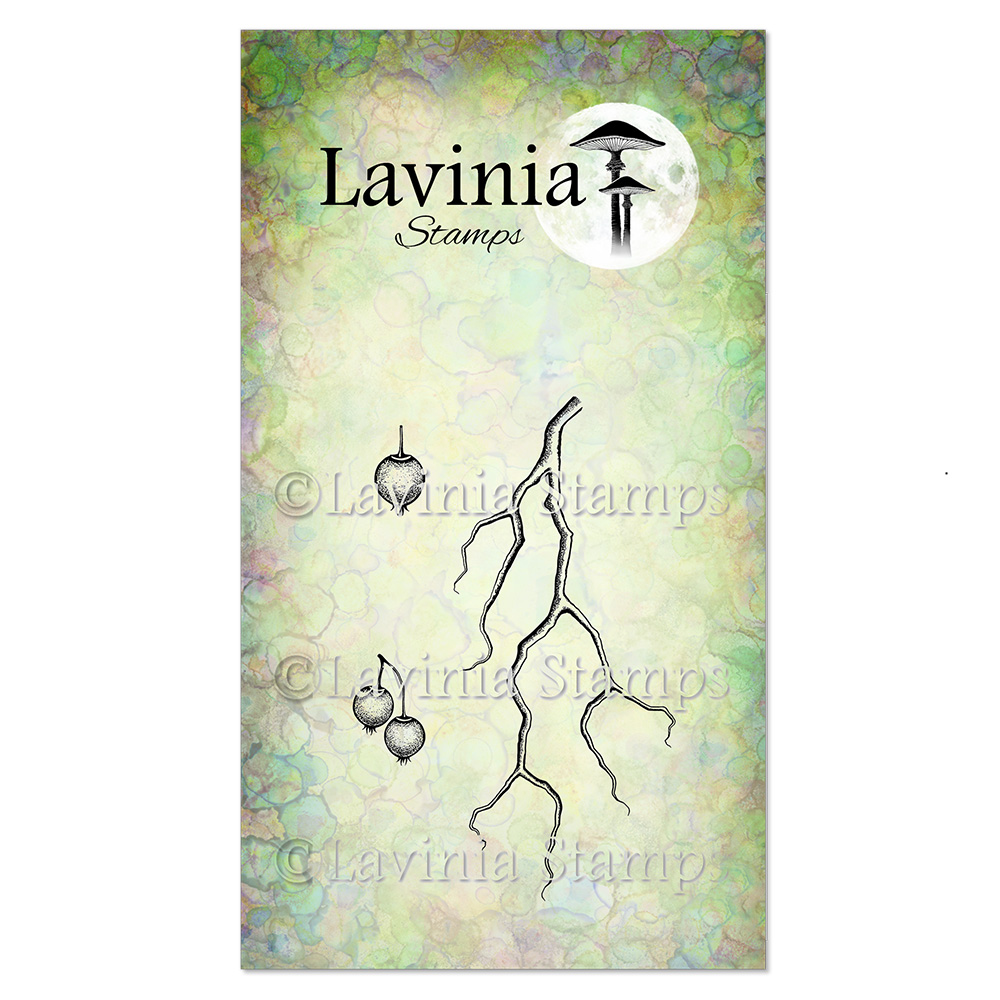 Berry Branch Stamp
£7.30
Add to basket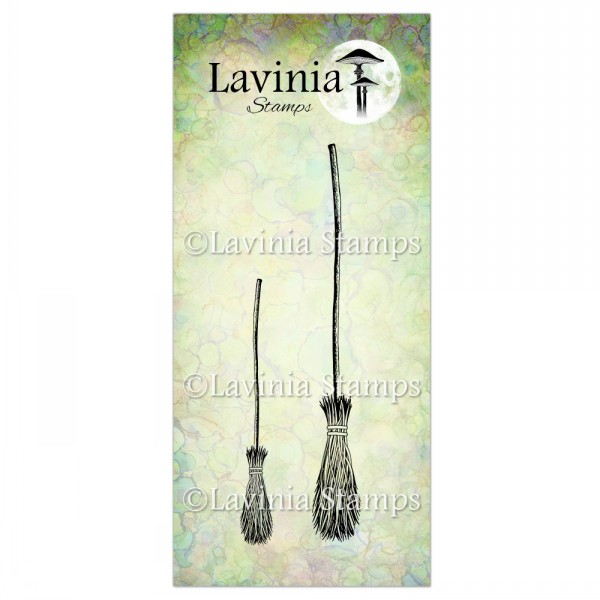 Broomsticks Stamp
£7.20
Add to basket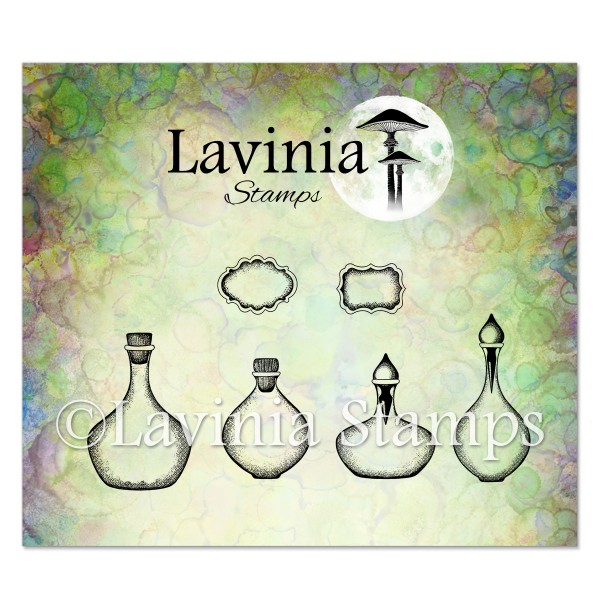 Spellcasting Remedies Small Stamp
£10.60
Add to basket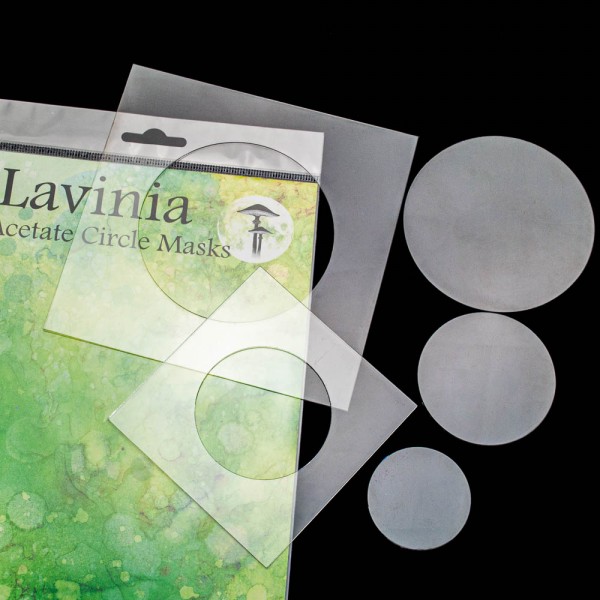 Acetate Circle Masks
£4.36
Read more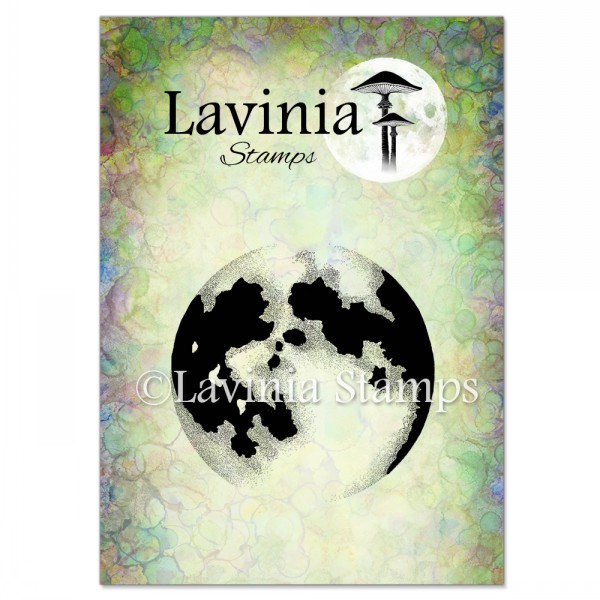 Moon Stamp
£5.80
Add to basket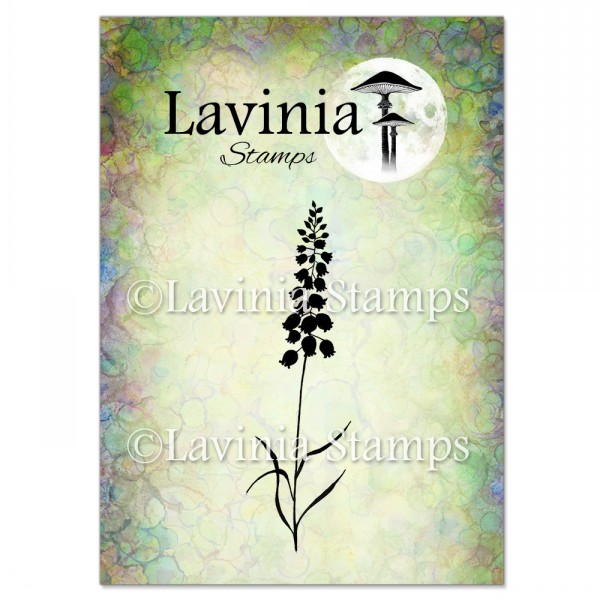 Bluebells Stamp
£5.80
Add to basket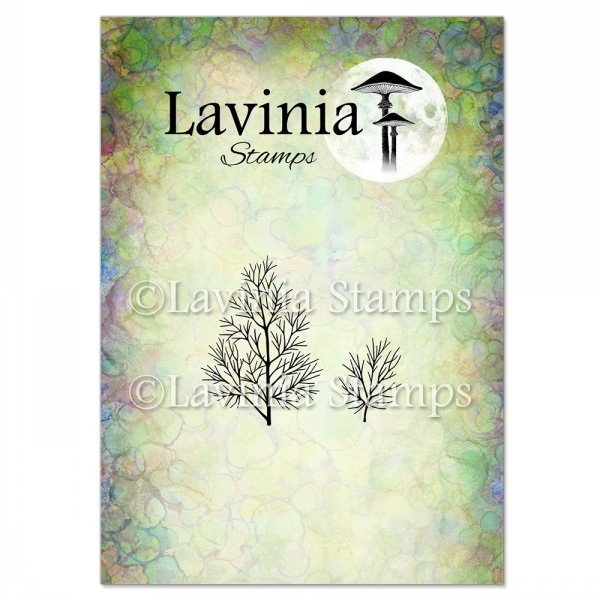 Dill Stamp
£5.60
Add to basket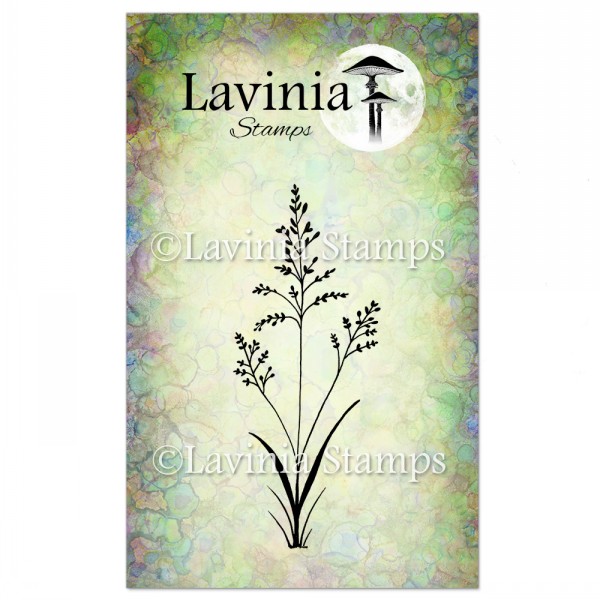 Field Grass Stamp
£6.80
Add to basket Mushies Stamp
£3.80
Add to basket Meadow Blossom Stamp
£7.80
Add to basket Wild Foliage Stamp
£6.30
Add to basket Elements Premium Dye Ink – Russet Orange
£5.85
Add to basket Versafine Clair Ink Pad – Morning Mist
£5.80
Add to basket Versafine Clair Ink Pad – Shady Lane
£5.80
Add to basket Versafine Clair Ink Pad – Pinecone
£5.80
Add to basket Versafine Clair Ink Pad – Fallen Leaves
£5.80
Add to basket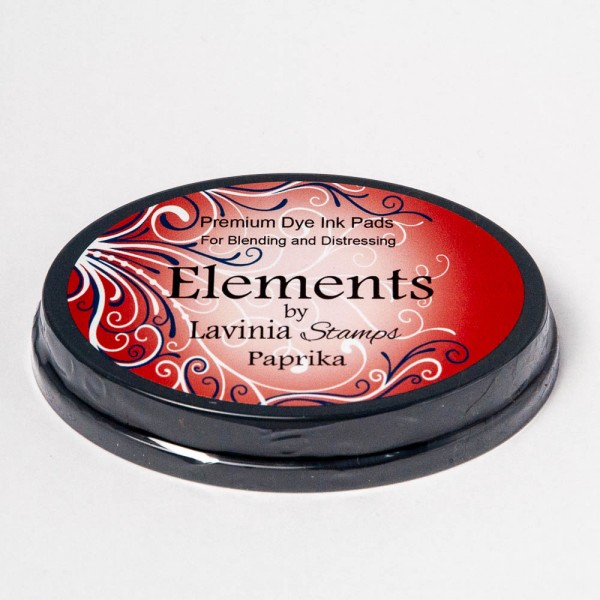 Elements Premium Dye Ink – Paprika
£5.85
Add to basket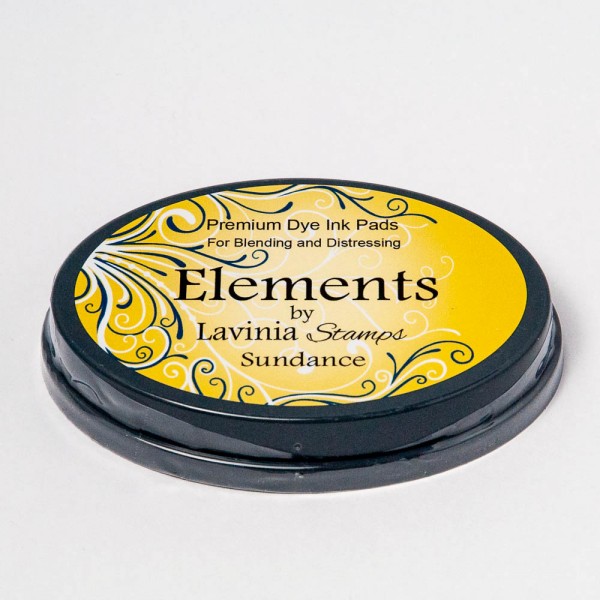 Elements Premium Dye Ink – Sundance
£5.85
Add to basket Elements Premium Dye Ink – Olive
£5.85
Add to basket Versafine Clair Ink Pad – Rain Forest
£5.80
Add to basket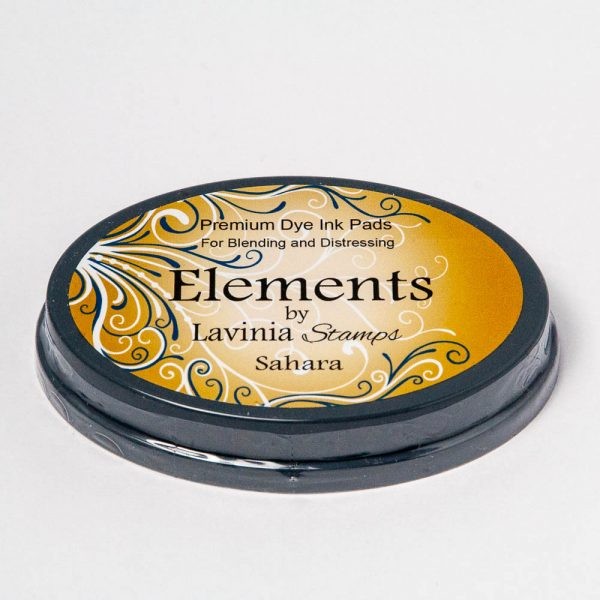 Elements Premium Dye Ink – Sahara
£5.85
Add to basket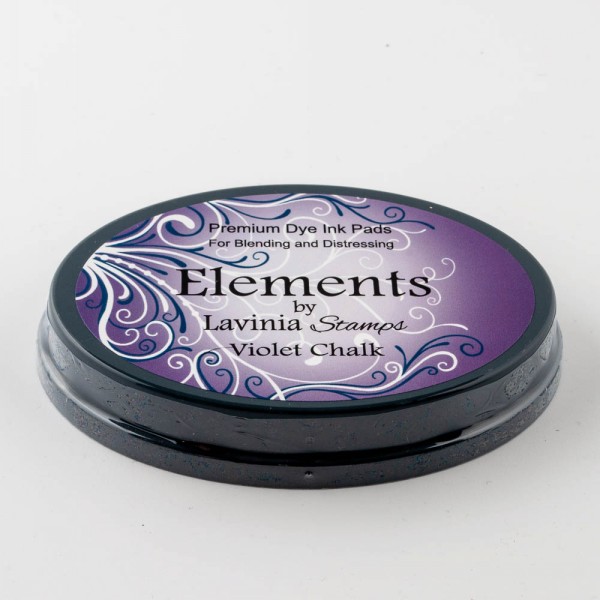 Elements Premium Dye Ink – Violet Chalk
£5.85
Add to basket Elements Premium Dye Ink – Pink Elephant
£5.85
Add to basket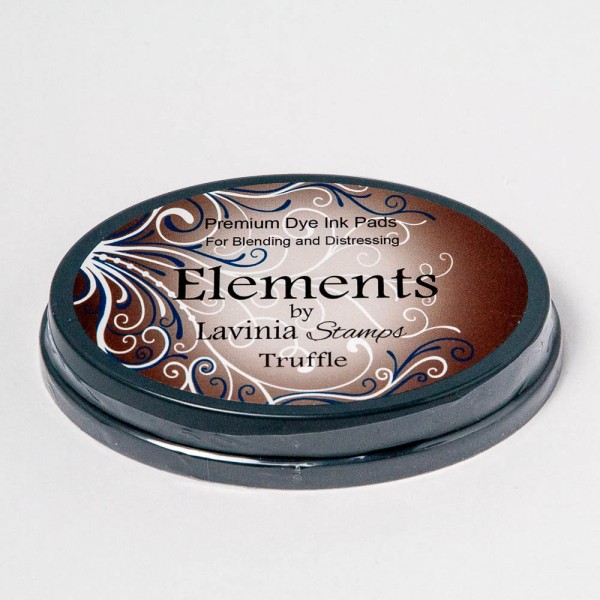 Elements Premium Dye Ink – Truffle
£5.85
Add to basket