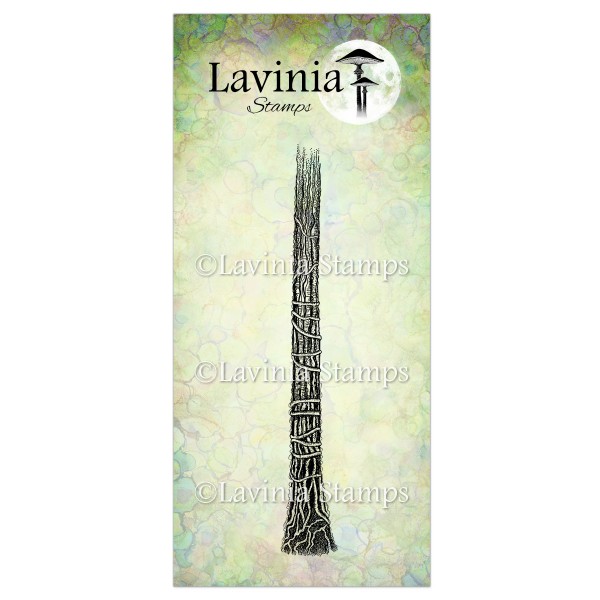
 Tree Stem Stamp
£7.60
Add to basket Thistlewhisk Stamp
£6.40
Add to basket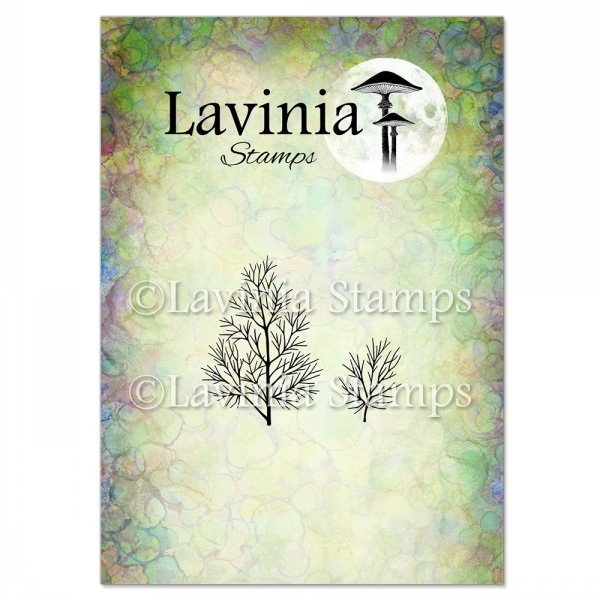 Dill Stamp
£5.60
Add to basket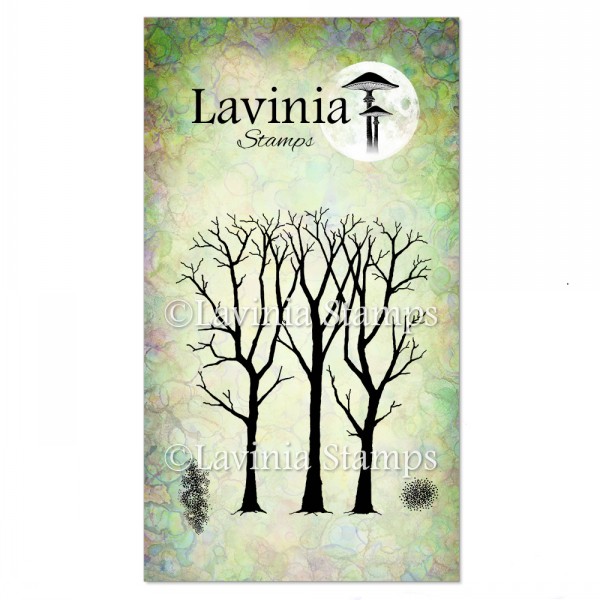 Spring Trees Stamp
£9.80
Add to basket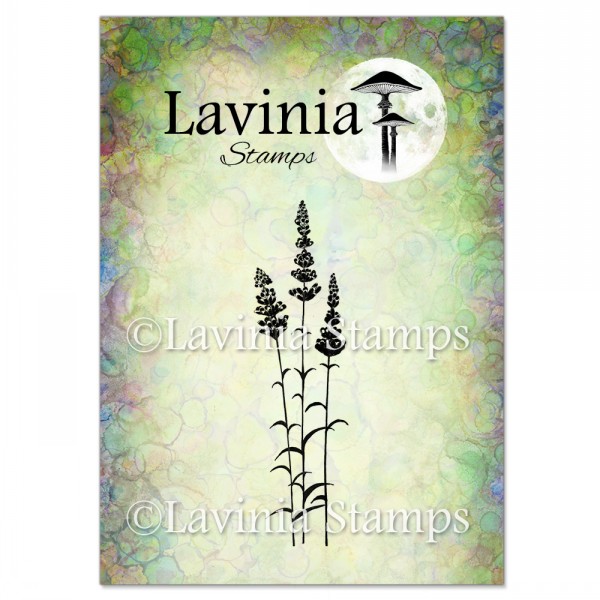 Lavender Stamp
£5.80
Add to basket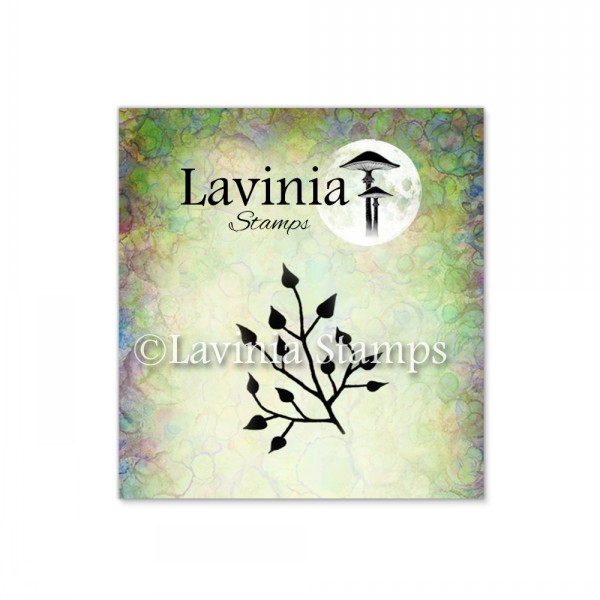 Mini Leaf 2 Stamp
£1.10
Read more Versafine Clair Ink Pad – Morning Mist
£5.80
Add to basket Versafine Clair Ink Pad – Fallen Leaves
£5.80
Add to basket Versafine Clair Ink Pad – Shady Lane
£5.80
Add to basket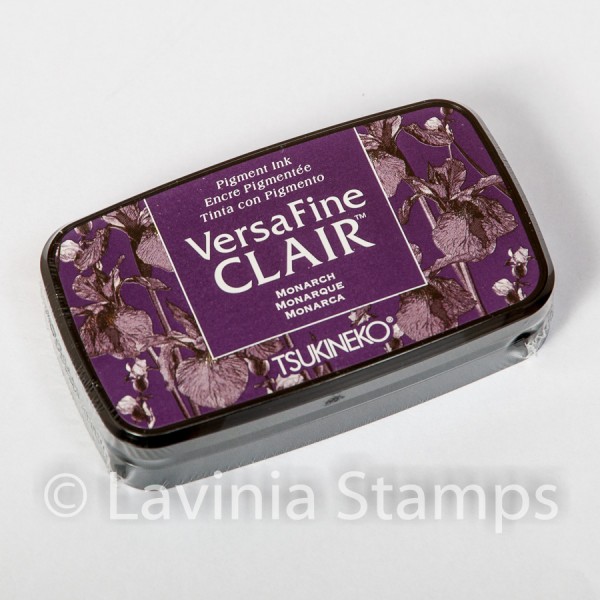 Versafine Clair Ink Pad – Monarch
£5.80
Add to basket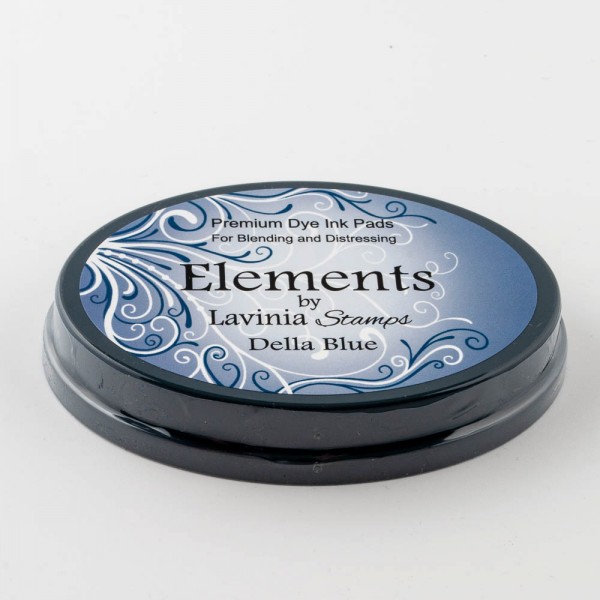 Elements Premium Dye Ink – Della Blue
£5.85
Add to basket Elements Premium Dye Ink – Dark Denim
£5.85
Add to basket Elements Premium Dye Ink – Olive
£5.85
Add to basket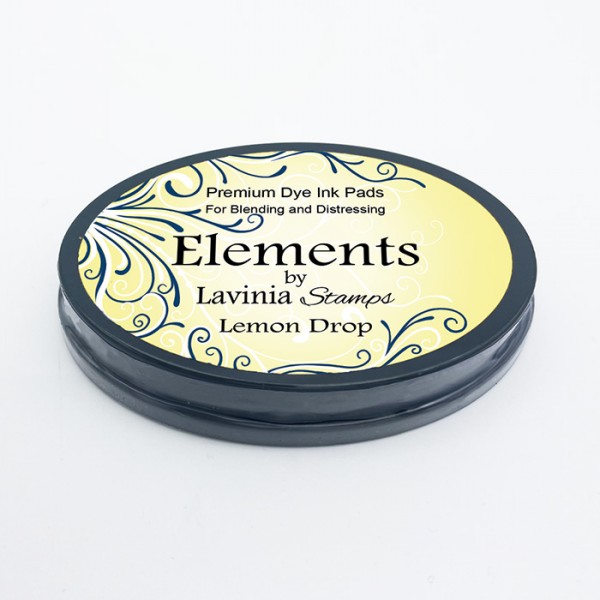 Elements Premium Dye Ink – Lemon Drop
£5.85
Add to basket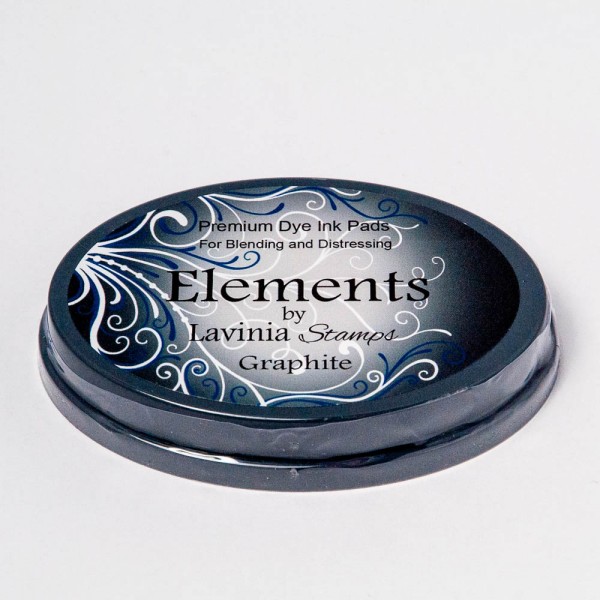 Elements Premium Dye Ink – Graphite
£5.85
Add to basket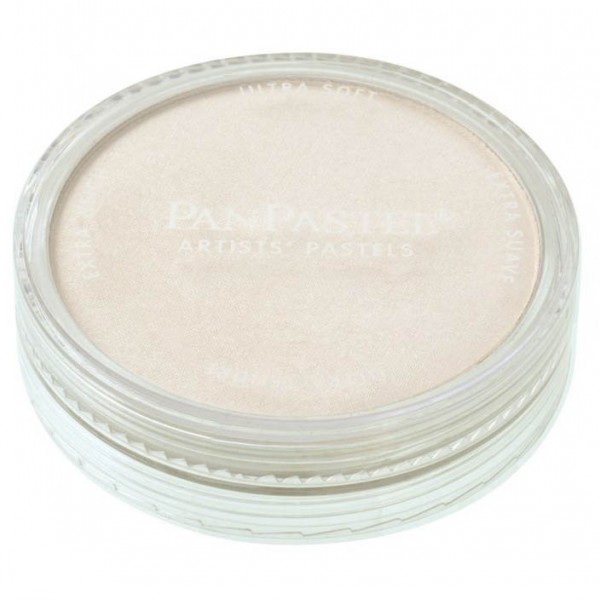 PanPastels – White FINE Pearl Medium
£10.00
Add to basket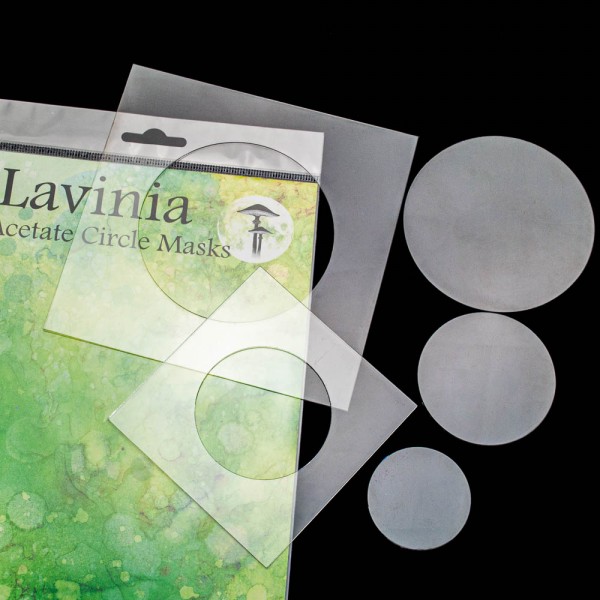 Acetate Circle Masks
£4.36
Read more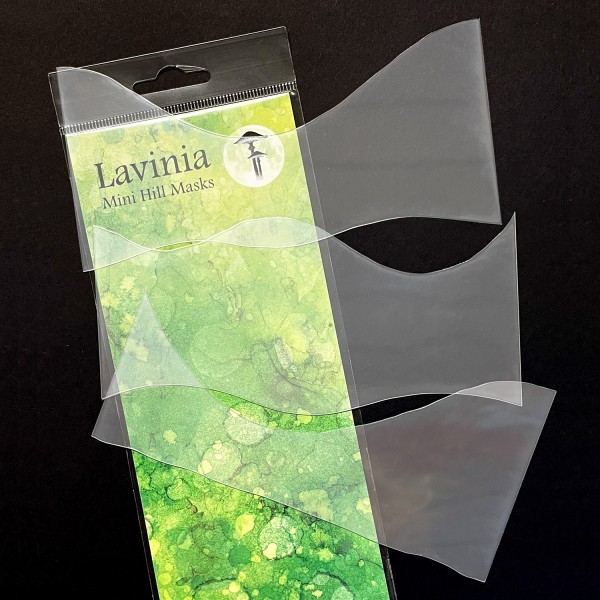 Mini Hill Masks
£3.50
Add to basket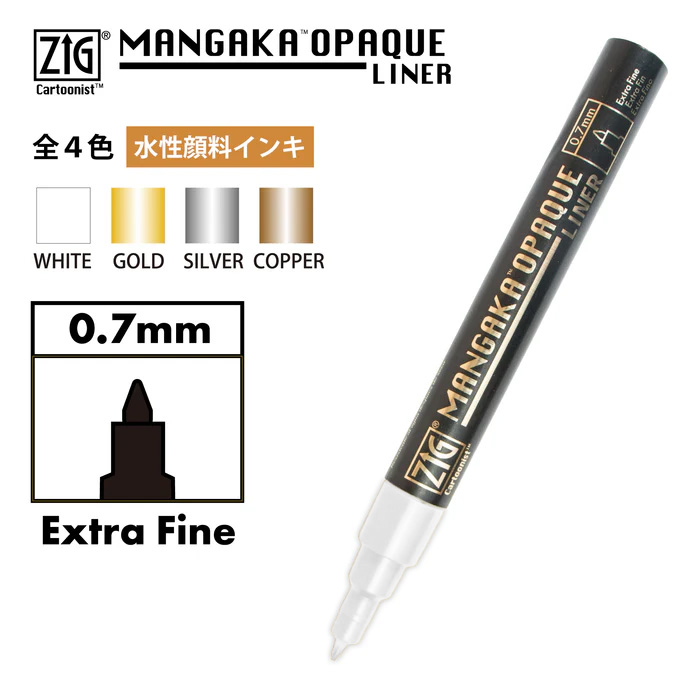 Kuretake Zig Cartoonist Mangaka Opaque Liner White
£2.60
Read more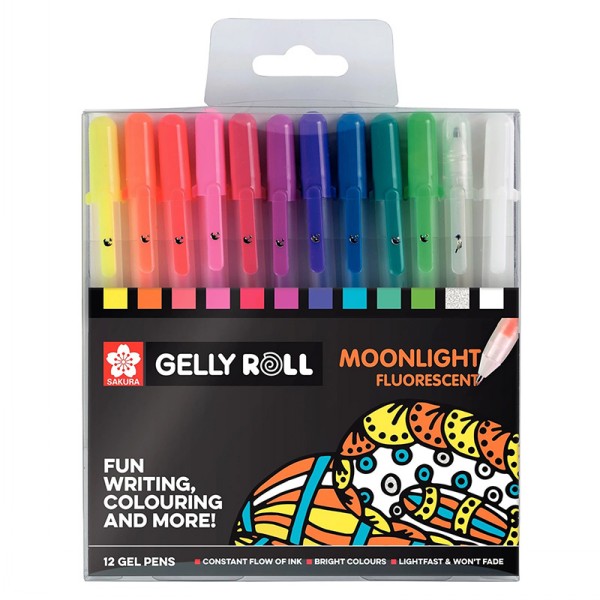 Gelly Roll Fluorescent Moonlight Set of 12
£25.55
Add to basket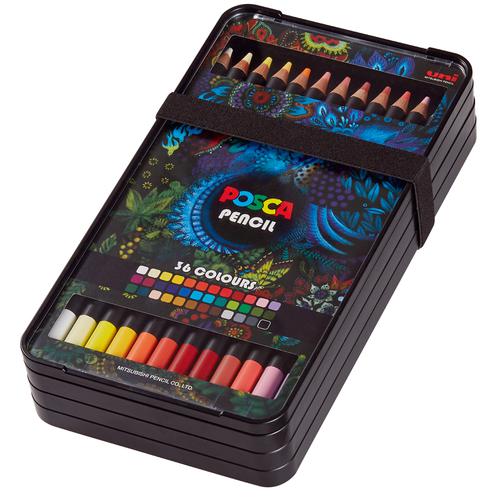 Posca Pencil – Assorted Set of 36 Colours
£59.00
Add to basket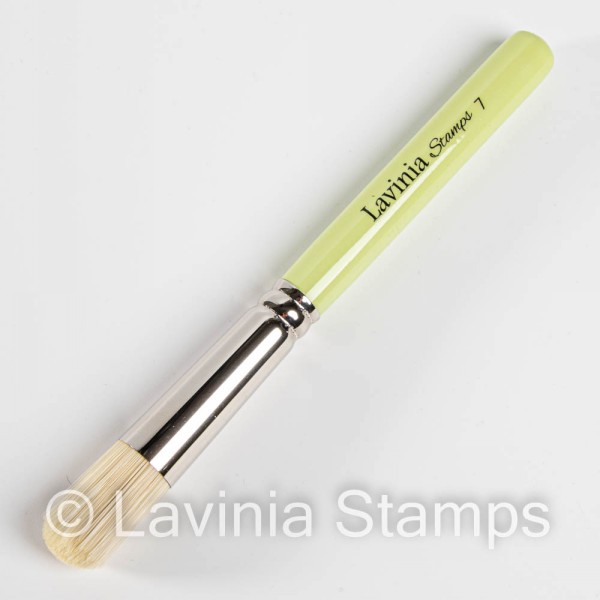 Lavinia Stencil Brush (Series 7)
£5.30
Add to basket Lavinia Stencil Brush (Series 9)
£5.80
Add to basket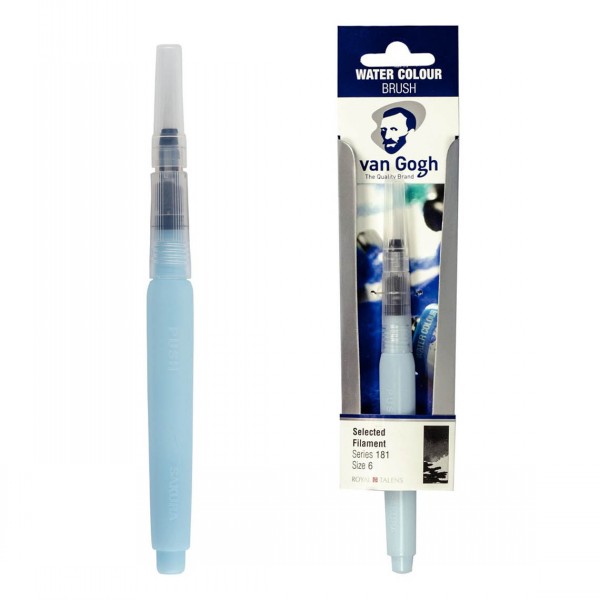 Water Colour Reservoir Brush Series 181
£5.20
Add to basket