Hello all Lavinians.
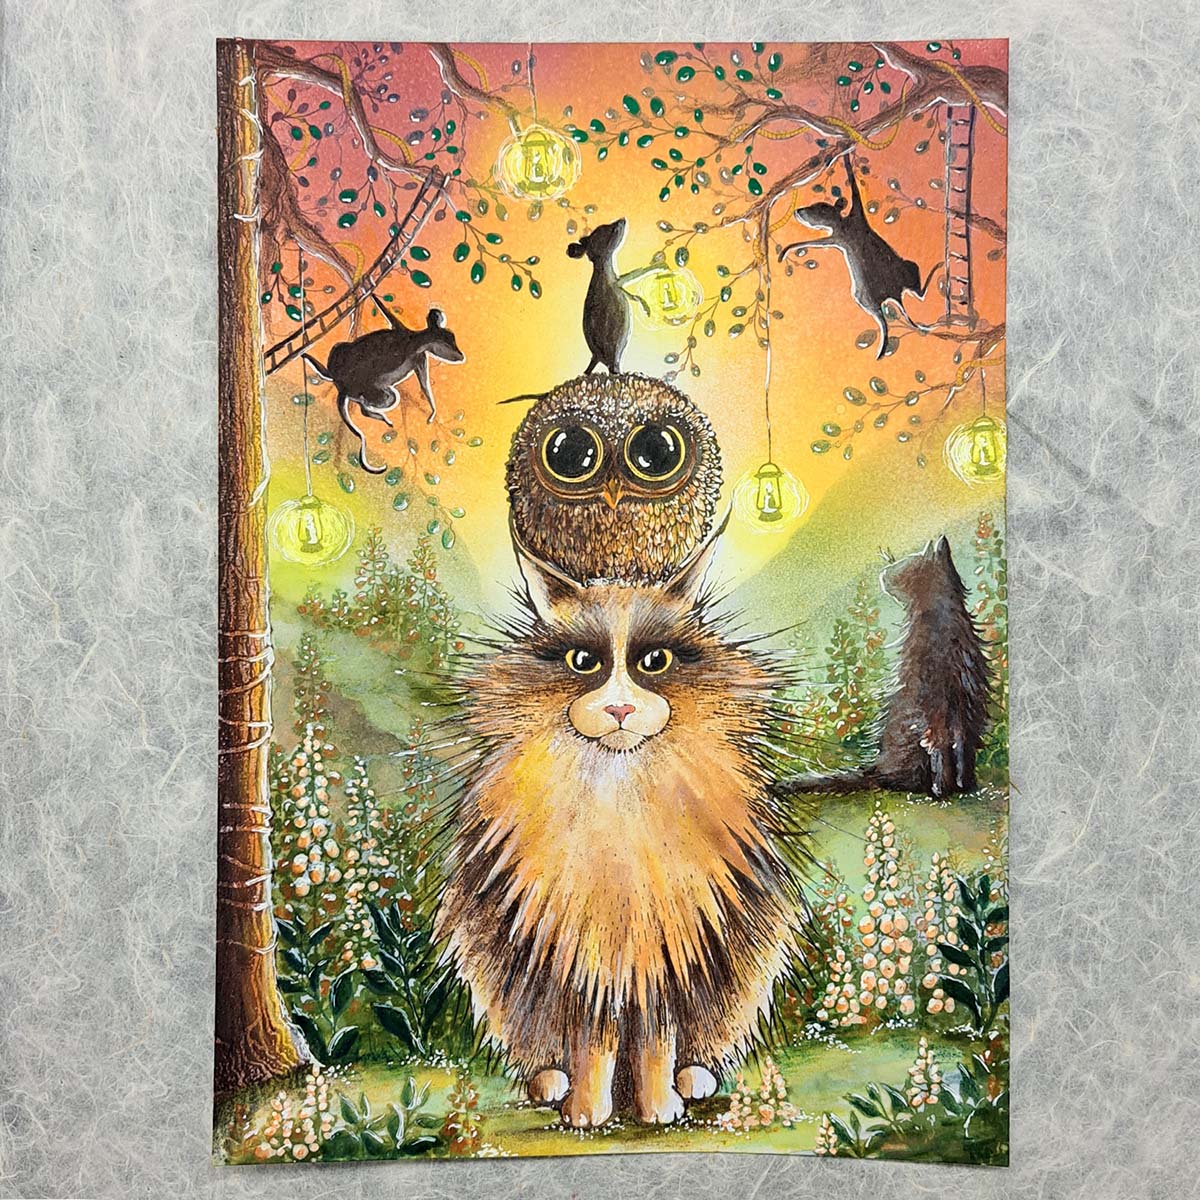
Are you ready for a new Picture Tutorial? This one is called “Autumn Gathering”.
I absolutely love making these Tutorials and this time I tried something a little different with my colouring. Hope you like it.
Step by Step
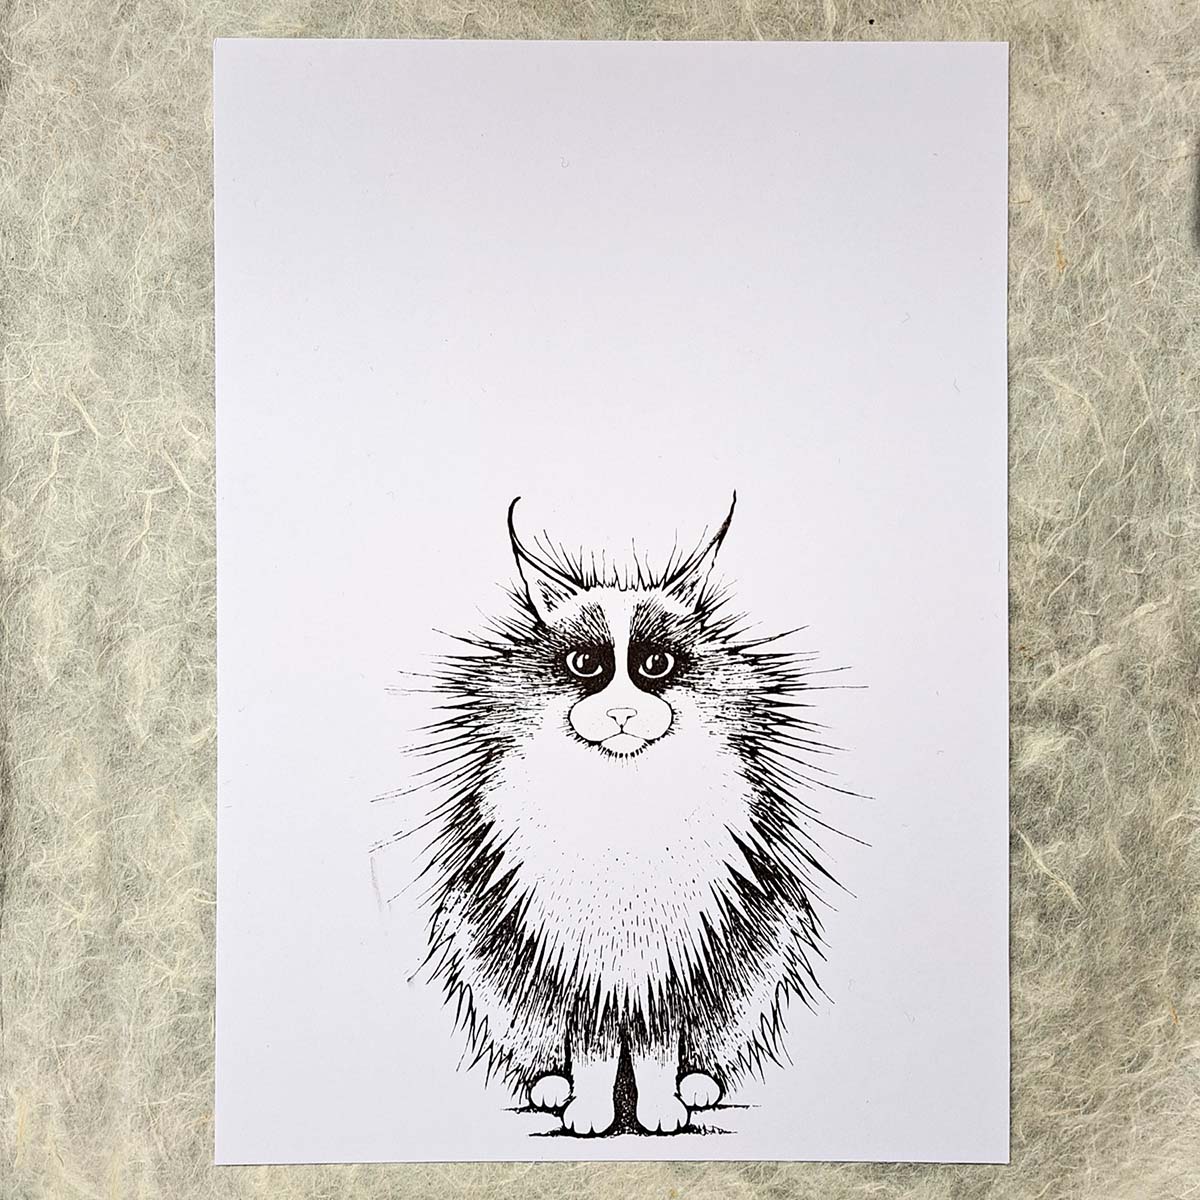
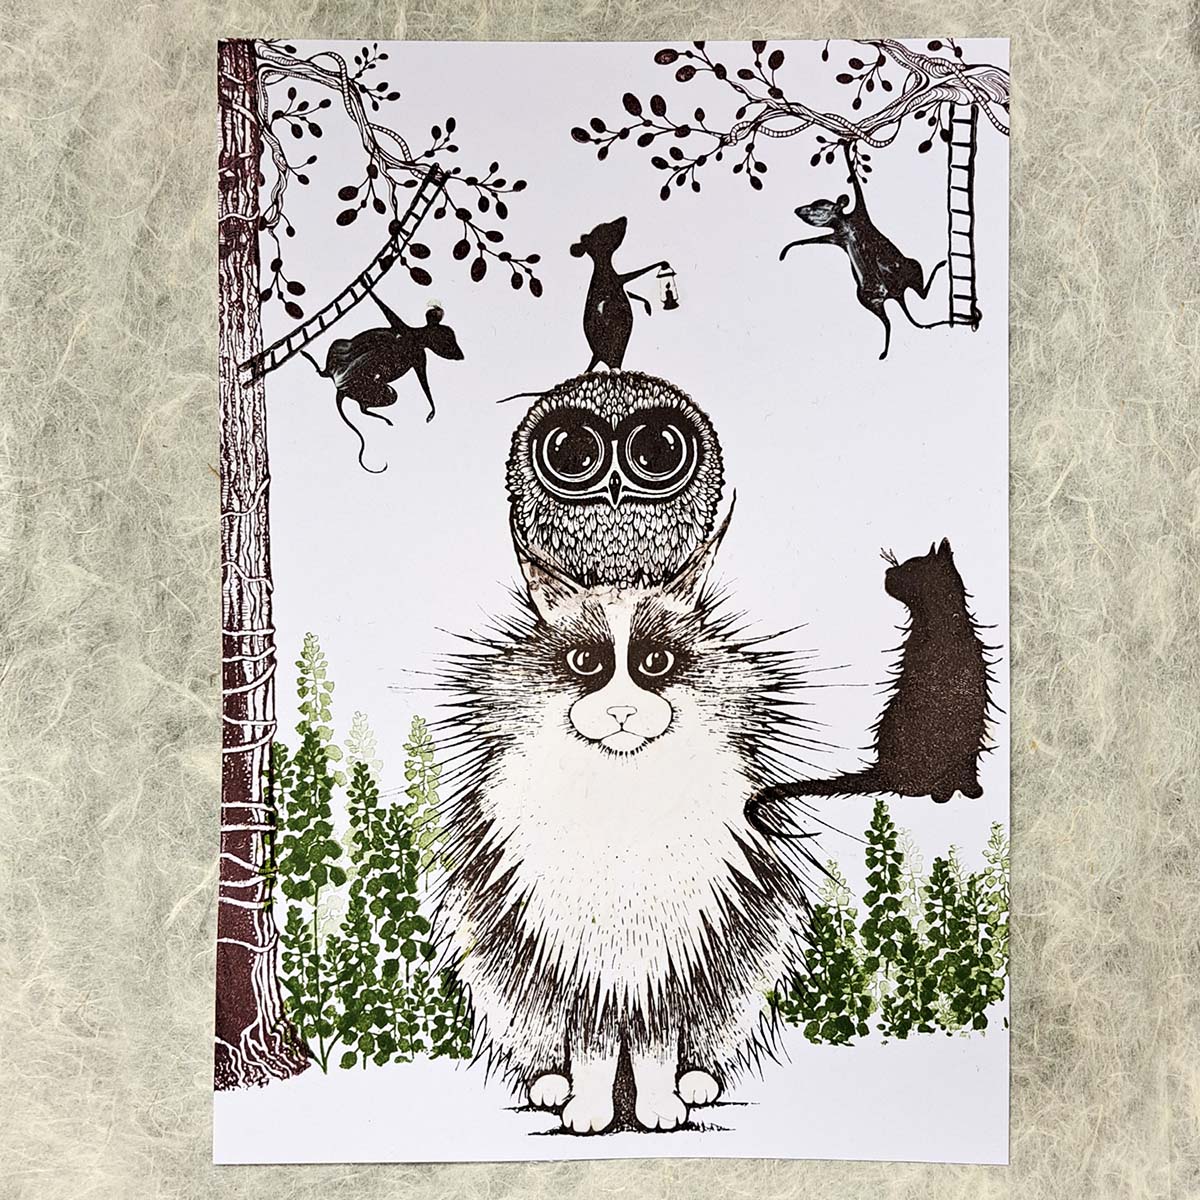
Taking an A5 sized piece Multifarious card, start by stamping the adorable Noof using Versafine Clair’s seasonally rustic shade, Fallen Leaves. Once dry. we need to completely mask him. I used a liquid masking fluid, but it works just as well with a masking sheet since he is so big.
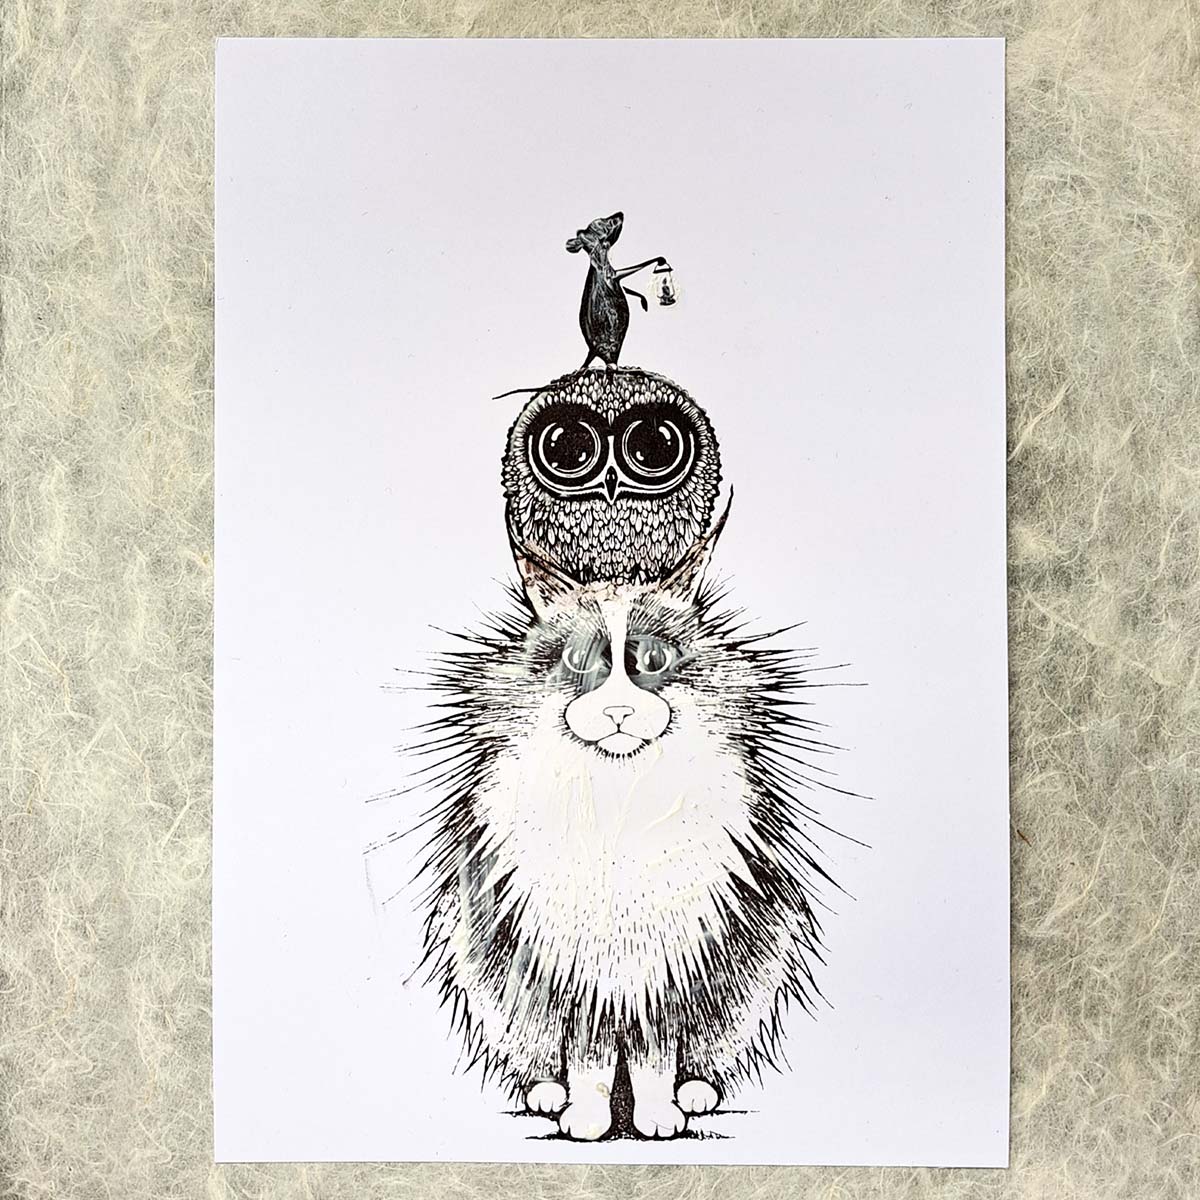
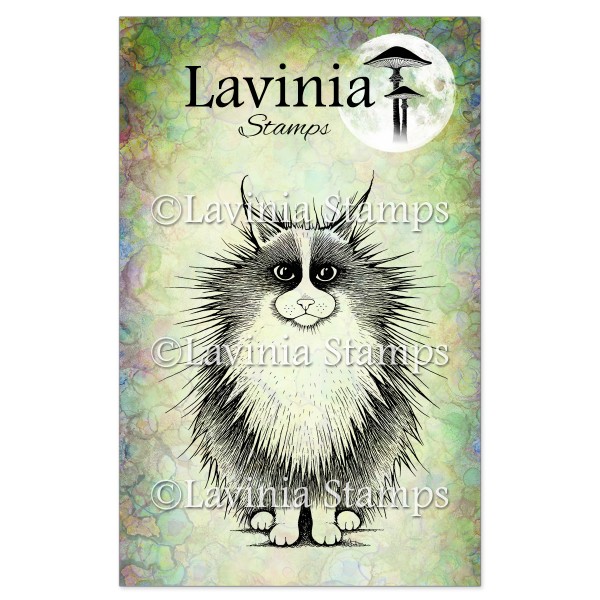
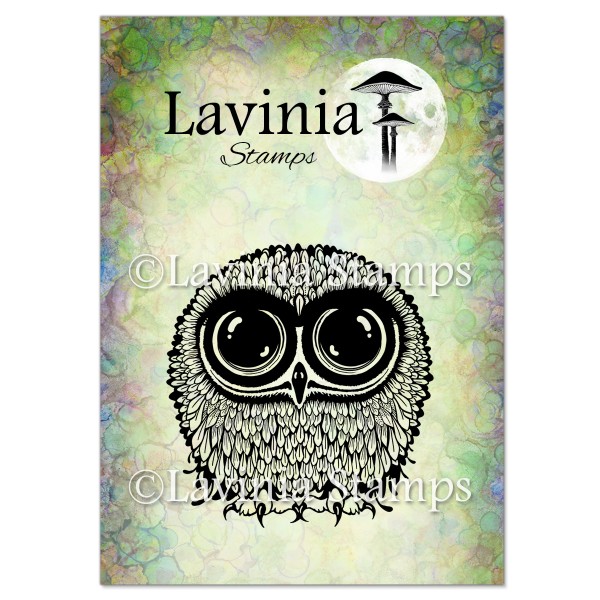
The super cute owl, Bijou, wants to sit on Noof’s head so we stamp her in the same colour. She will also need masking, but only a little at the top part of her head, so that our sweet mouse, Basil, can stand on her head without appearing to be in her head! Mask on and around his lantern too. Guage how much by looking at the finished picture in the last step.
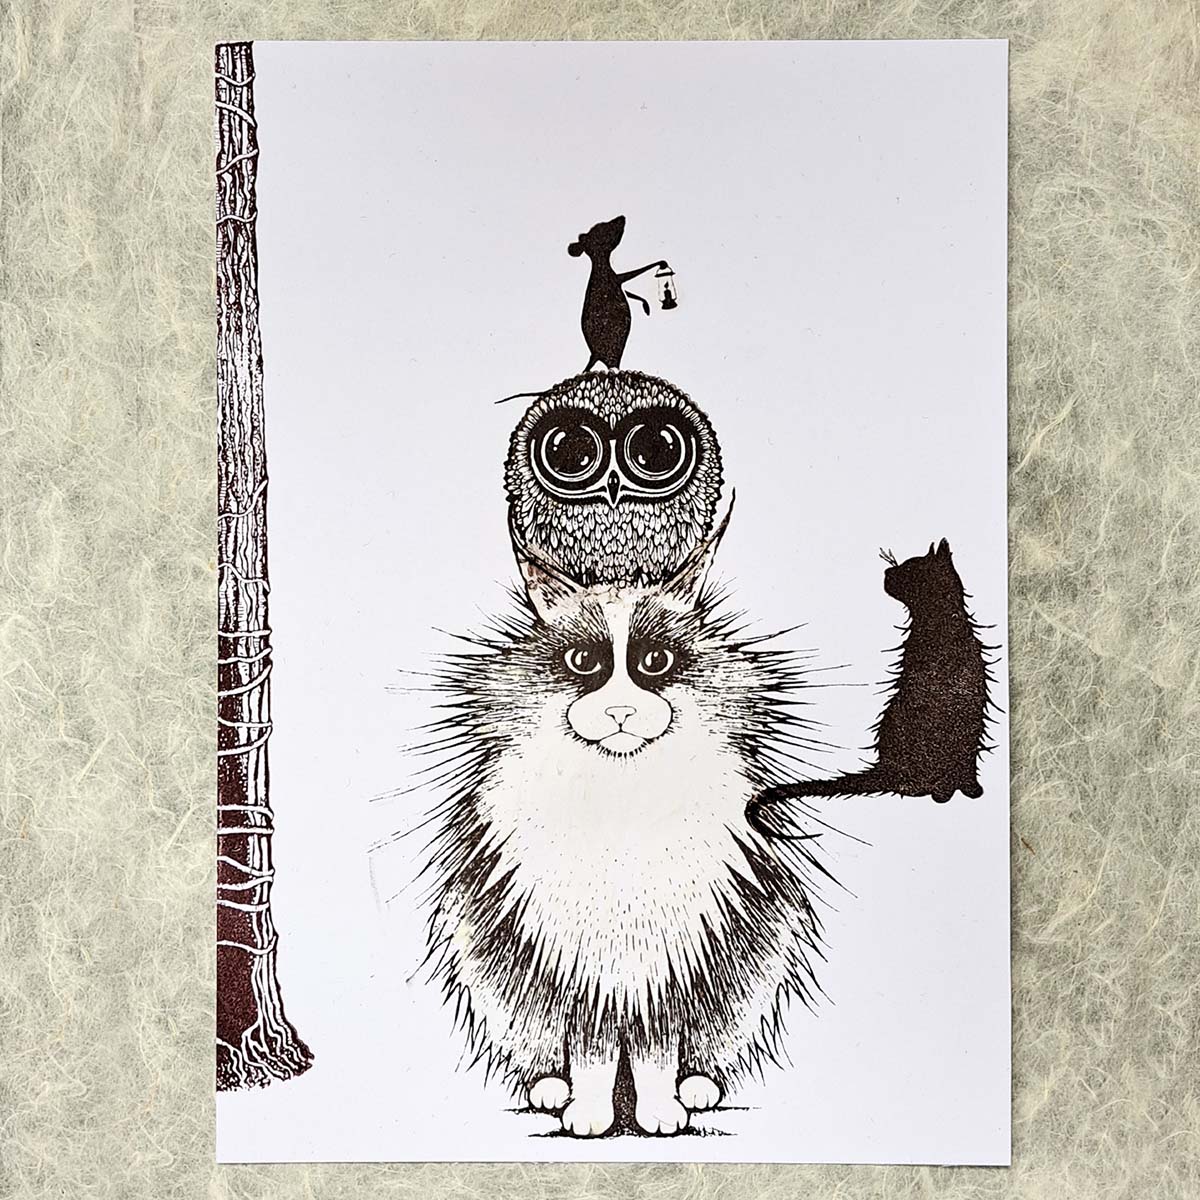
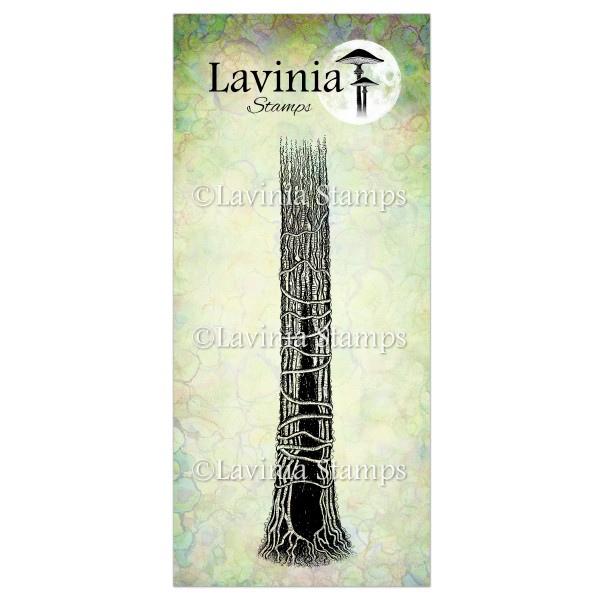
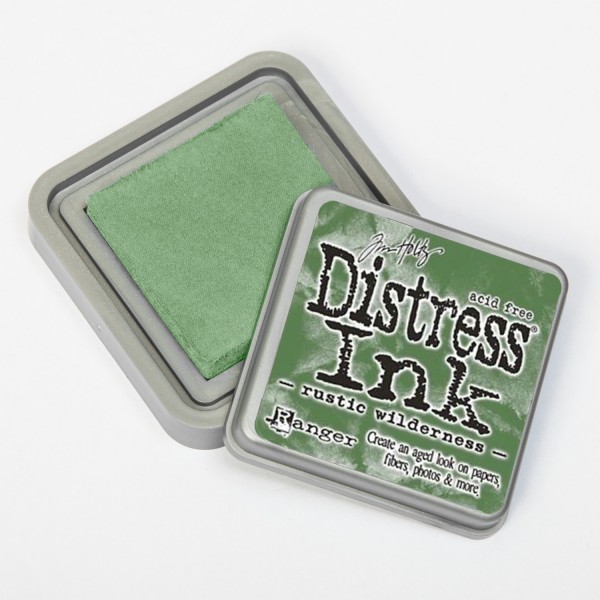
Now, stamp the Tree Den and Mooch in the slightly richer Pinecone colour. These will also need to be masked.
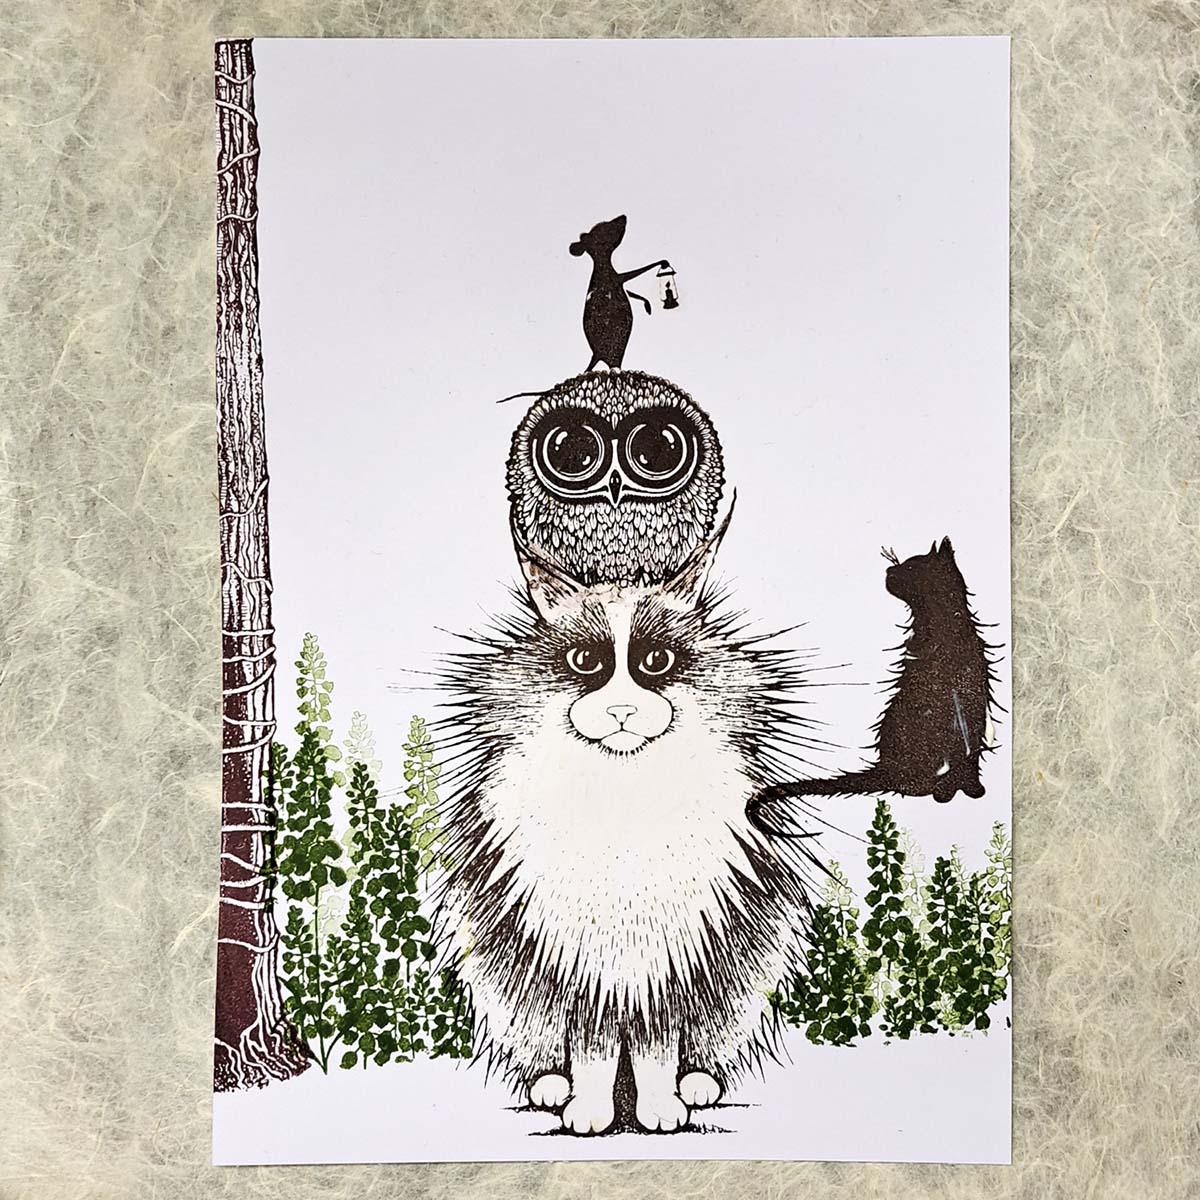
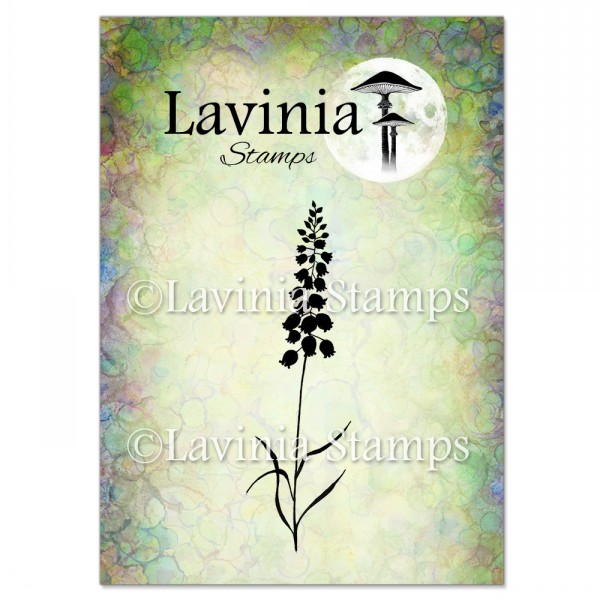
One of my many favourite stamps is Bluebells and we are going to use lots in our picture. Do both first- and second-generation stamping in the yellower Shady Lane ink, as shown.
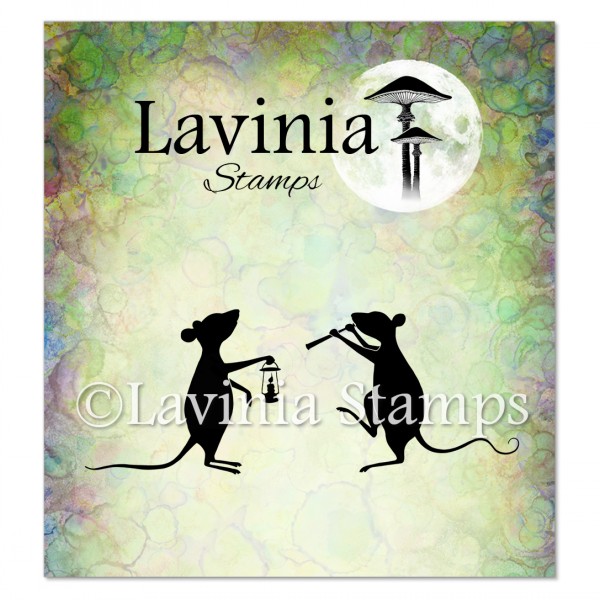
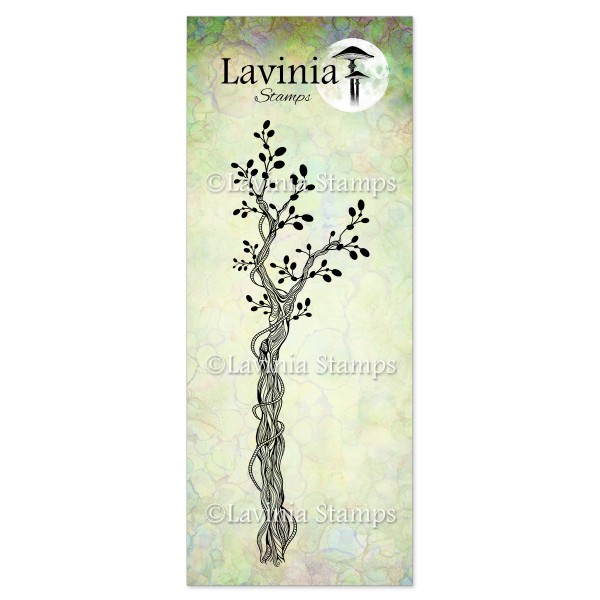
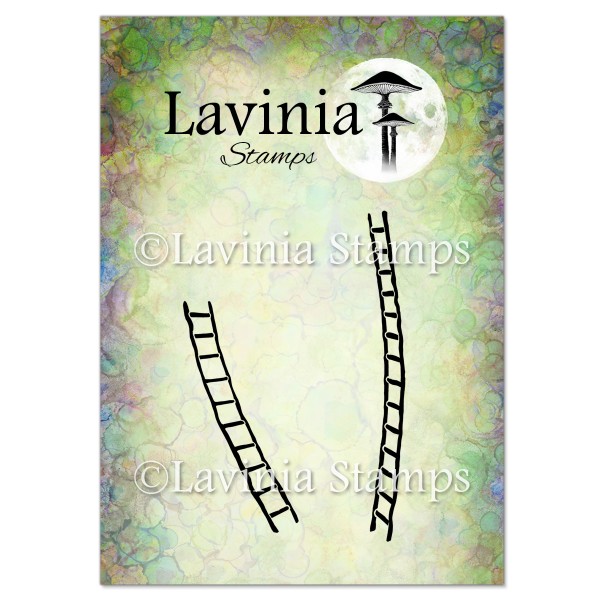
The Tree Den needs some branches, so we will use the Vine Branch, inked up in the Pinecone. The Fairy Ladders will look fun, high up in the tree. Stamp these in Fallen Leaves. Use the same colour to stamp our mice, Minni and Moo, who will also need masking.

At this stage, I decided that more branches were needed, so I added more of the Vine Branch. Only second-generation stamping was used this time, to create a lighter shade of Pinecone.
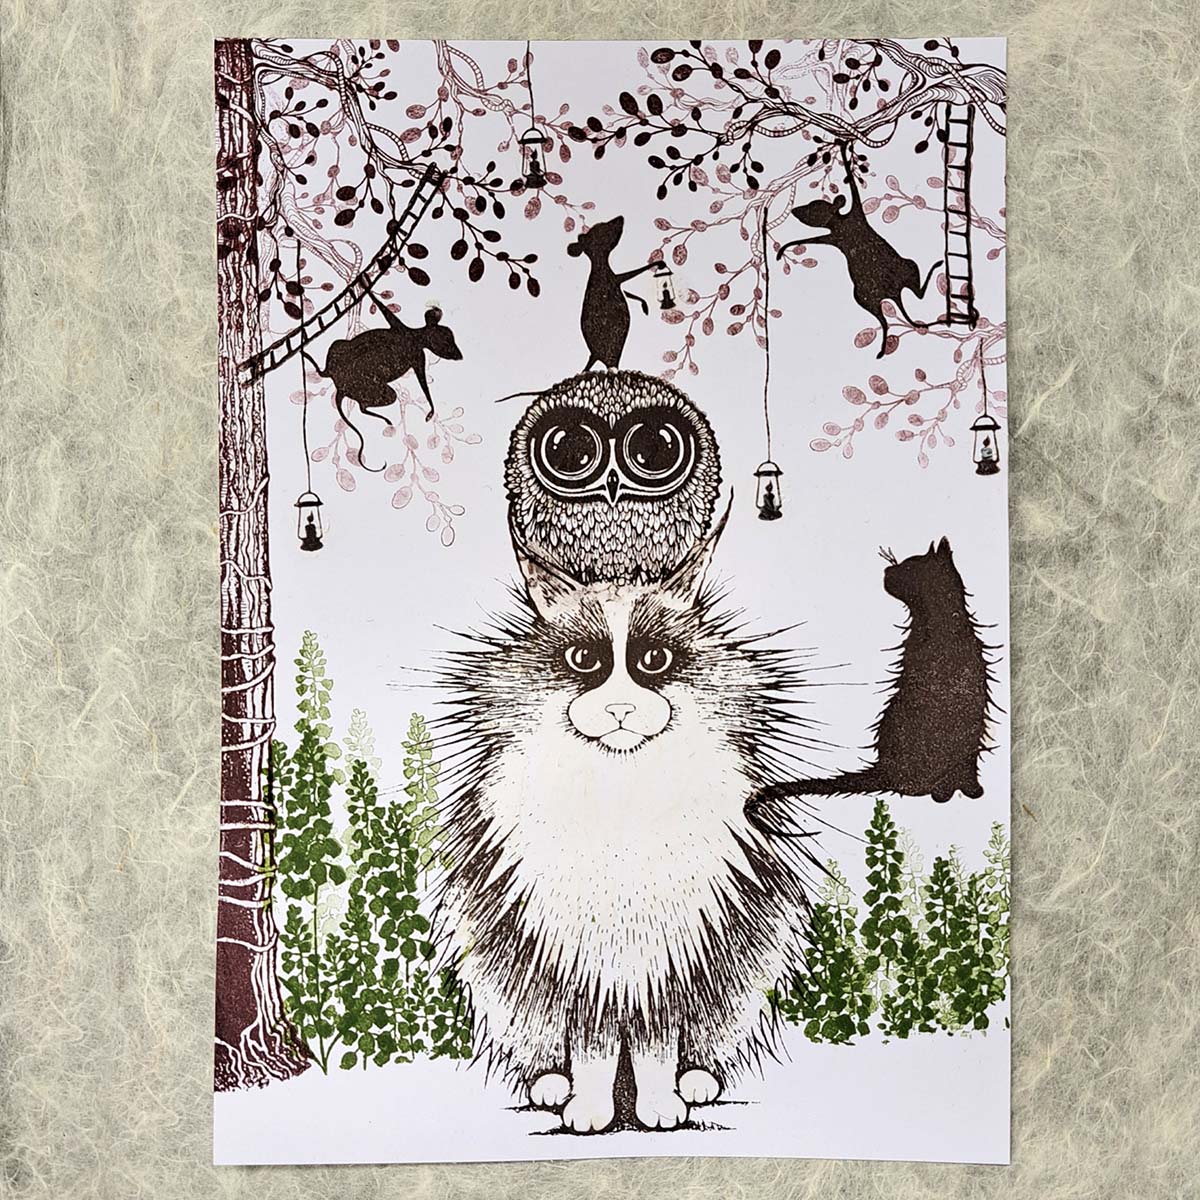
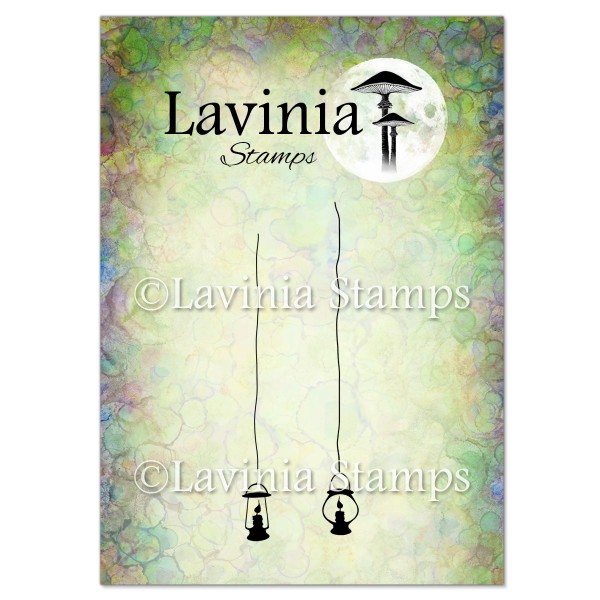
As the mice are decorating in preparation for the Autumn Gathering, we need to add more lanterns. Use the Fallen Leaves ink to stamp some Small Lanterns, masking on and around them to make space for their yellow glow after we have made a dark sky in the background.
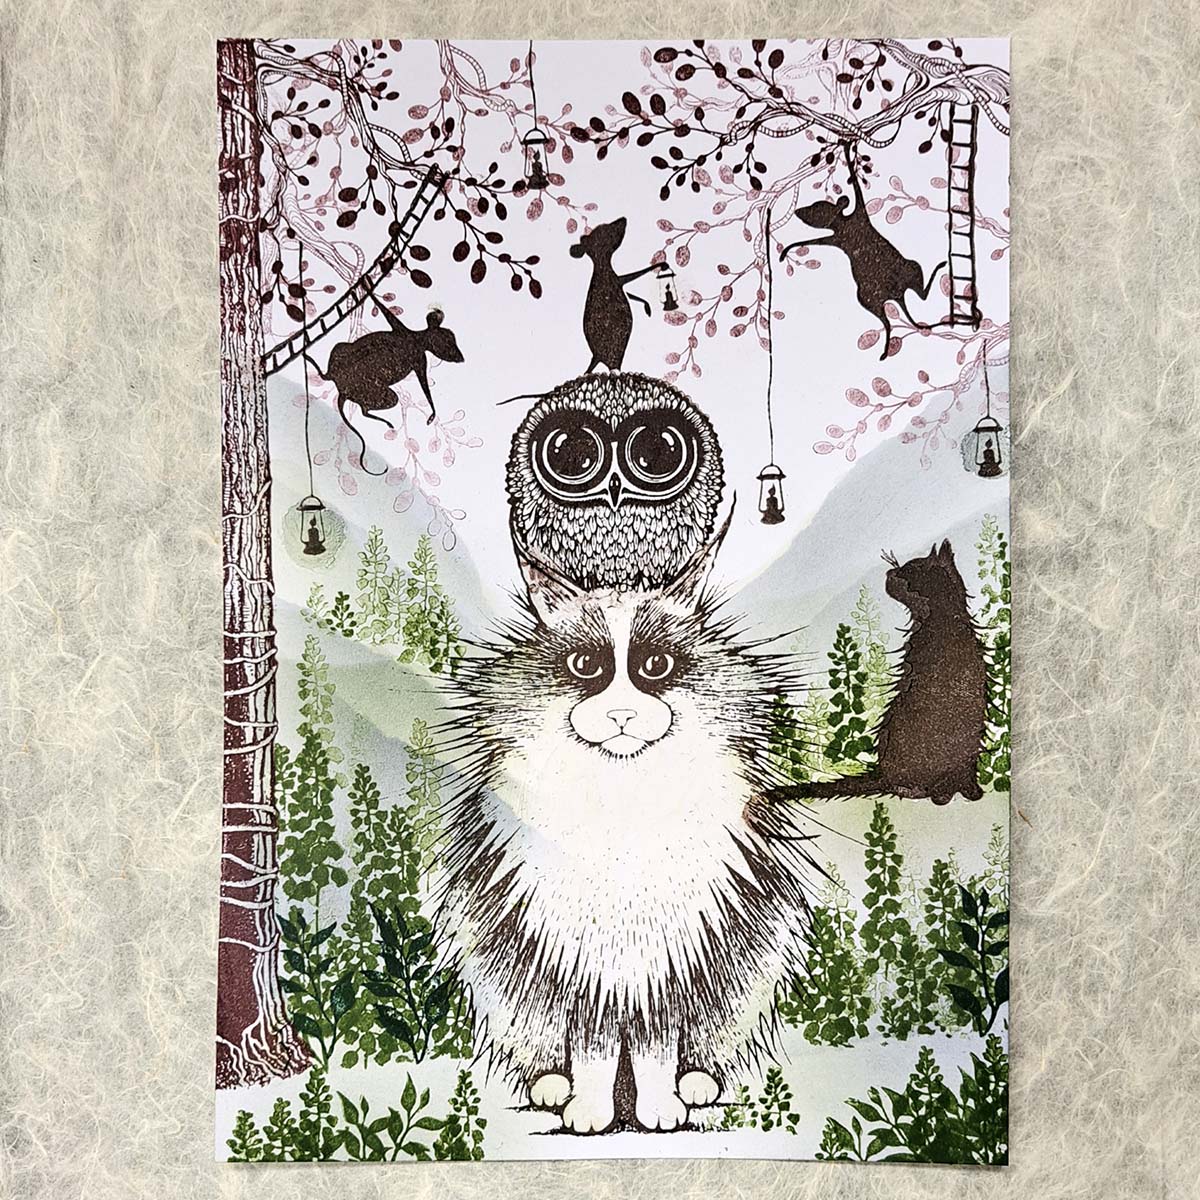
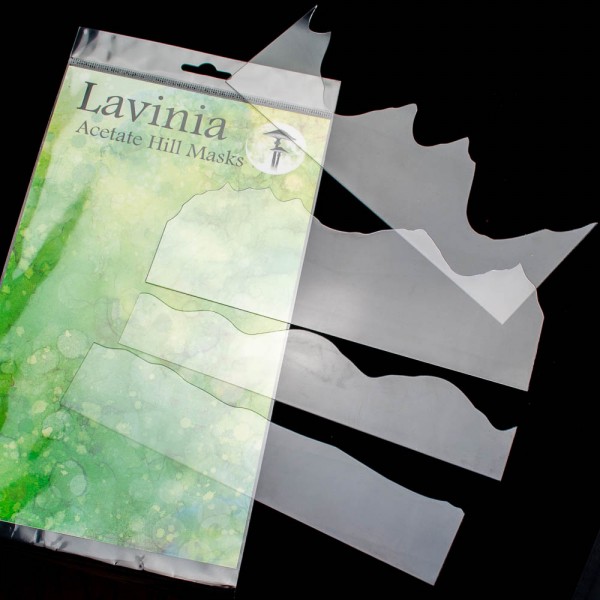
Use Lavinia Hill Masks to create some hills in the background, using a Stencil Brush that has some left-over Elements, Midnight Blue colour in it. Add another in the Olive ink. Very little colour is required to create hills, so use both shades on top of each other. Use a little of the hill colours on the foreground too. Then add more Bluebells in Shady Lane on a hill to the left side of the picture and also on the hill that Mooch sits upon. Stamp most in second-generation stamping, with only a few first-generation stampings closer to Mooch.
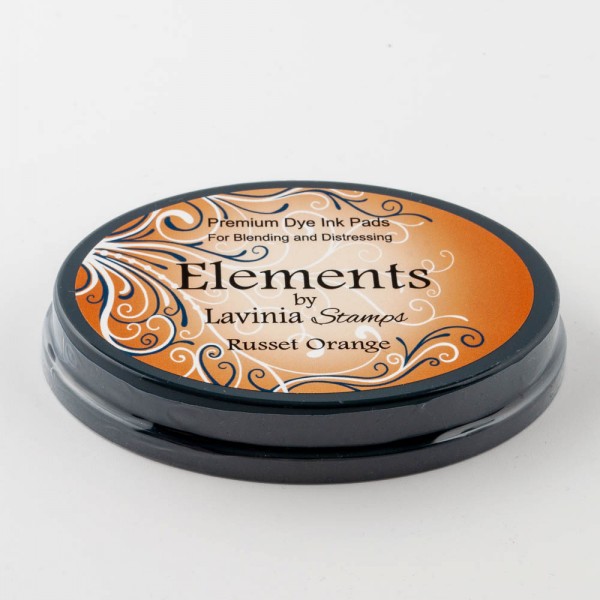
For the sky we will use the Elements Russet Orange and Paprika. Blend these colours together with more orange towards the centre. Then use Hansa Yellow PanPastel for the glowing light in the middle. Put the PanPastel over much of the Russet Orange and on the tops of the hills.
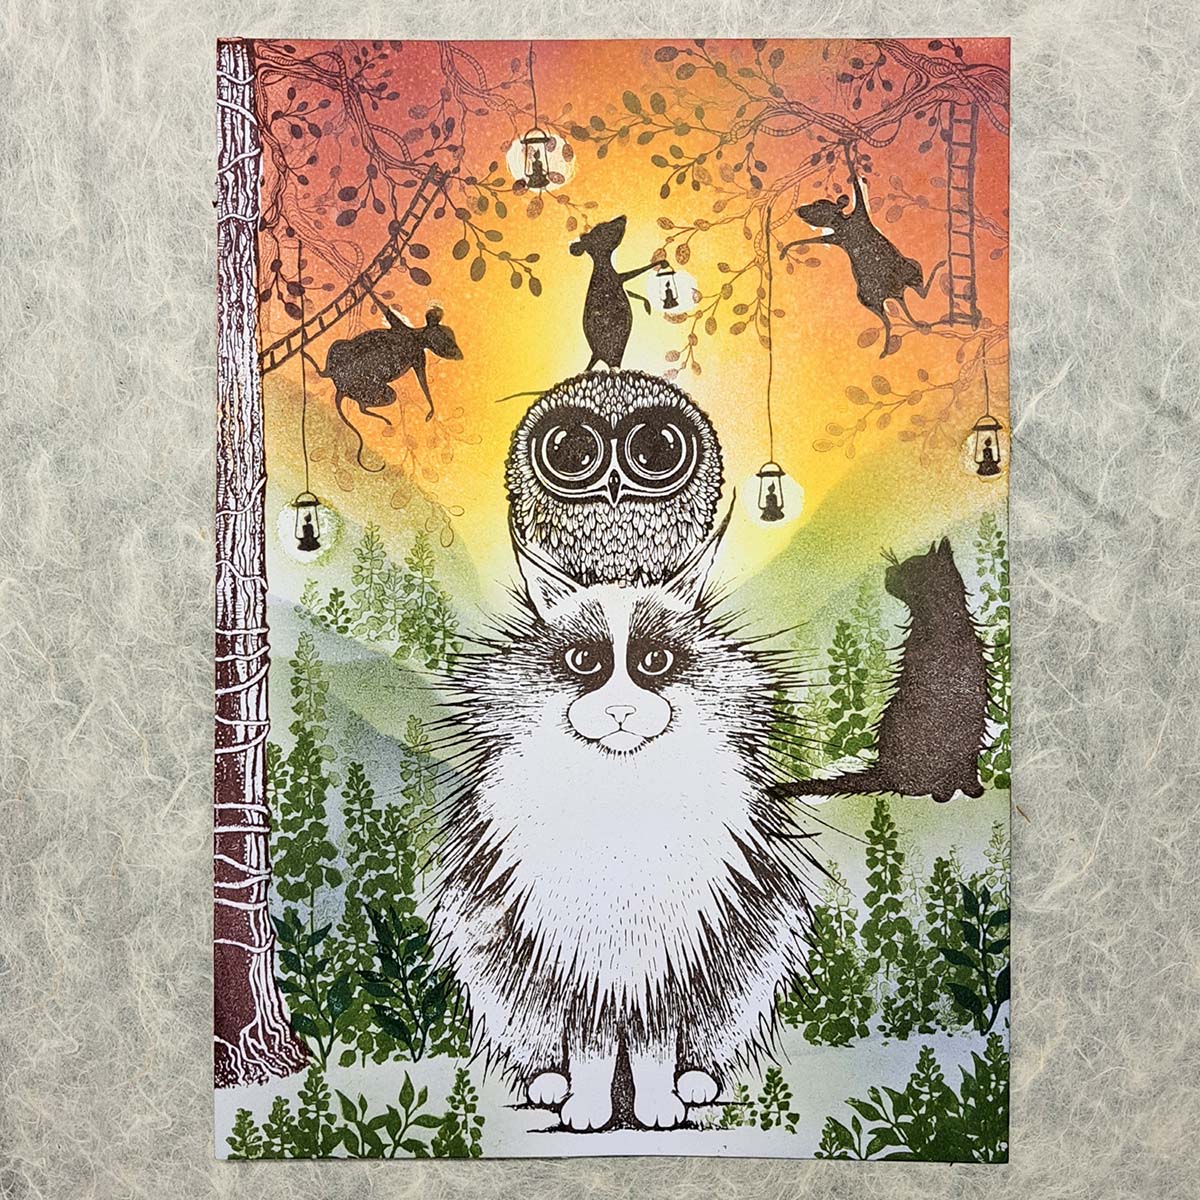
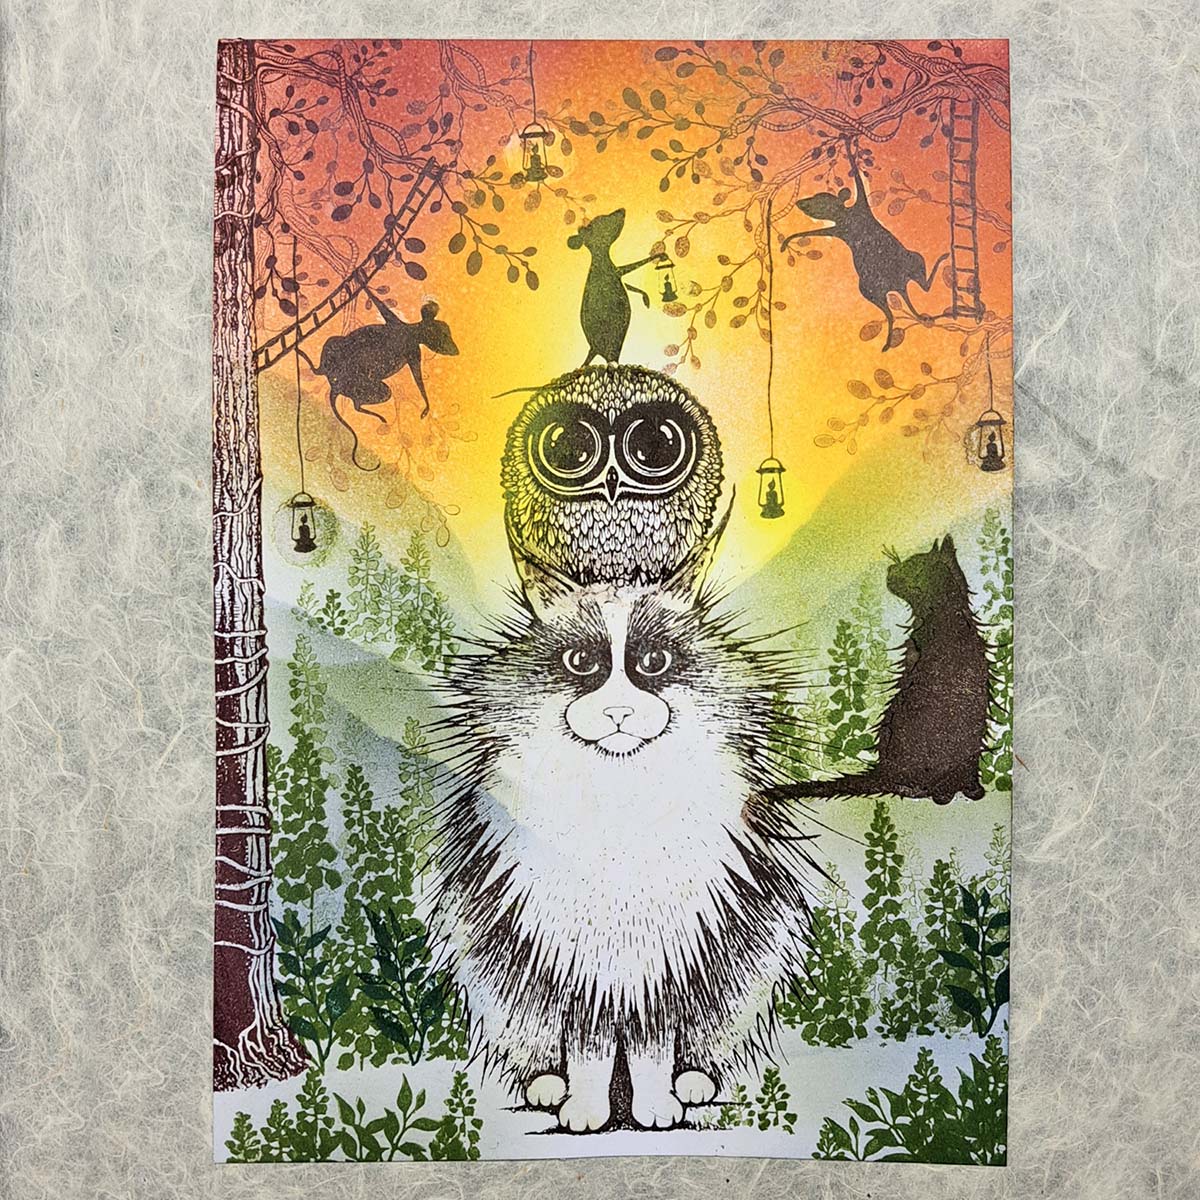
Now remove all the masking.

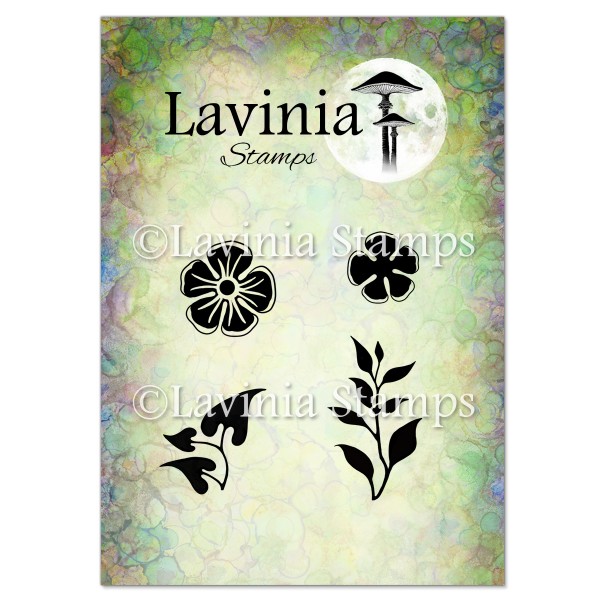
Stamp some leaves from the Vine Set, amongst the Bluebells in Rain Forest ink.
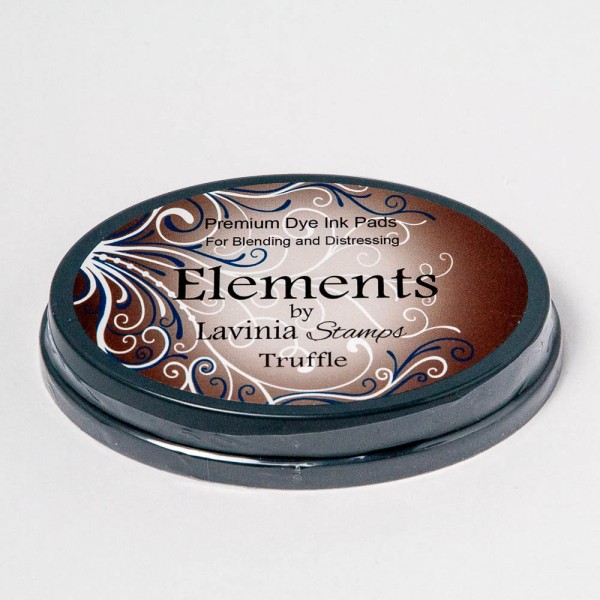
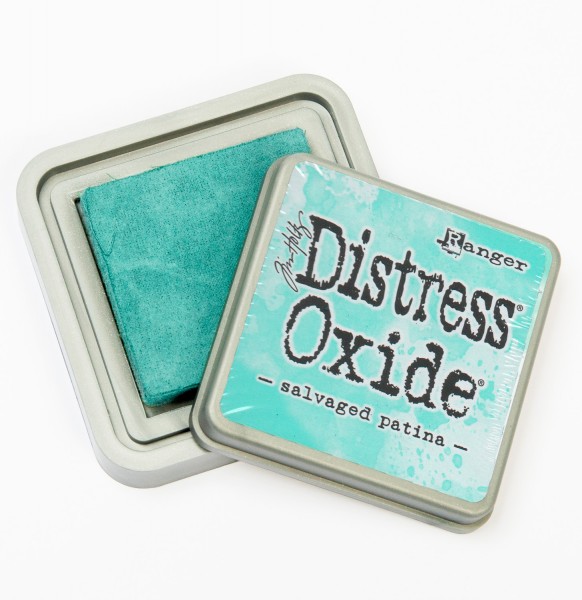
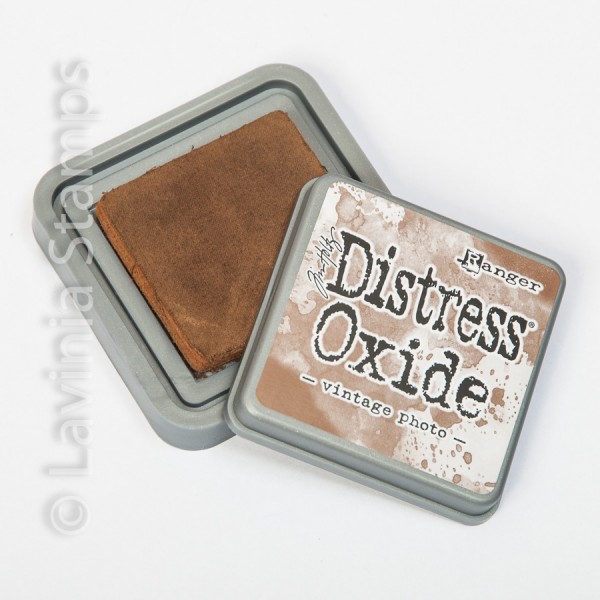
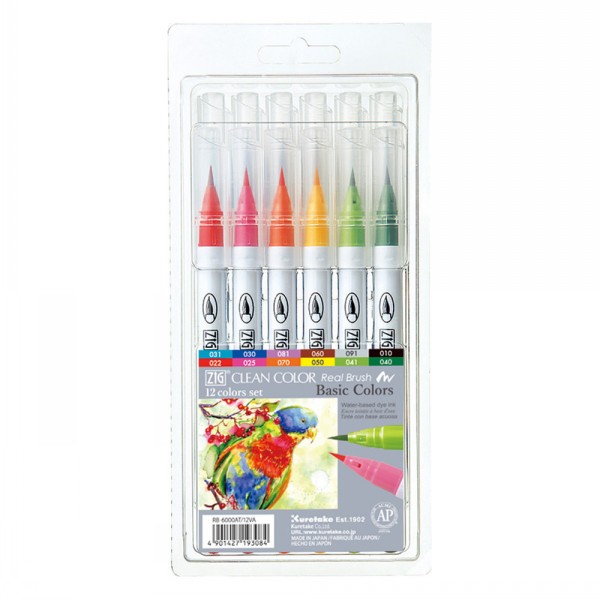
Use a water brush pen to colour the ground with the Elements Olive, and the Distress Oxide shades of Rustic Wilderness and Salvaged Patina. Use a dark brown Zig Clean Colour brush on the Mice. For Mooch and Bijou, use the Distress Oxide Vintage Photo, Elements Truffle, and a touch of dark brown with the Zig Clean Colour Real brush. Add some Distress Oxide Iced Spruce on Mooch and Fossilized Amber around Bijou’s and Noof’s eyes. Colour Noof’s nose with the Confetti Elements Ink.
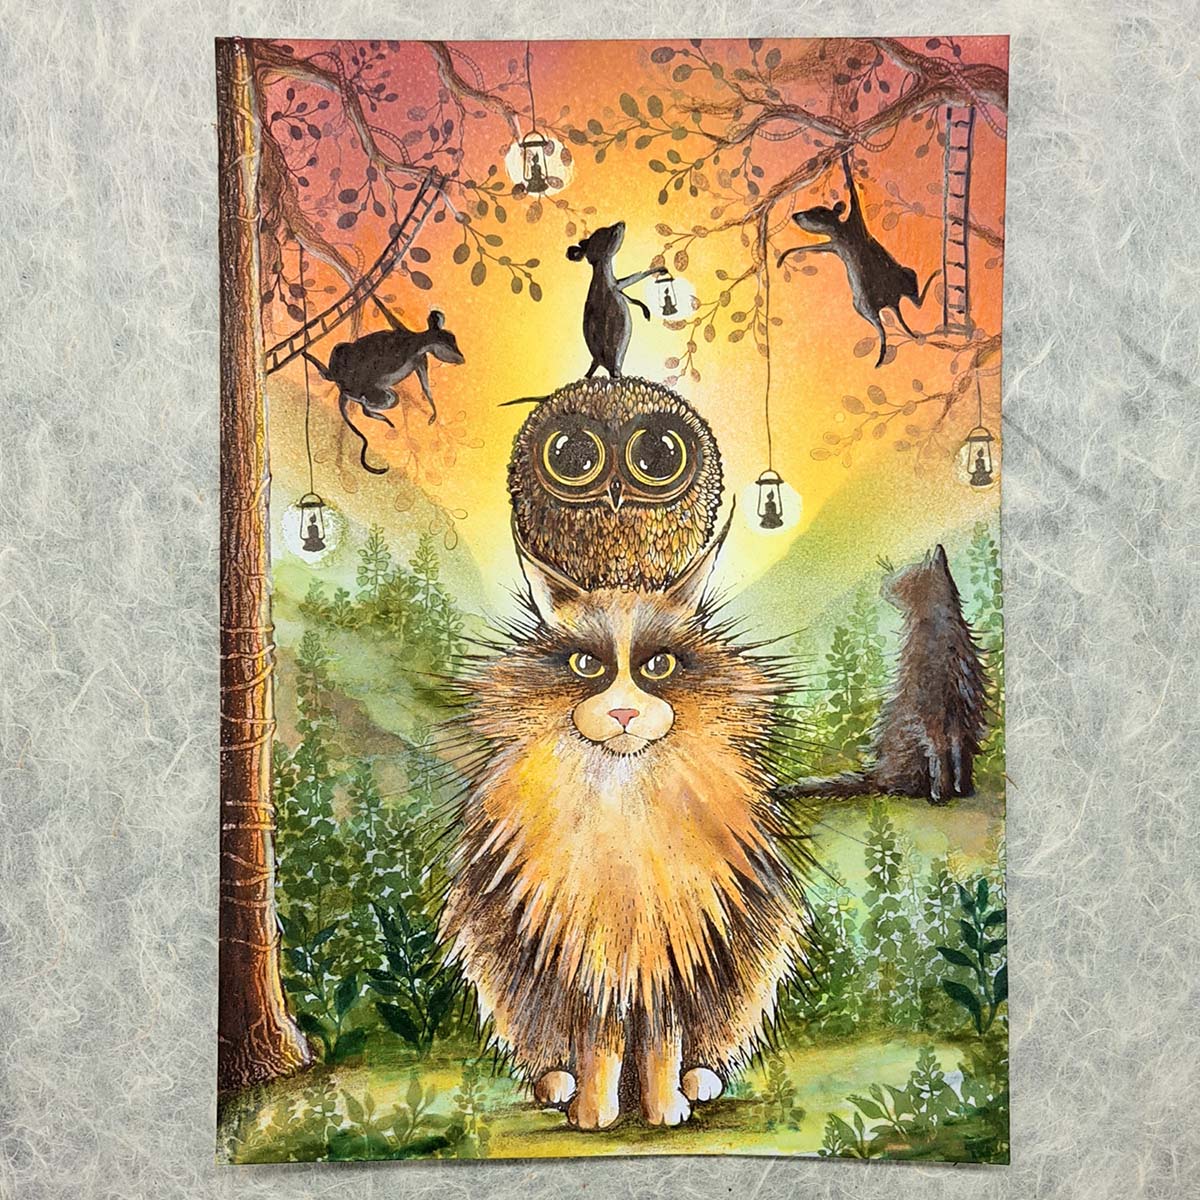
We will use the same colours as we used on Noof and Bijou to colour the Tree Den and the branches. Use a white soft colour pencil to draw some highlights on the Mice, the Tree Den, Mooch, and the branches.
Add some Hansa Yellow Pan Pastel on and around the Lanterns, to make them glow. Draw some eyelashes on Noof with a black Posca Pen.
Our Bluebells needs some colour, using Light Orange and Beige Posca pens on those at the front, and light reddish-brown soft pastel pencils on the ones that are more in the background. Use a green Posca Pen on the leaves on the trees and for those in the front. Then use a green pastel pencil to colour the leaves in the background.
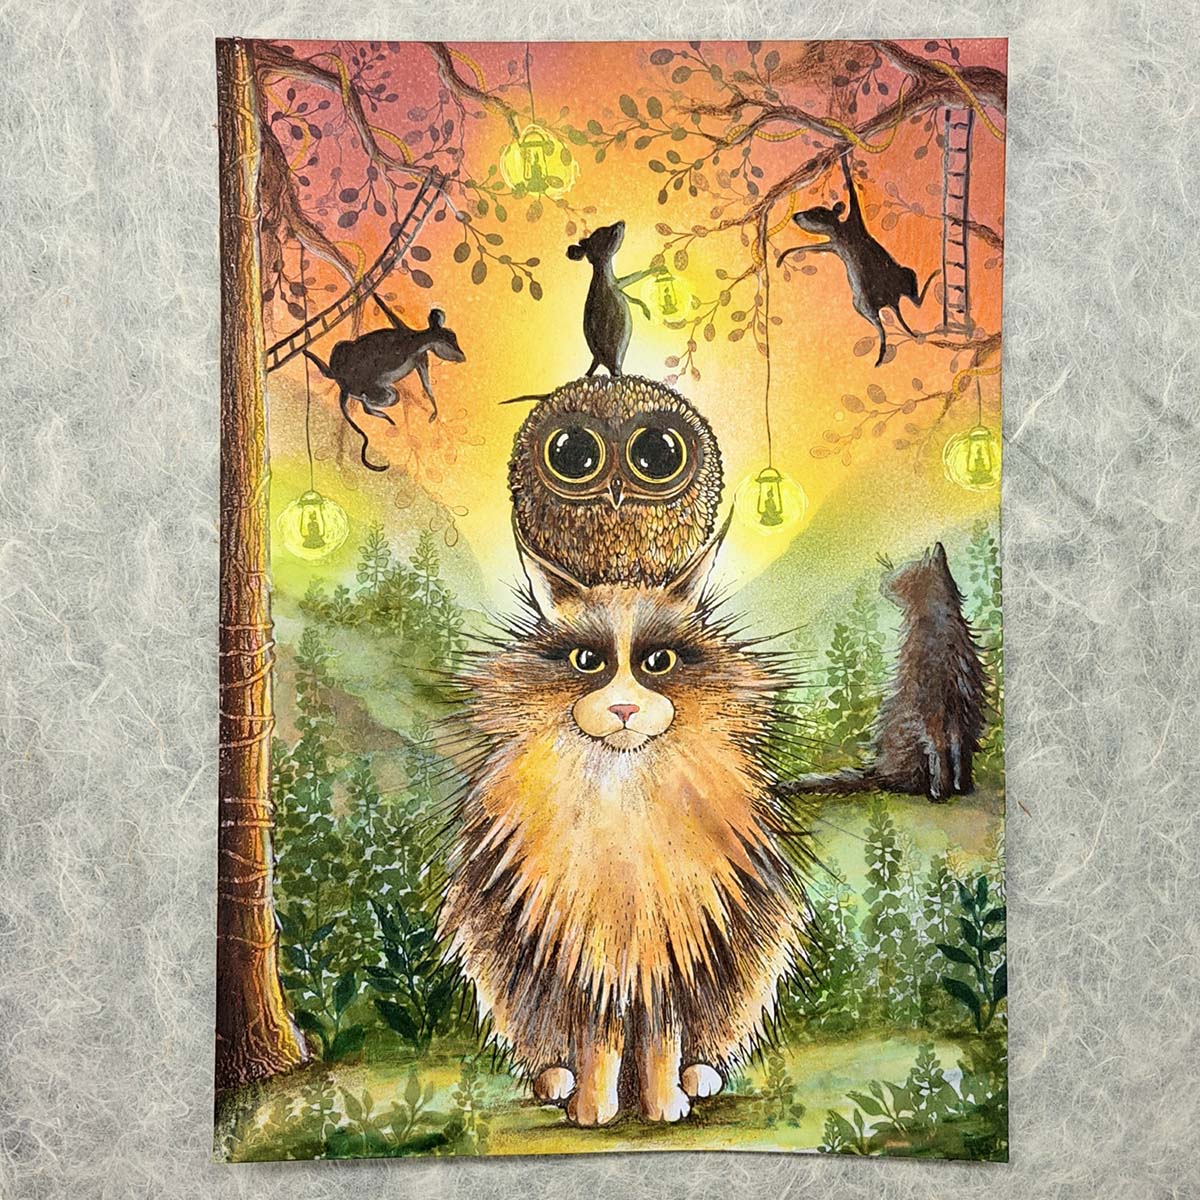
Use a white Uniball or Posca Pen to draw highlights on absolutely everything, and also draw some white dots on the ground and Bijou’s forehead. Add a white glow around the lanterns and on the candles in the lanterns.
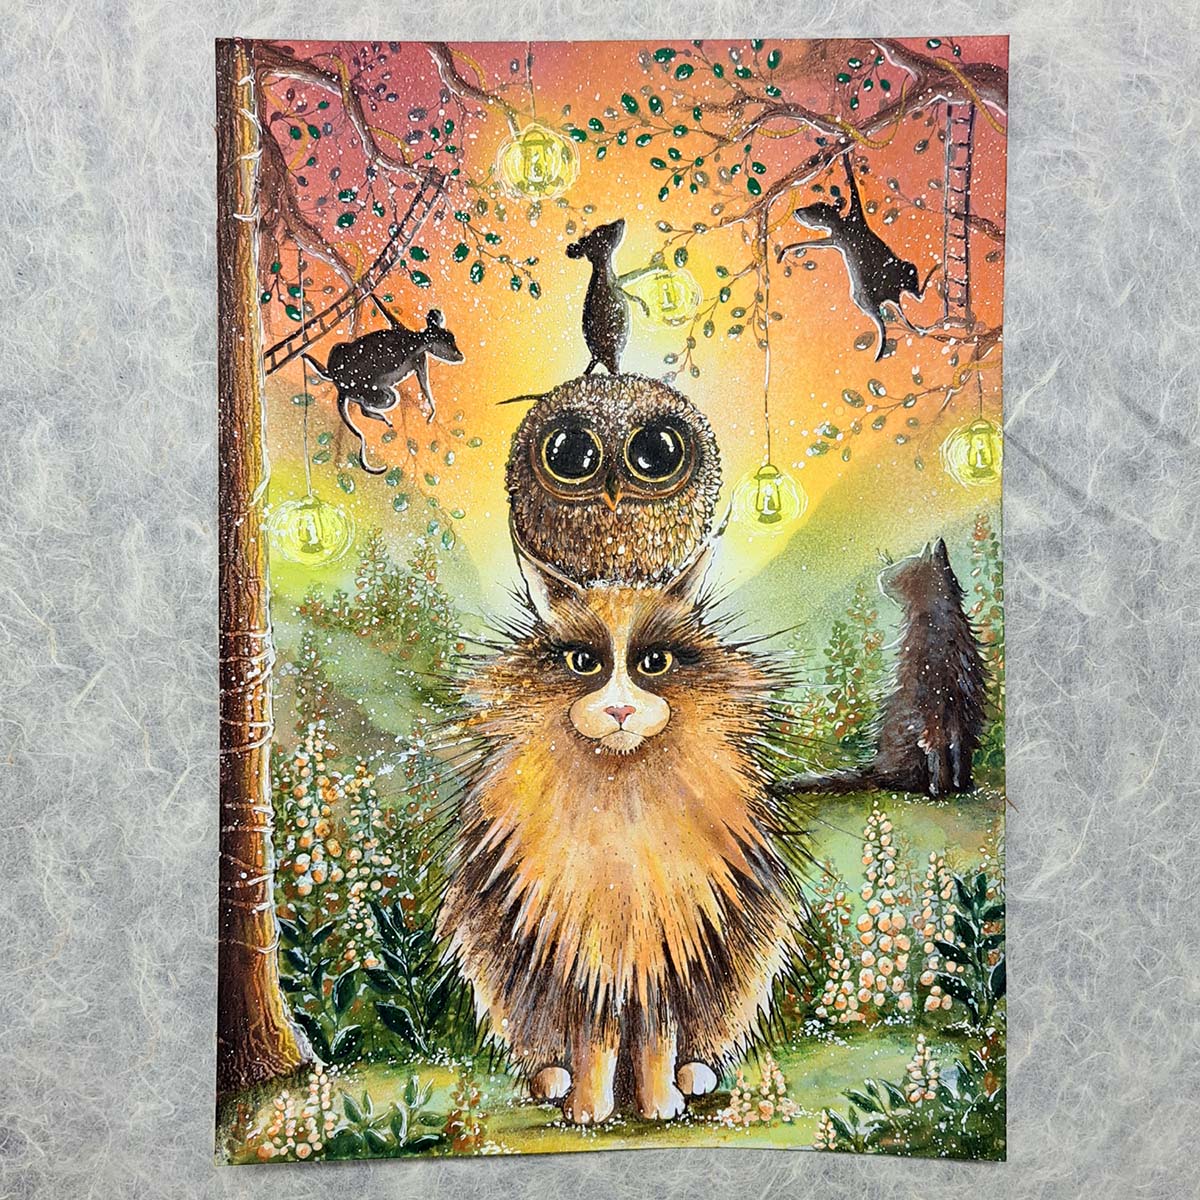
For the last finishing touches, add some Posca pen splatters.

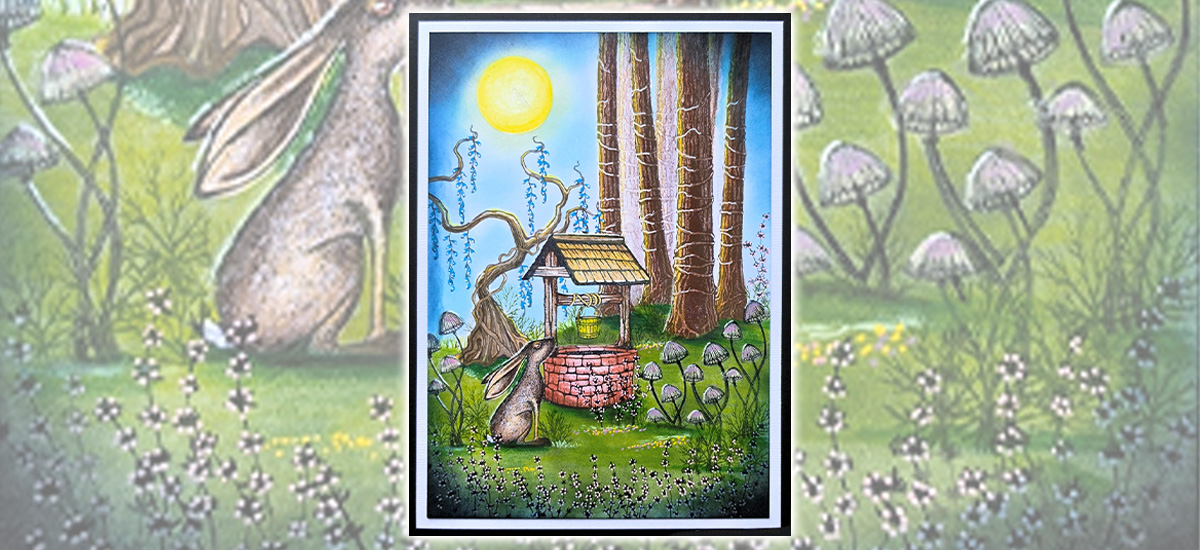
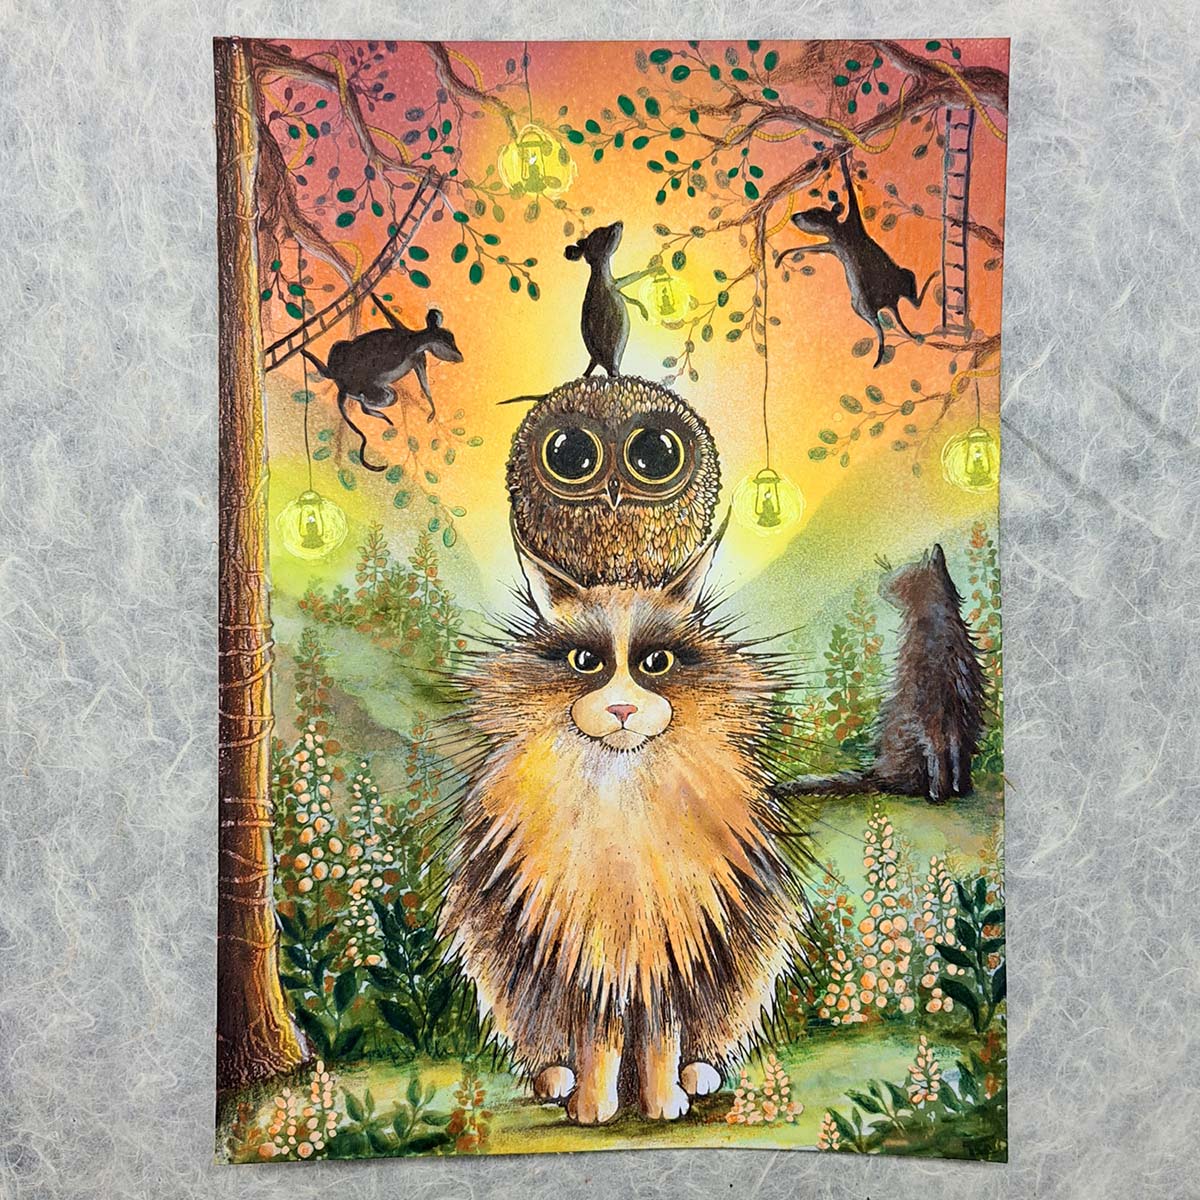
Here is the finished picture. I hope you enjoyed creating with me today.
If there is anything you want to ask just get in touch and I will answer as soon as I can.
Thank you for your time and we will create more soon.
Big hugs from Mona
I hope you have enjoyed this tutorial.
Happy Crafting!